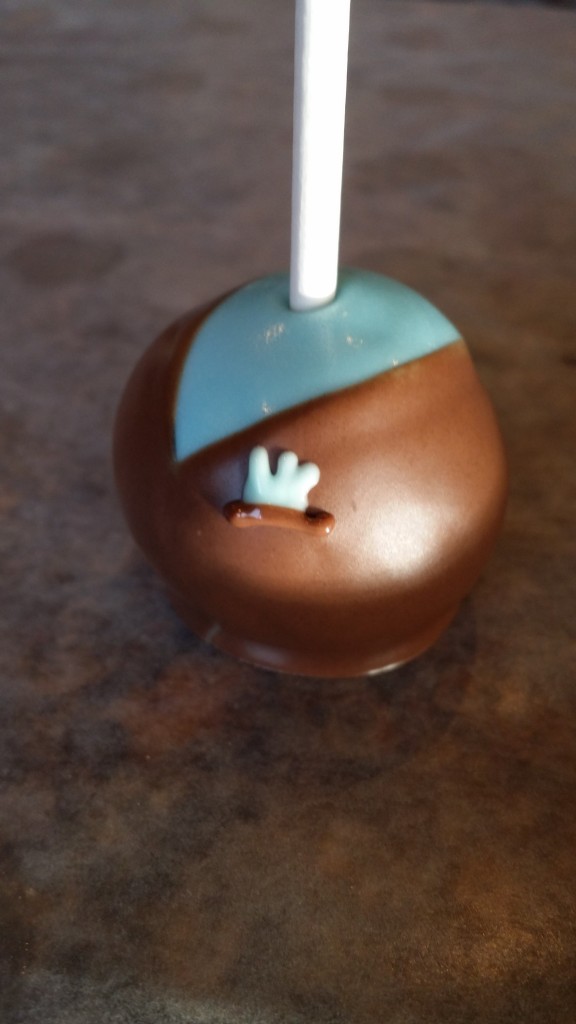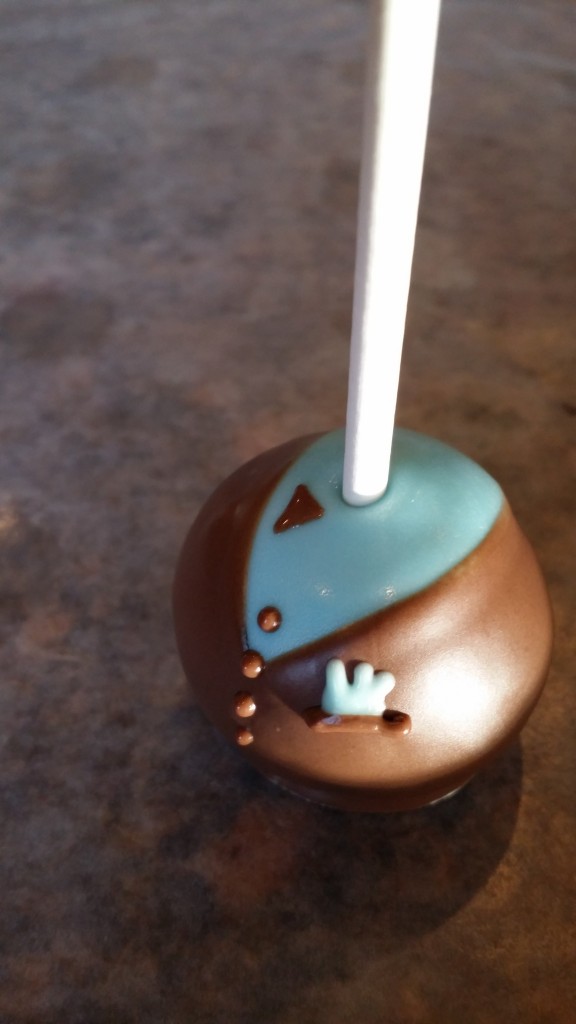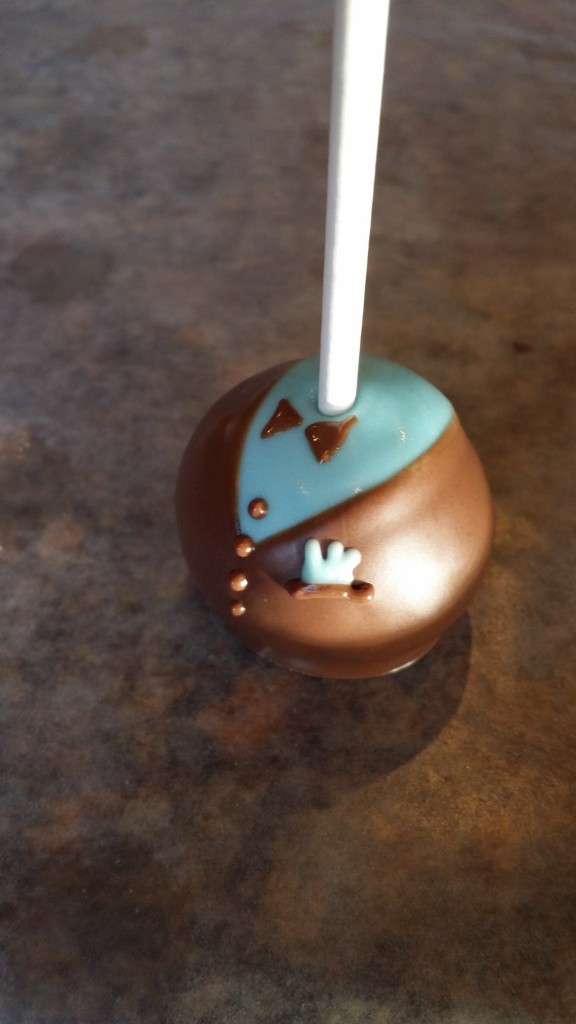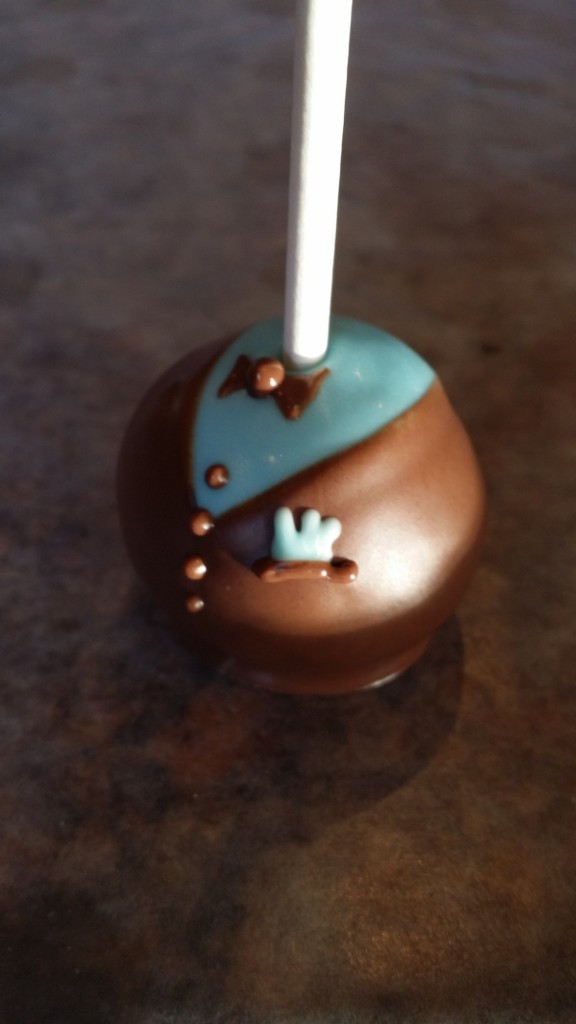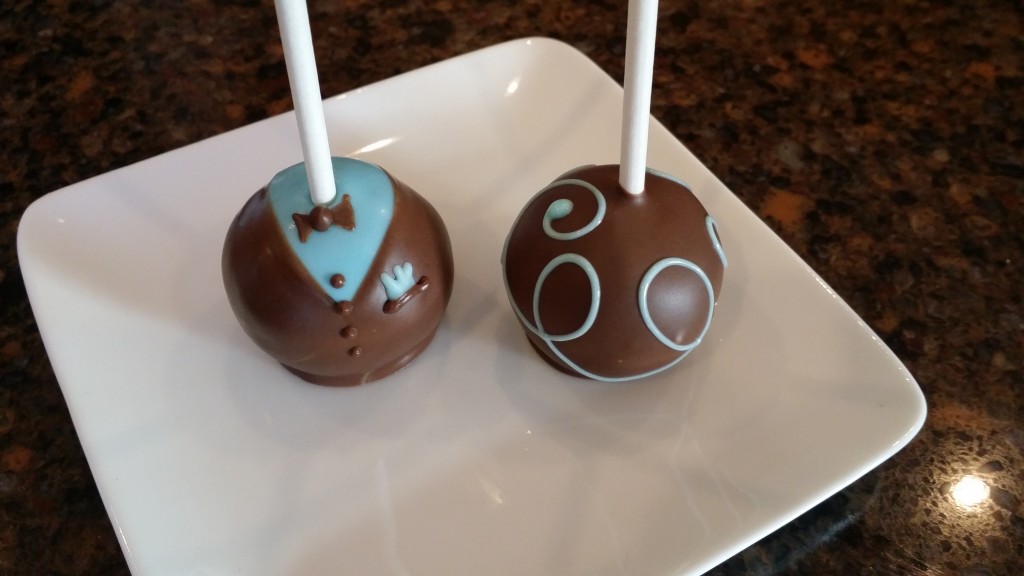
Tuxedo Cake Pops are great for weddings, bridal showers and you can even adjust the colors to make things like Nurse Cake Pops or little Leprechaun Cake Pops! Use your imagination:)
Start of course by baking a cake! Any cake will do! Your best scratch mix, a box cake or you could even pick one up from the store;)!
Next Mix up your cake pop dough, (this is how I do it in case you were wondering) and start rolling into balls. If you are making wedding cake pops there is a good chance you would love the Easy Roller(or our new Mini Easy Roller!)
You can roll 21 cake balls all the same size at once! I roll about 500 of these in just an hour;)!
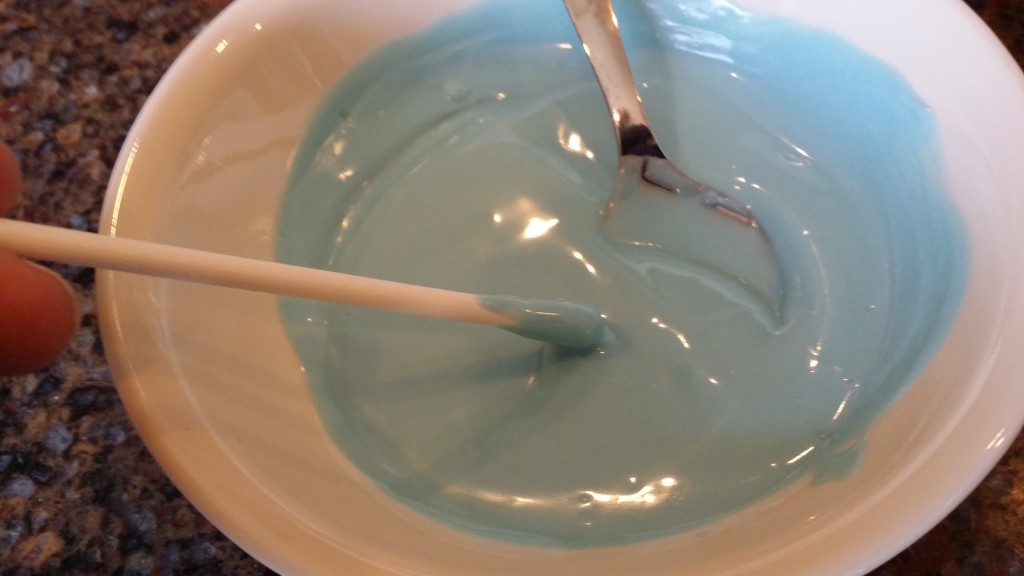
Next it is time to mix up your “under shirt” color! This time I am making a light blue, but you would typically use white. Then dip you cake pop stick into the candy melts
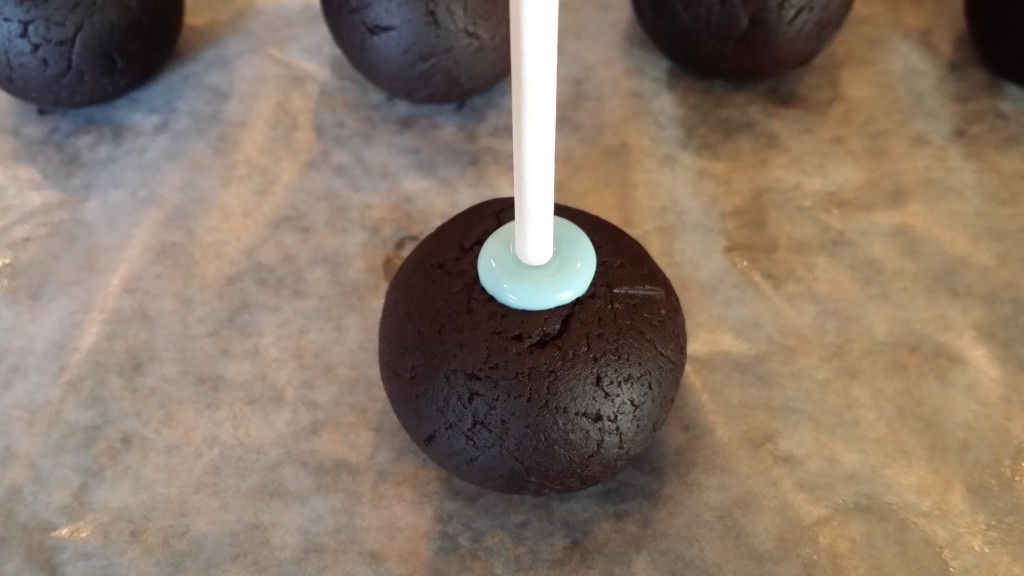
…and into the cake ball!
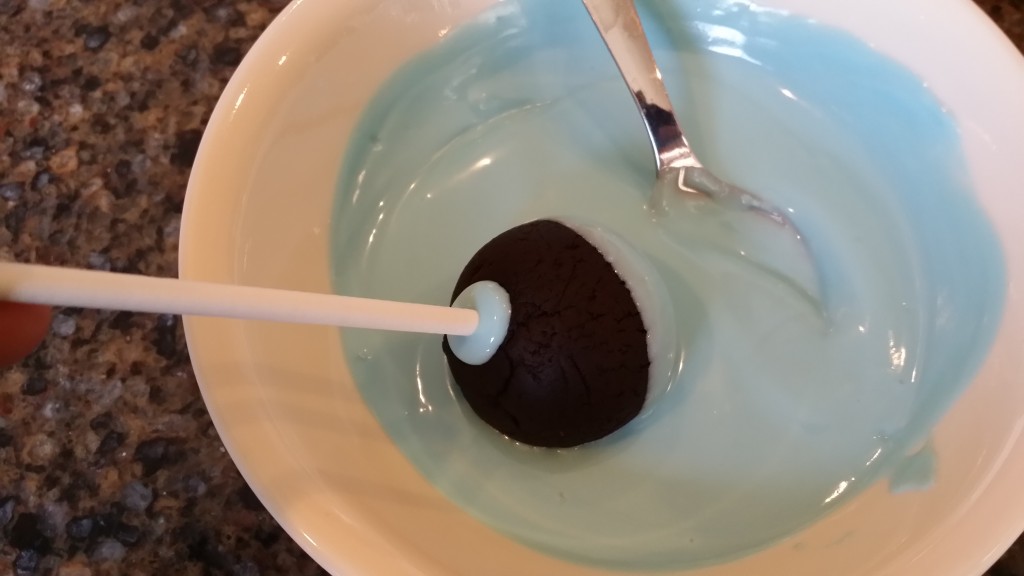
next dip the entire pop into the prepared candy melts
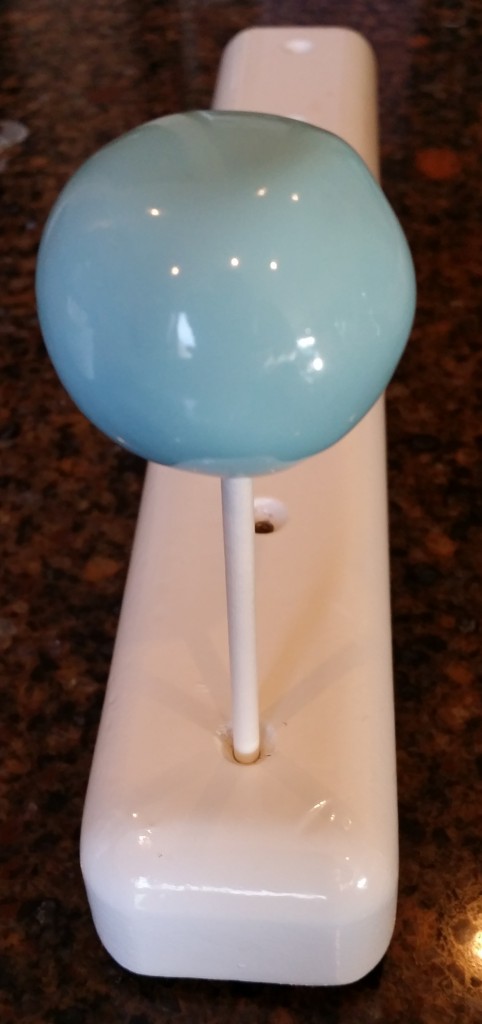
…and place in your favorite cake pop stand to dry!
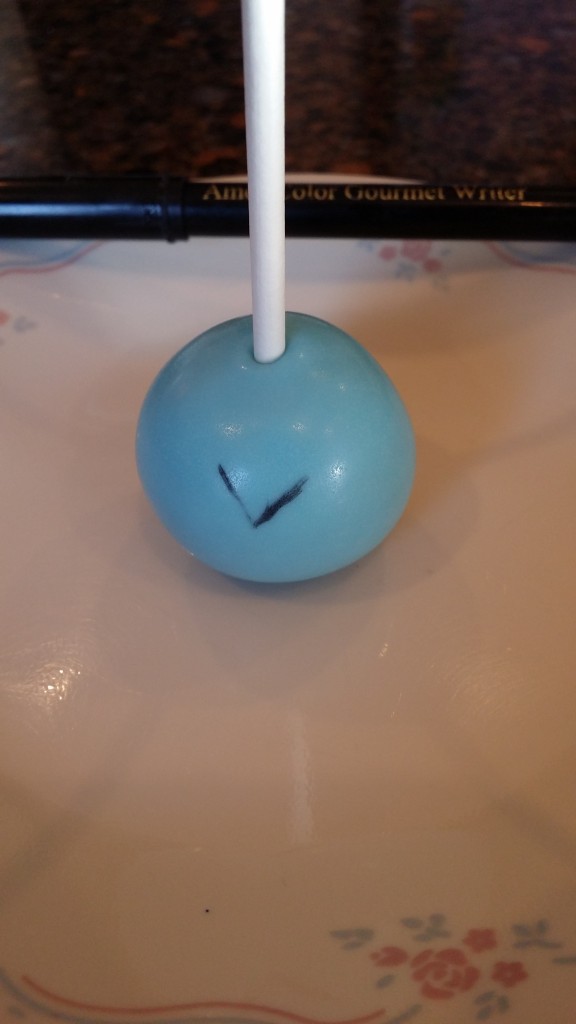
Once the cake pop has set turn it upside down and draw a “V” on it in the center with an edible marker. This one is an Americolor Black Marker.
Next it is time to get the “jacket” color ready. I prefer to use milk chocolate instead of mixing up black. It just tastes better;)!
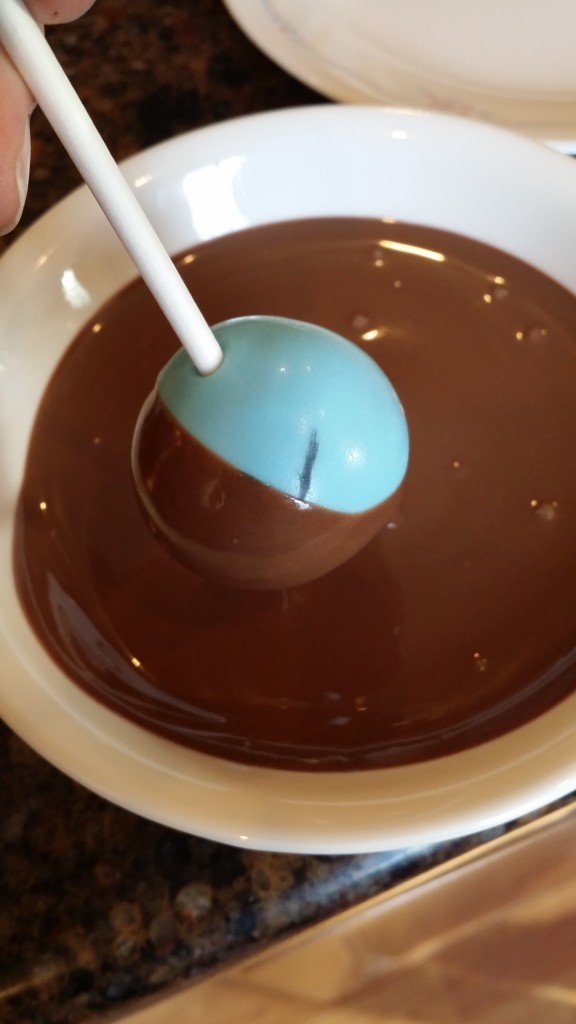
Now take the cake pop and angle it straight down into the chocolate, right up to the one side of the “V” and gently tap off the excess.
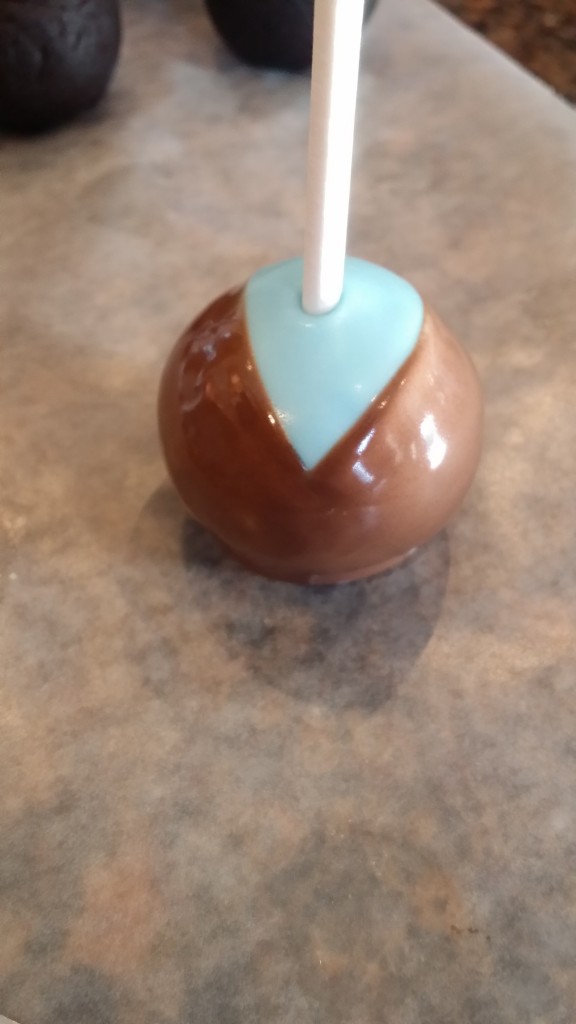
while it is still wet turn the cake pop so you can dip the cake pop straight down to cover the other side of the “V” and tap off the excess. Now place it on Wax paper to set.
Then it is just time for a few piped details!
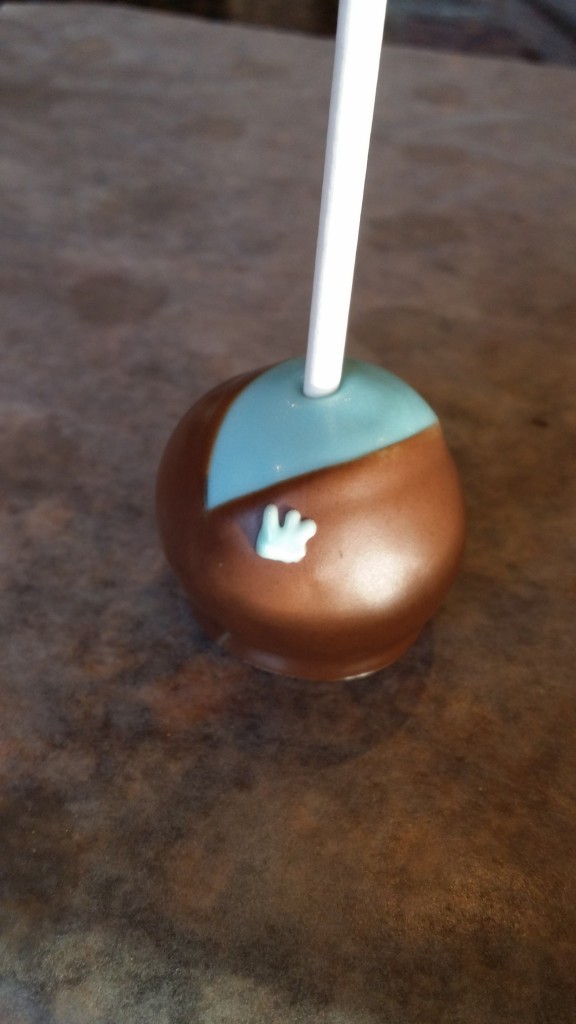
This is the little handkerchief that goes inside the pocket. This can be in wedding colors;)! Once it has set you can pipe a line straight across the bottom in your “jacket” color. This forms the “pocket!
Next pipe a few dots for buttons and a triangle on it’s side for the first half of the bow tie!
…and then the other side!
When that sets pipe a small dot to connect the two triangles!
TA DAAAA!! Tuxedo Cake Pops! If you like the tutorial don’t forget to check out and share our Easy Roller (or our new Mini Easy Roller!) with your friends! It is how we keep these tutorials coming:)!

