

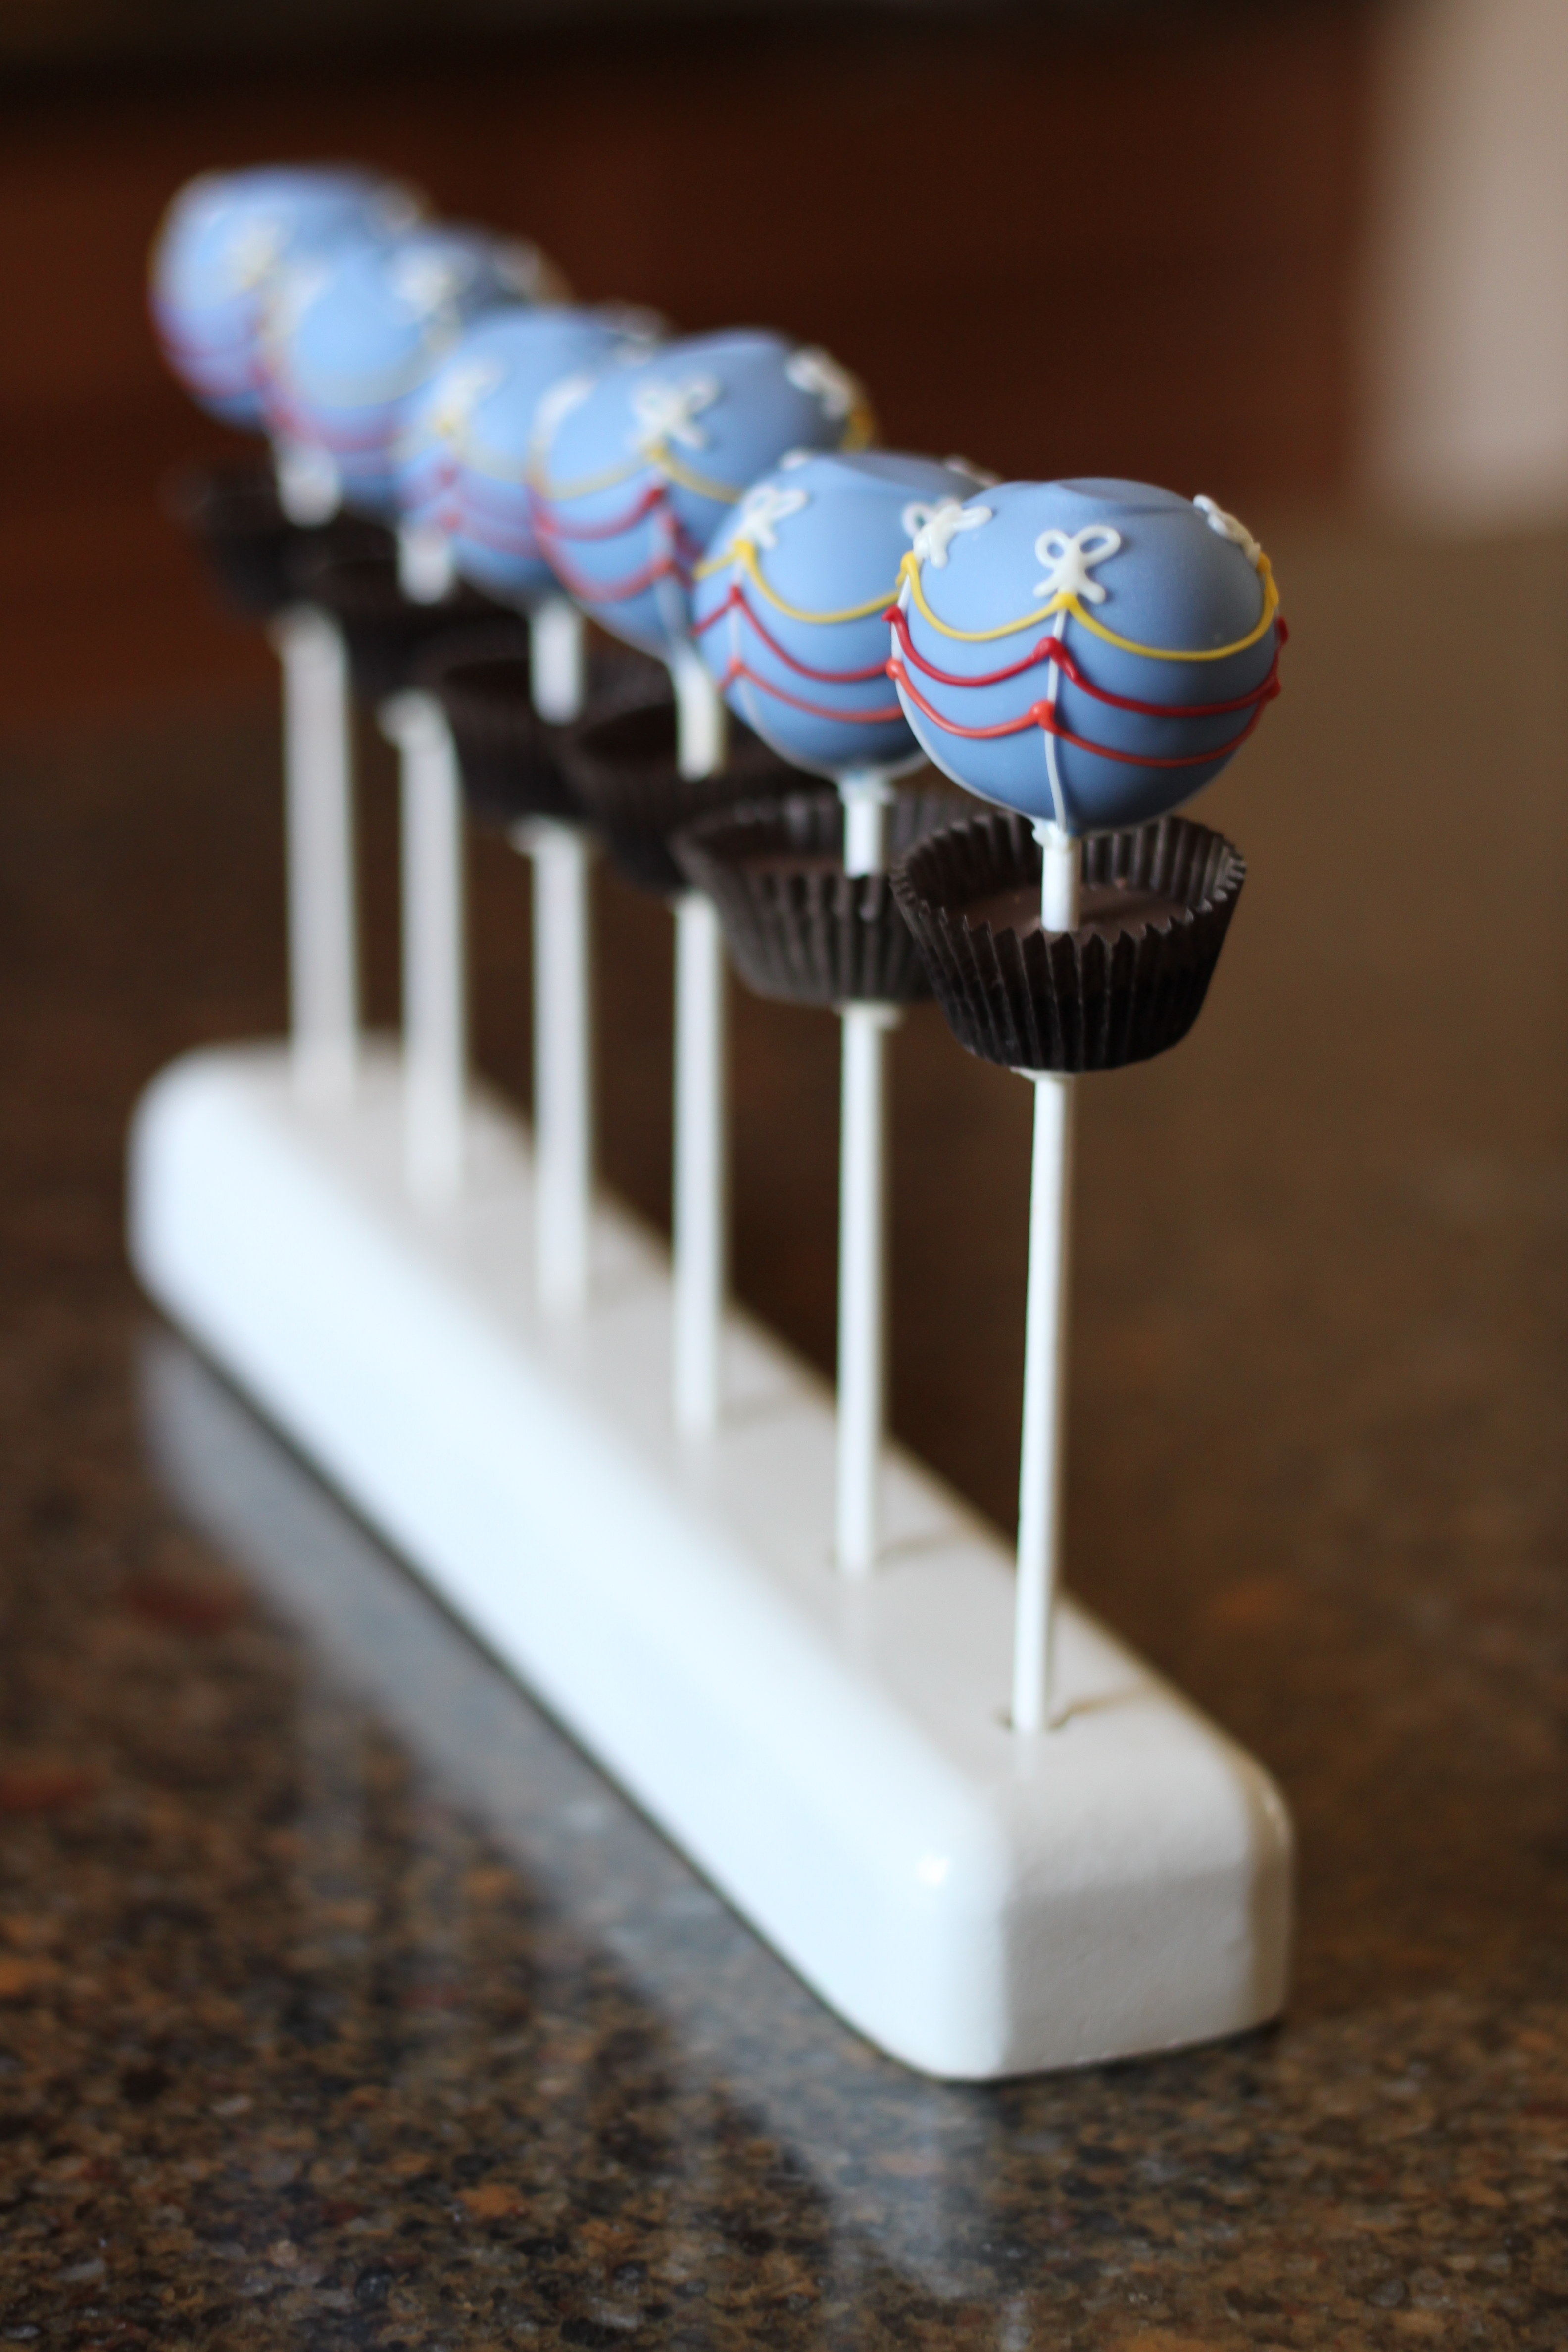
These Hot Air Balloon Cake Pops are inspired by K’Creative Cake Pops, just simplified a bit!

Start by filling your tiny candy cups with chocolate almond bark/candy melts. Once they set use a skew and starting at the top just push it through and remove it.

This will make room for your cake pop stick!

Cake pop sticks! I had a lot of orders to get to this week so I prepped the cake pop sticks to make sure the sticks didn’t turn yellow by the time they went to the customer!! I keep the prepped cake pops in the fridge so they last about 7-10 days and it also slows down the yellowing of the sticks. However it is possible the sticks will start to turn yellow (from the oil and moisture wicking into the paper stick) even just over night in some cases! To be safe, I dipped the sticks into candy melts and waited a bit for them to set before I started dipping cake pops! Click here for more info on preventing Yellow cake pop sticks.
To make cake pops you need cake pop dough! To make cake dough, simply knead down your fully baked cake until it turns to a doughy consistency. I use a food processor with the chopping blade (metal swirly one). Just pack the baked cake into the food processor (or stand mixer with the paddle attachment) and turn it on till its dough!!
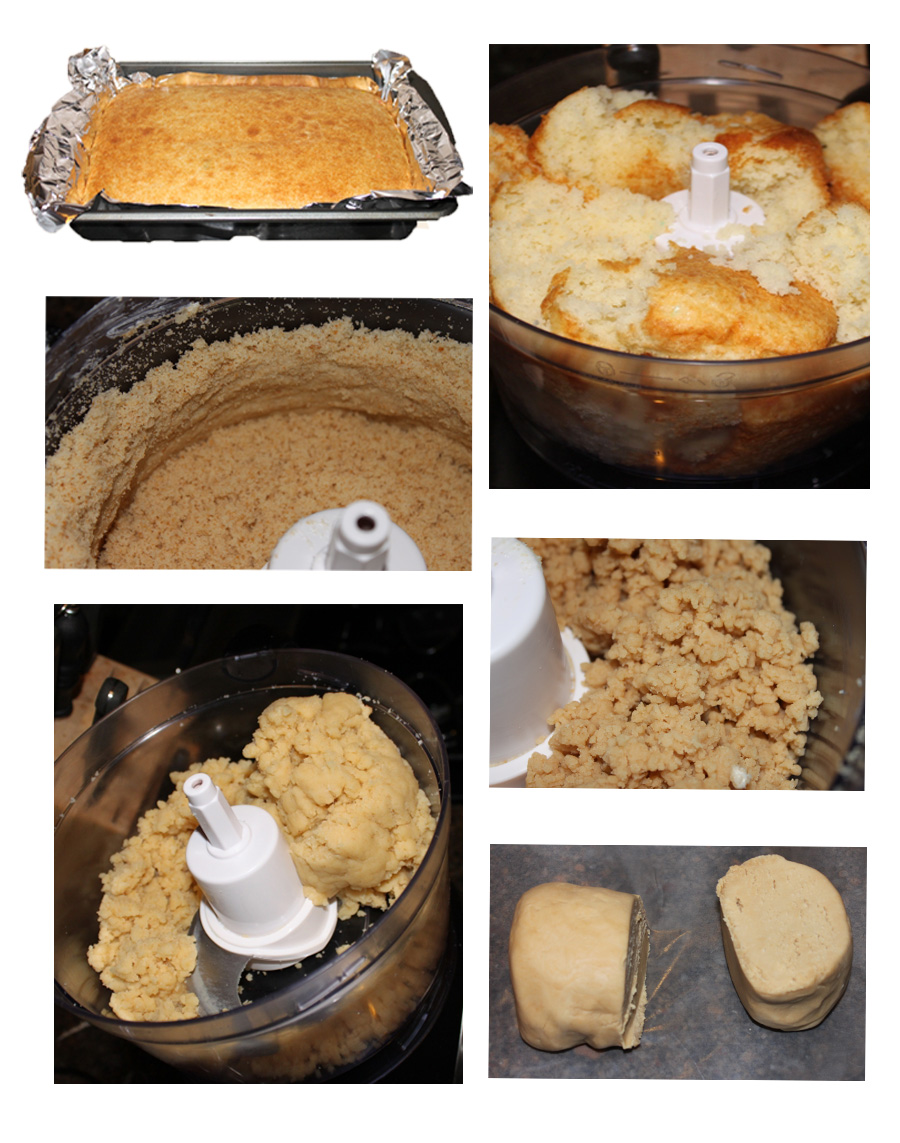
You can also do this by hand! To get started just add a few TBS of frosting to help move the process along! (In the mixer or food processor the frosting/binding agent is completely optional as it will turn into dough all by itself!
Next you will roll them into balls! I like them all the same size/ shape so I use the Easy Roller (of course). It will make the cake balls (or cookies …heck even meatballs) all 1.25 inches in diameter, about the size of a ping pong ball! It works just like this:
Don’t need to make that many? The newest “Mini Easy Roller” rolls 9 cake pops at once!
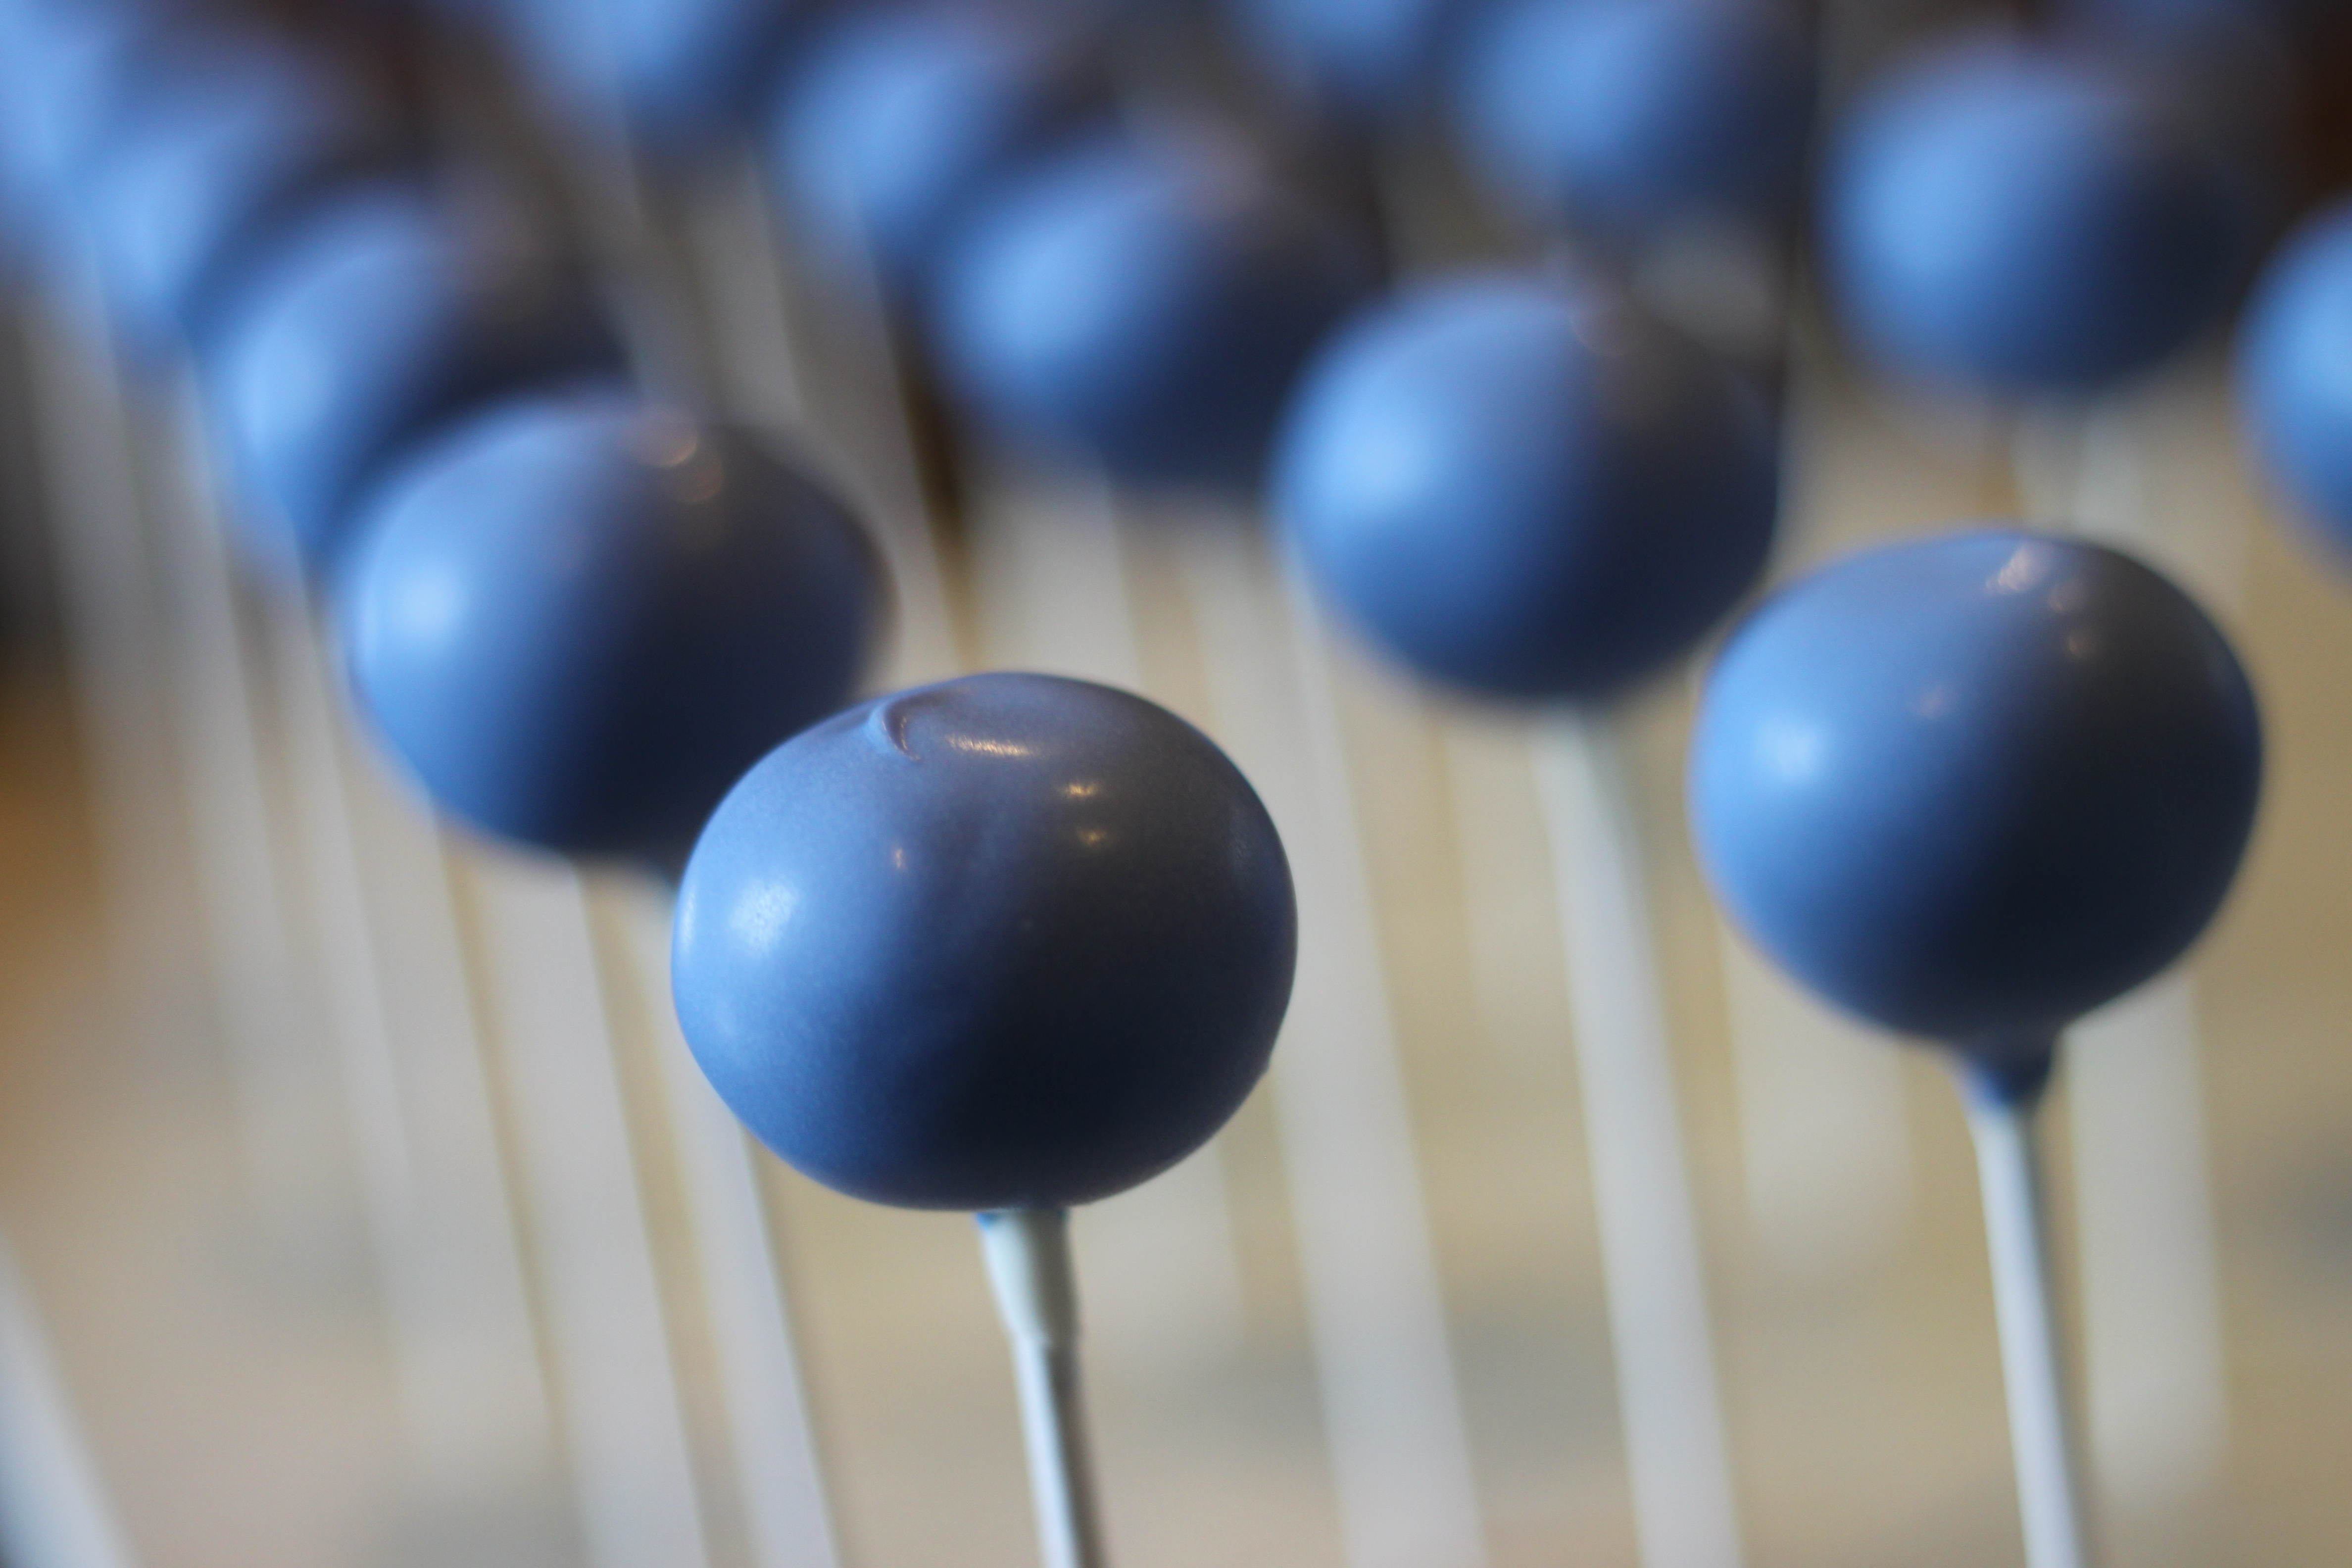
Once your cake balls are all rolled, dip them in Sky Blue Candy Melts and place them to dry in your cake pop stand (or styro)!
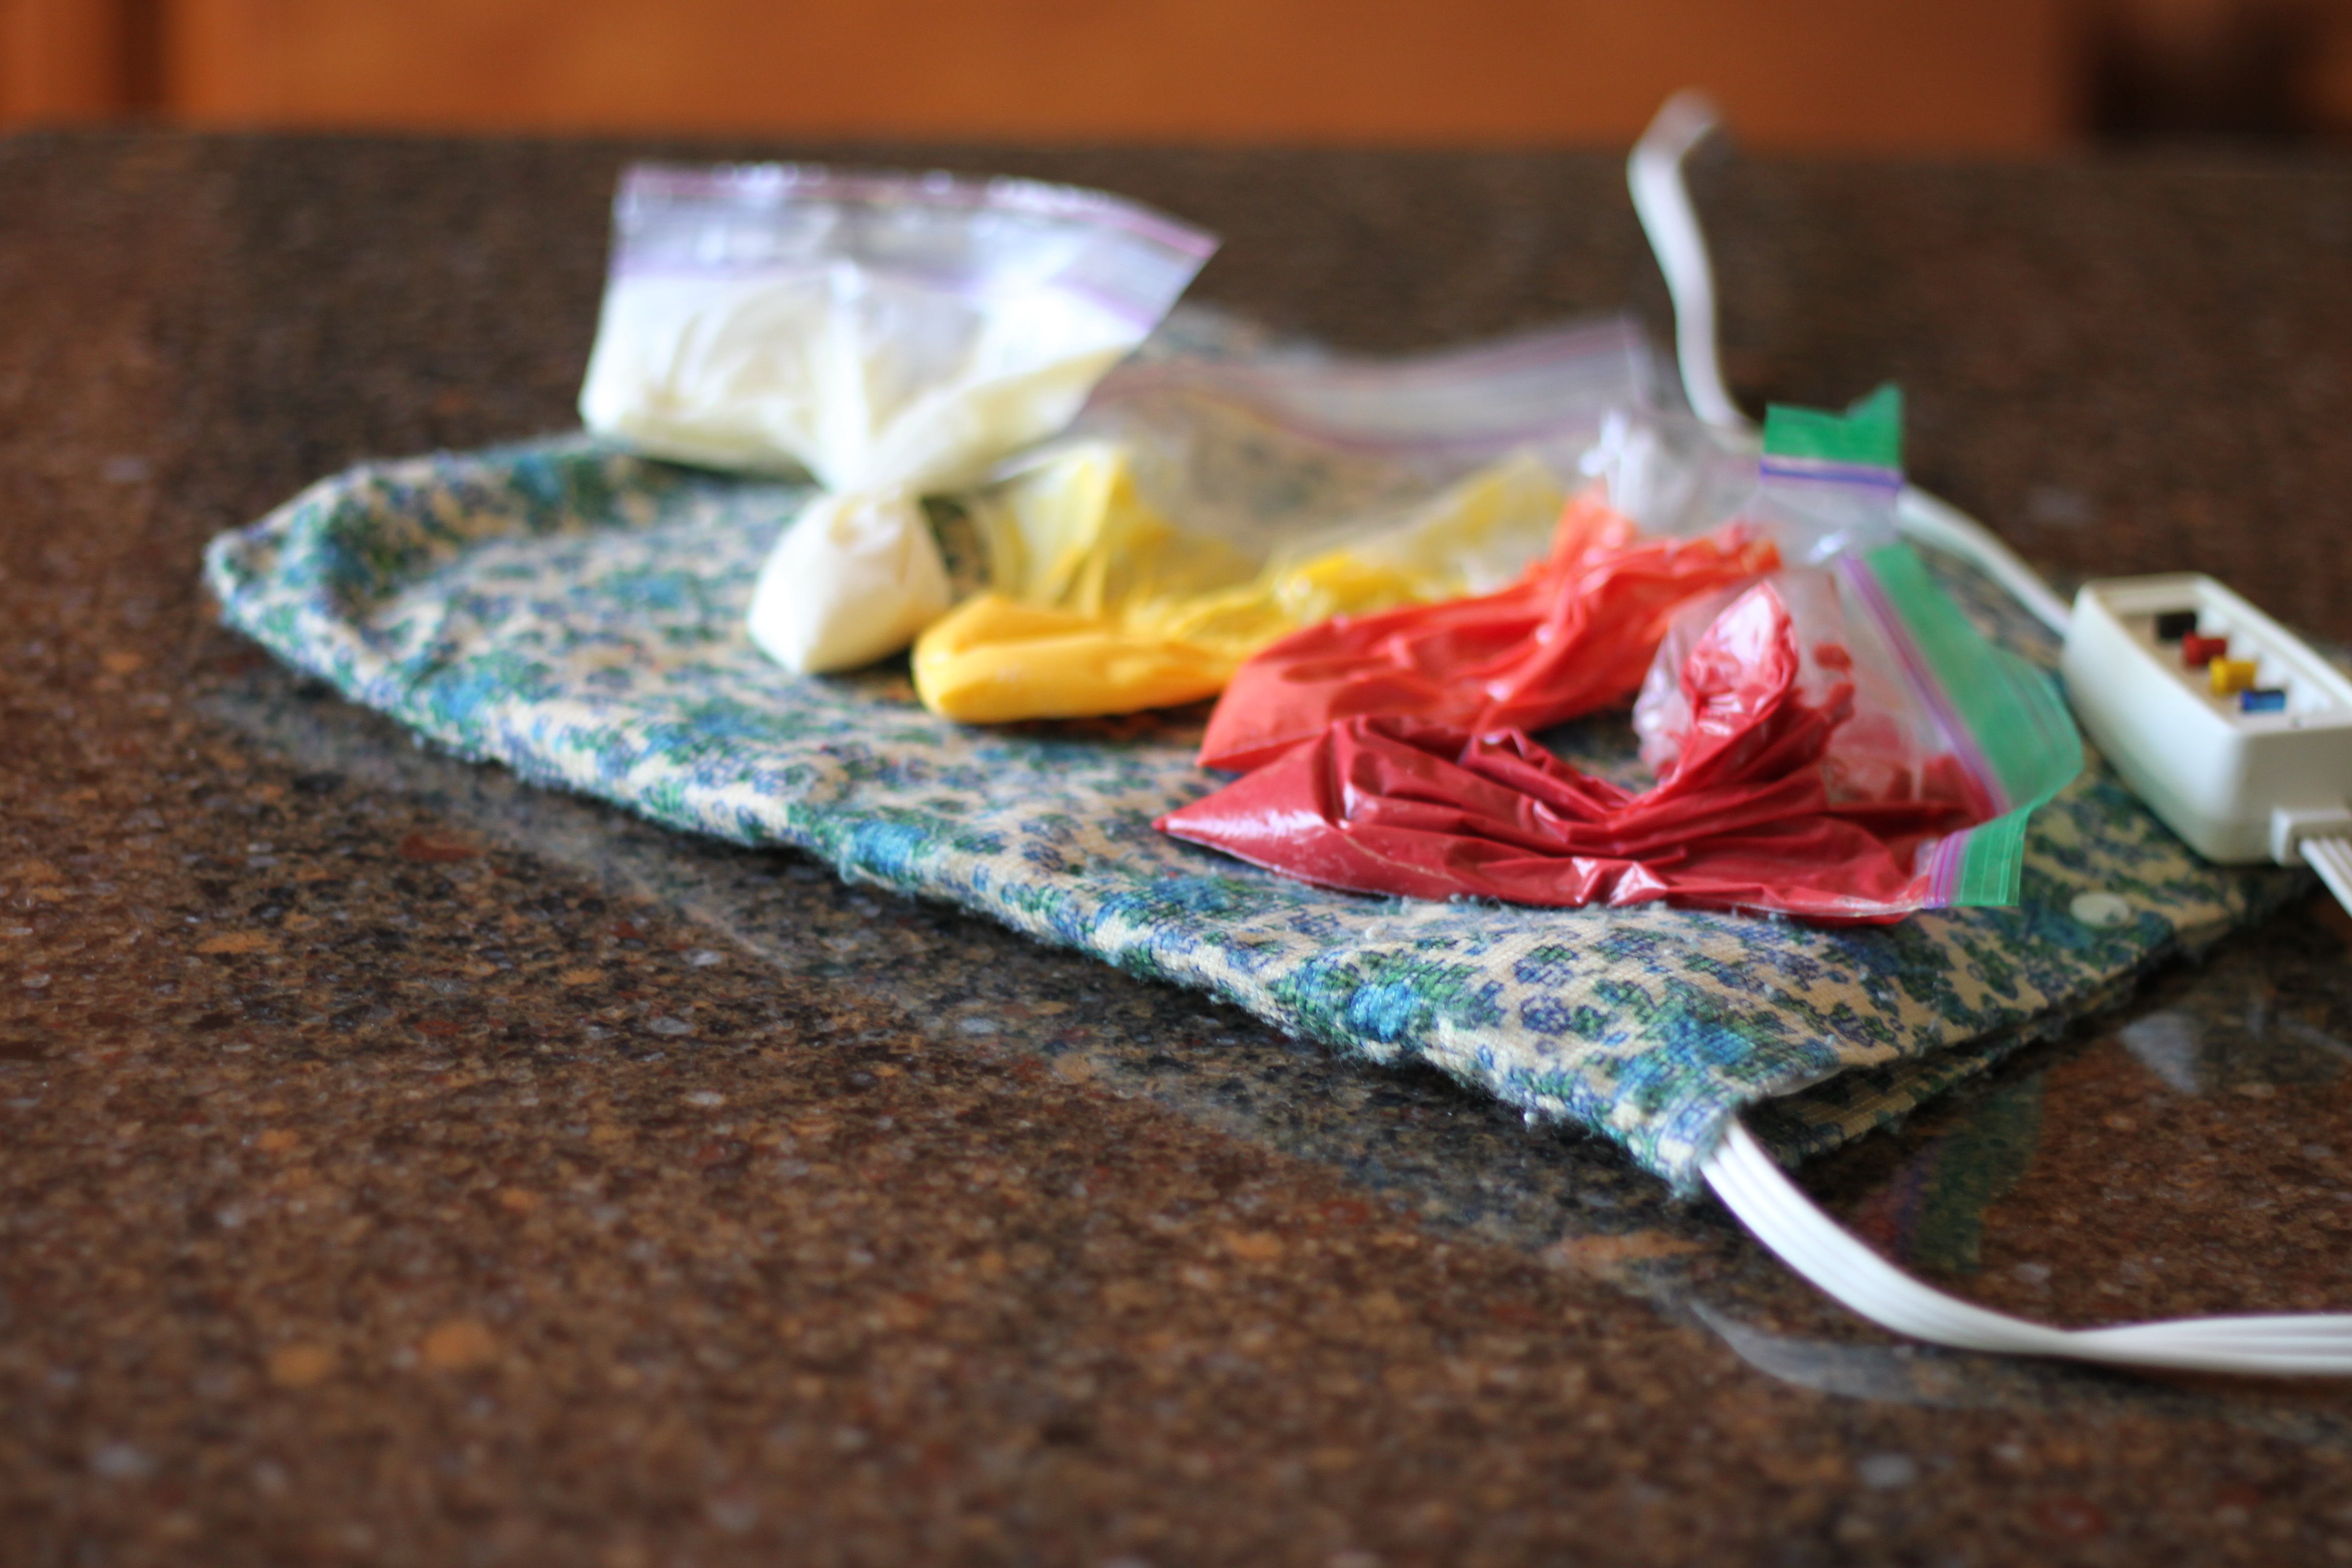
Next we will be decorating the cake pops with a few different colors and since candy melts set quickly at room temperature if you have a heating pad it will come in handy! I melt the candy melts in the piping bag (or sandwich bag) in the microwave at 50% power for 30 seconds. That should do it, but if not try warming them in 10 second increments after that. Once all the colors are warmed up place them on top of your heating pad! It doesn’t have to be super hot, low is probably enough to keep them from setting:)!
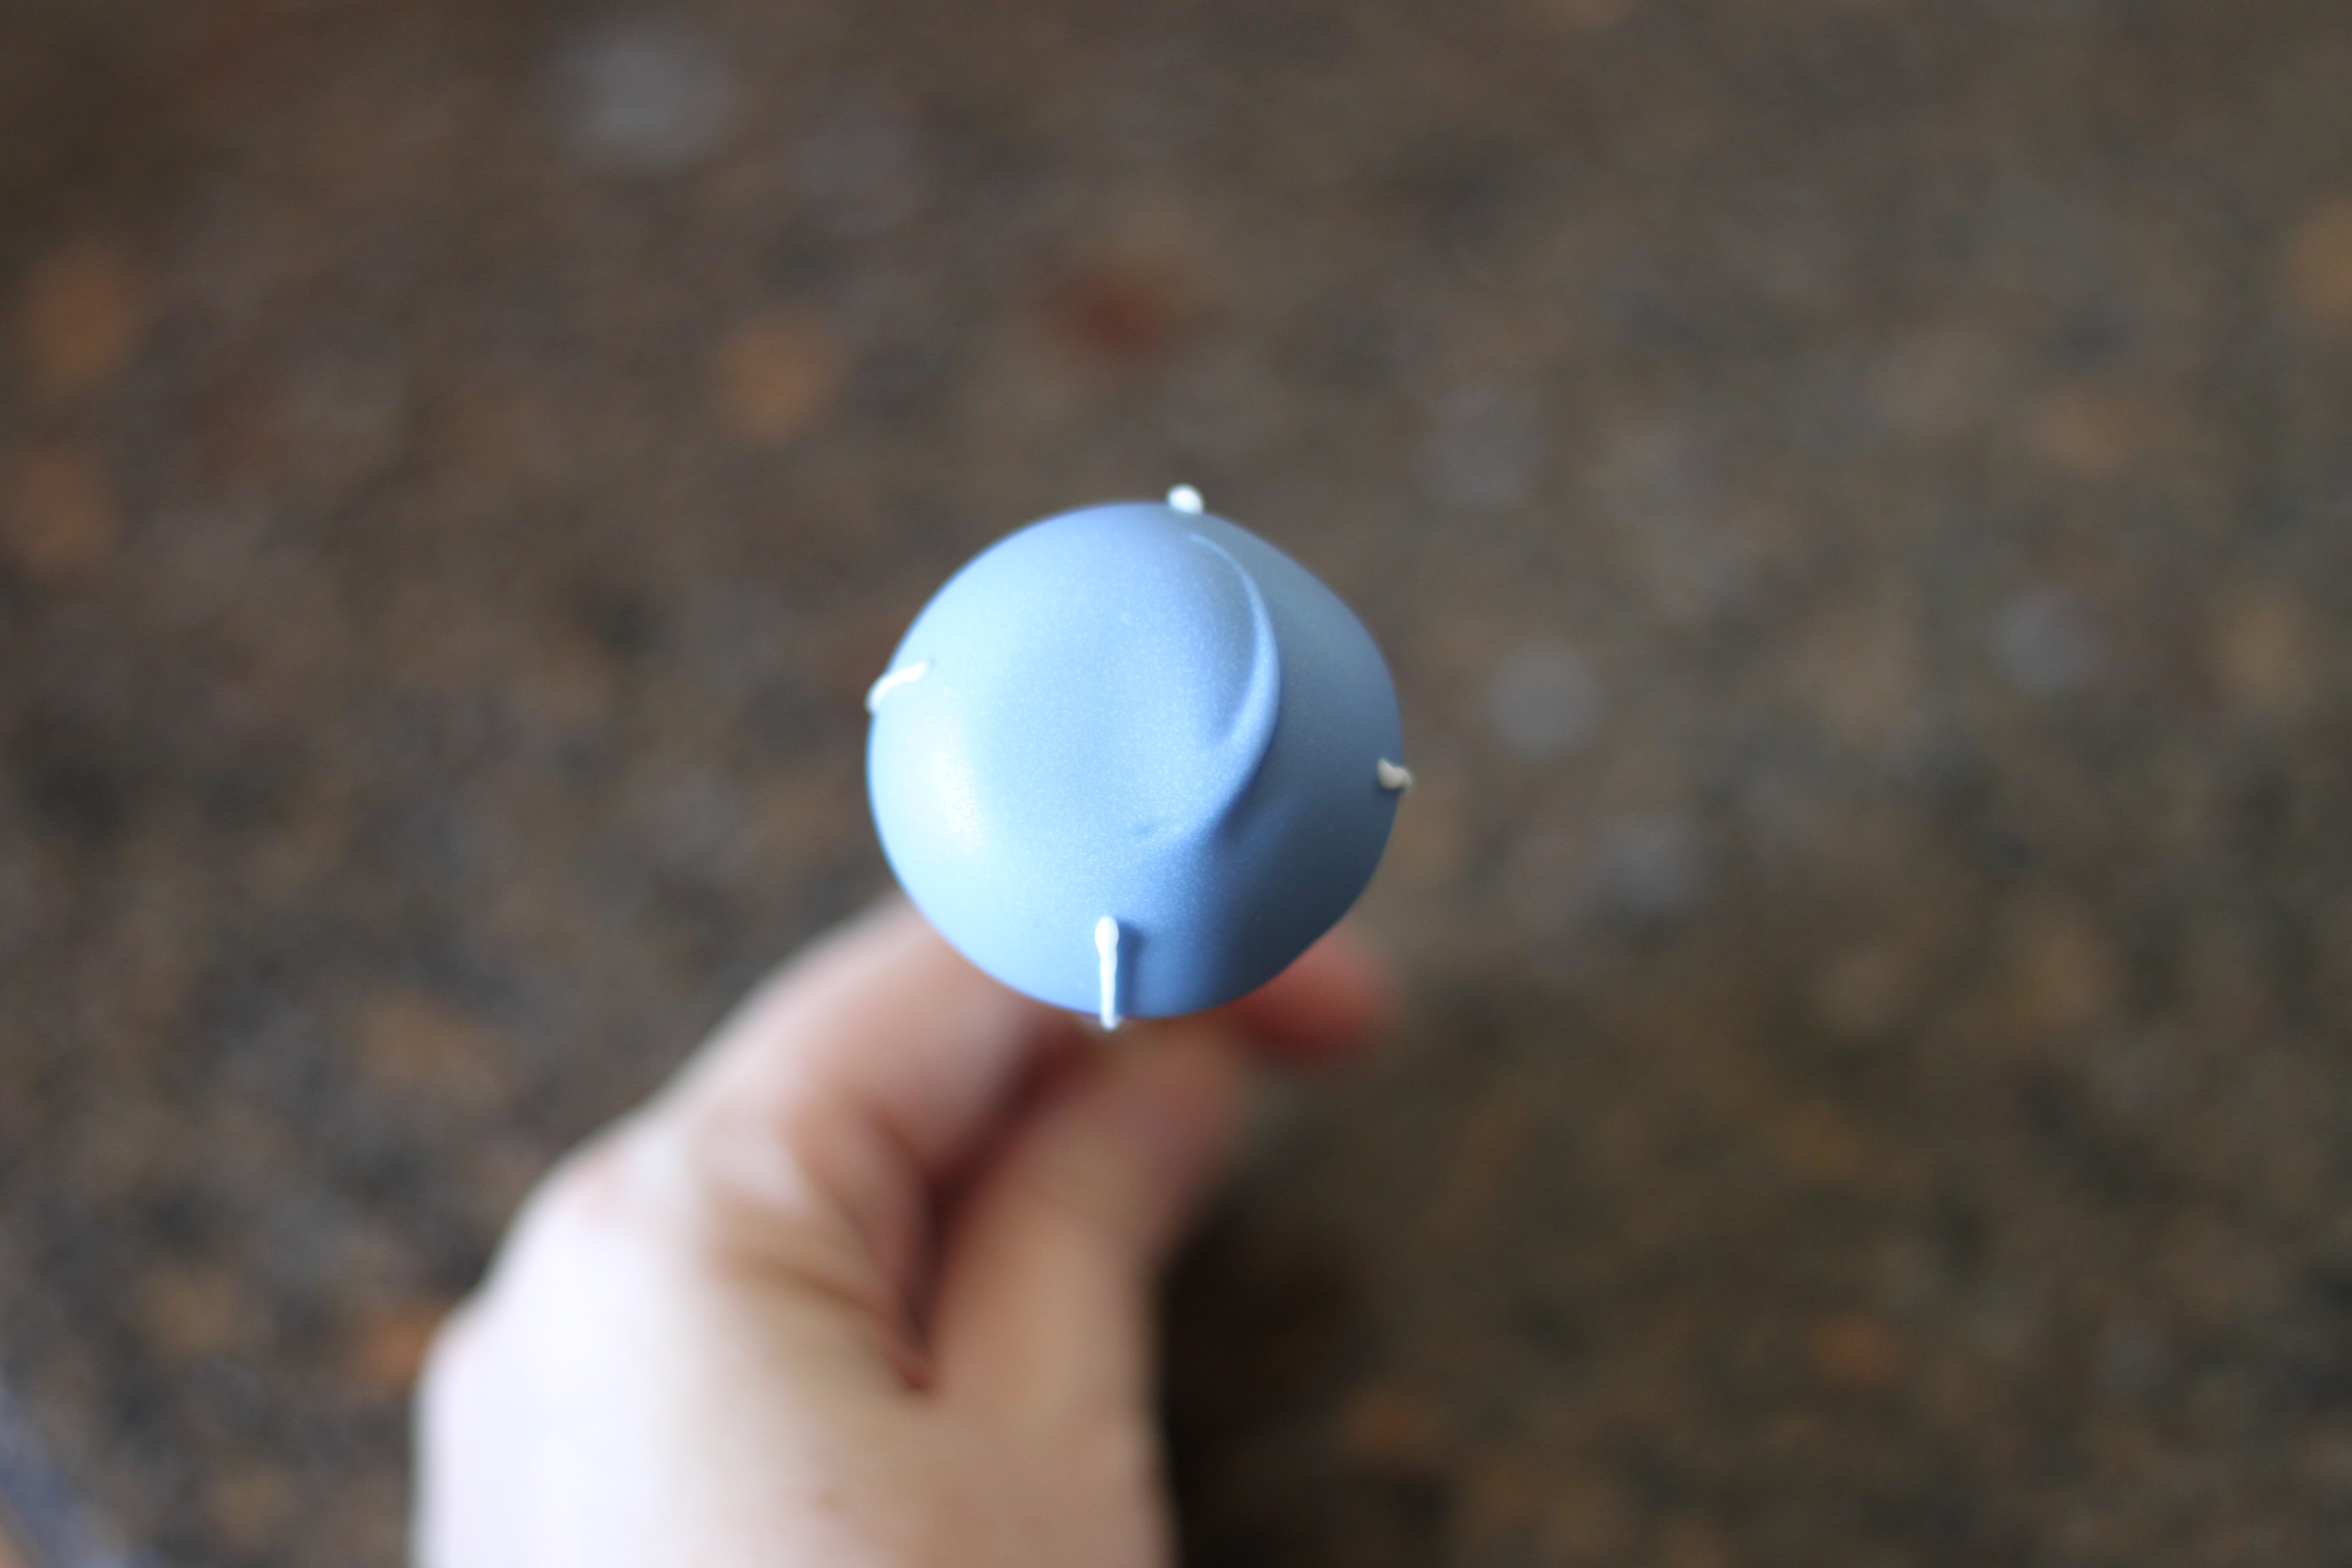
First, visually separate the cake pop into quarters (think 12, 3, 6 and 9 on a clock) then with the white candy melts start at the top and then pull a straight line to the stick in each position! Like this:
The easiest way to draw a bow is to make 2 loops and pull a line straight out.
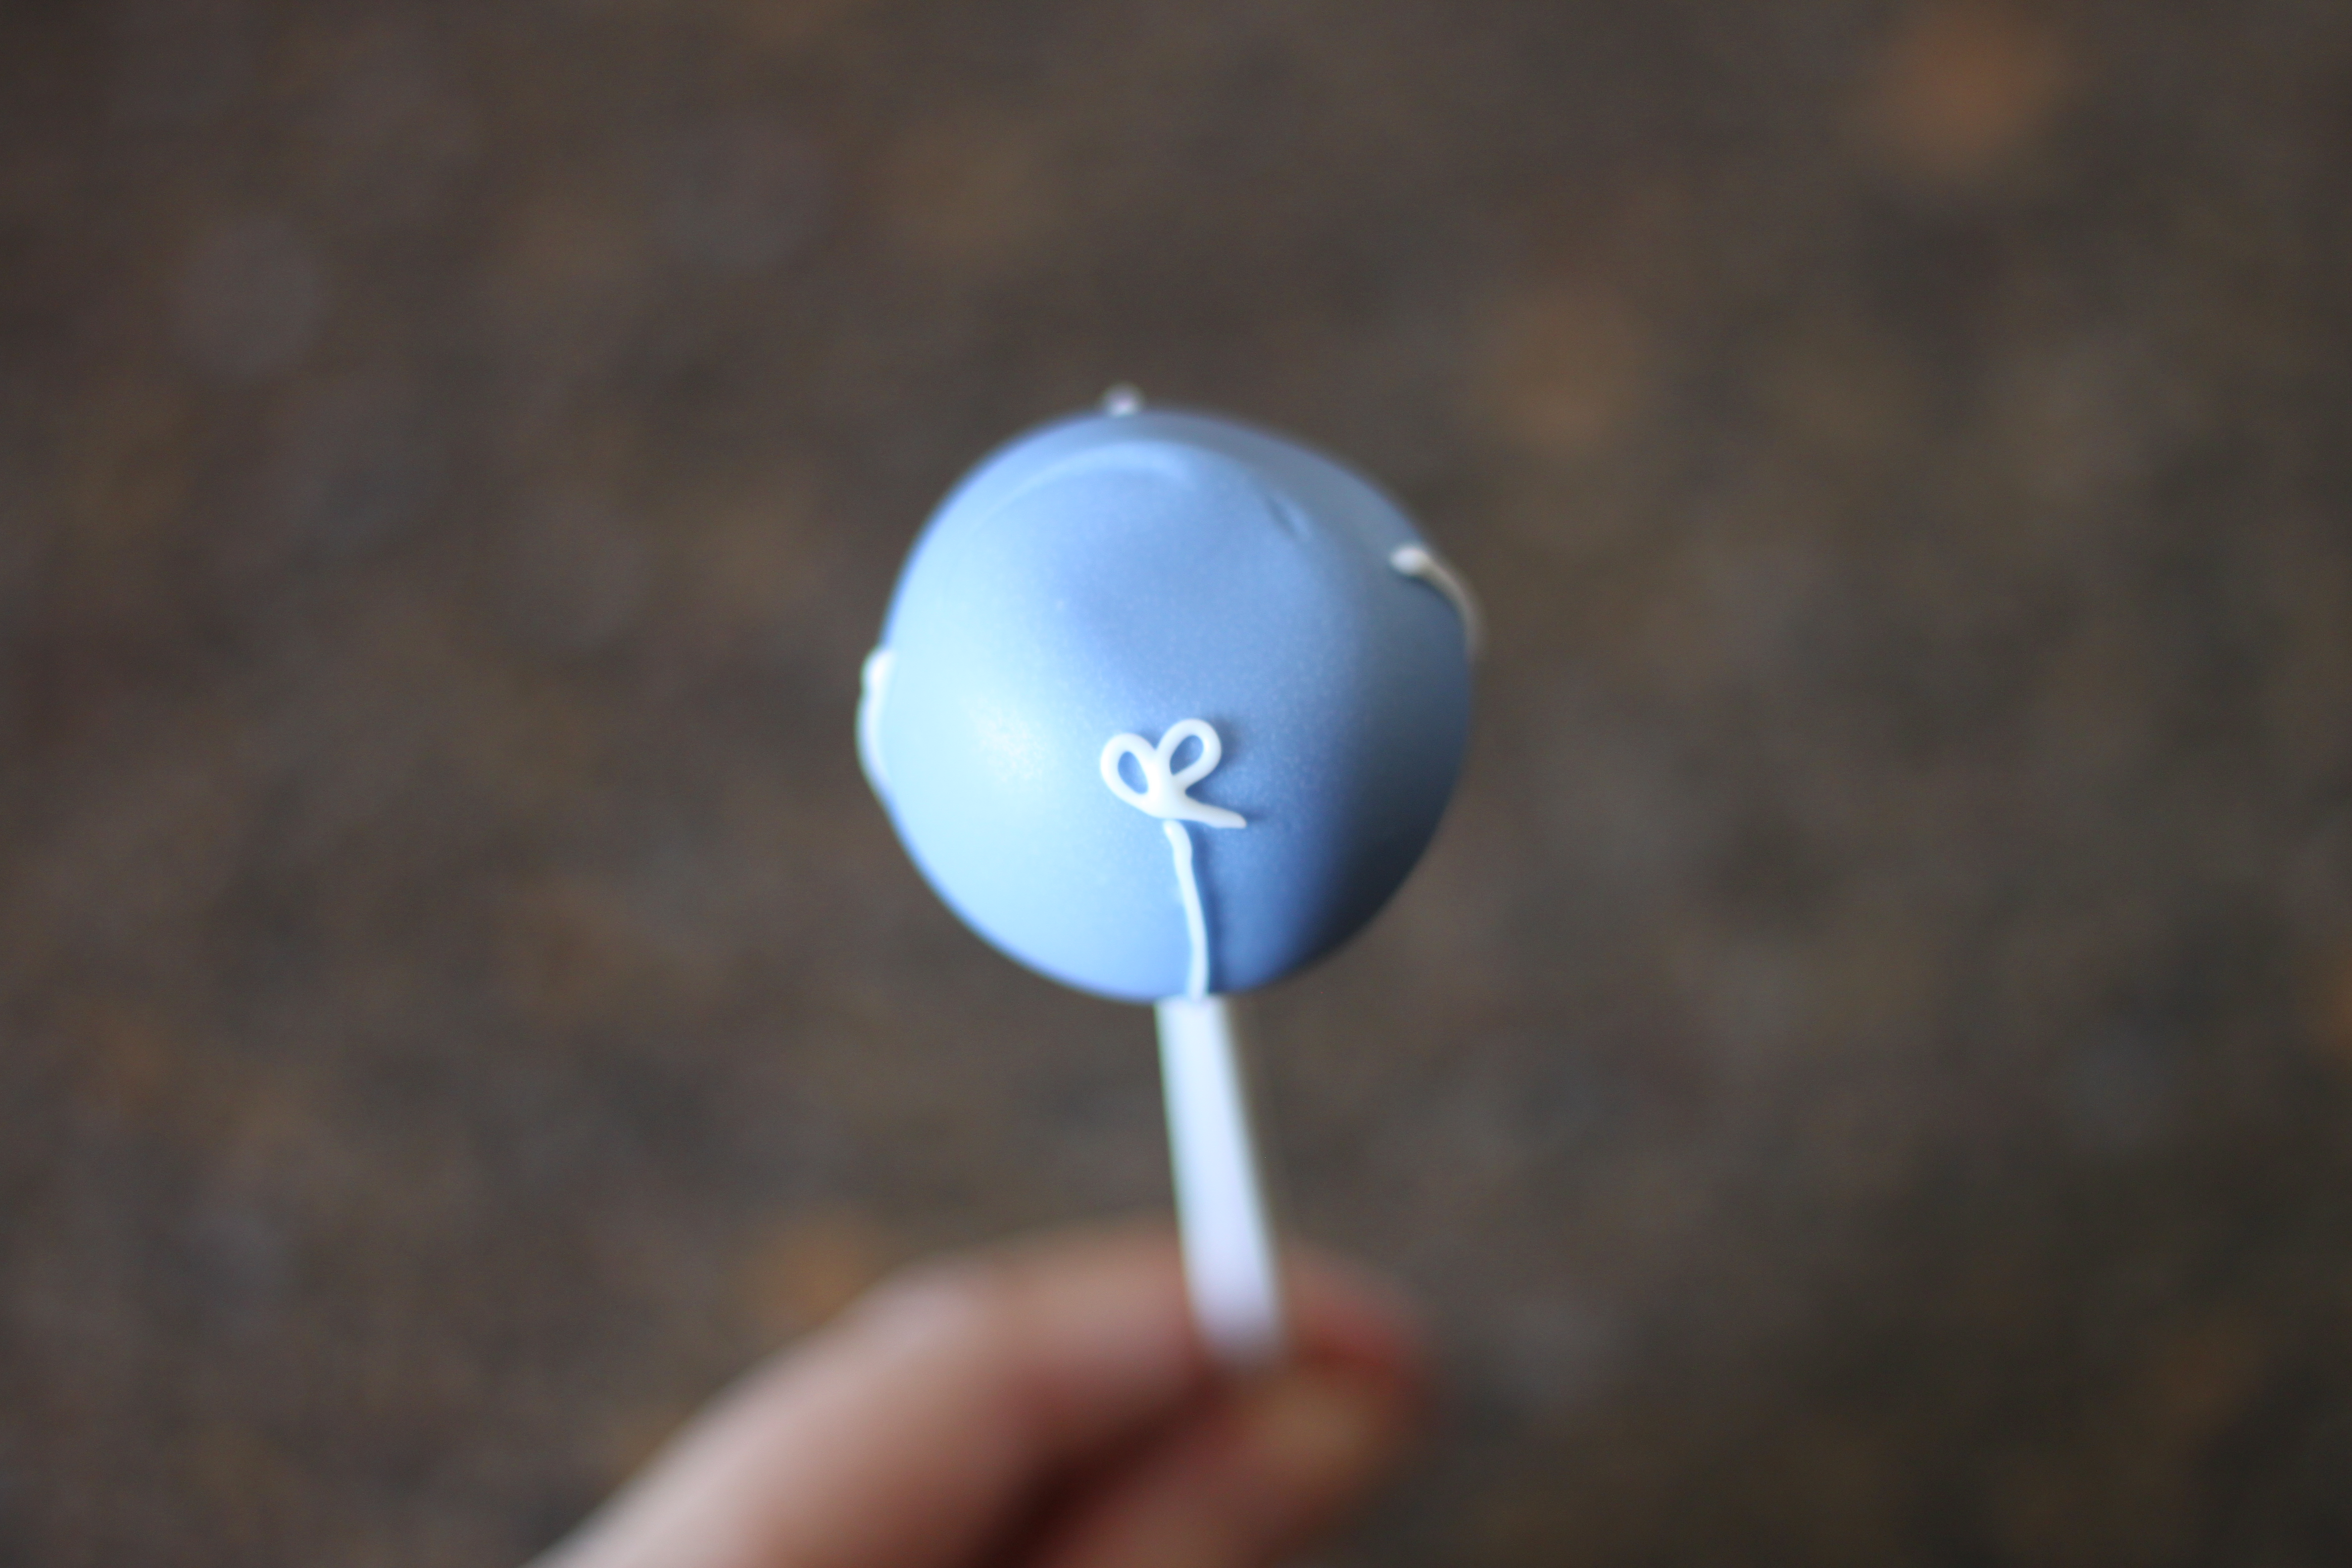
Then draw the line on the other side. If you try and do it all in one step it gets messy.

Then go around to each line and repeat the process.

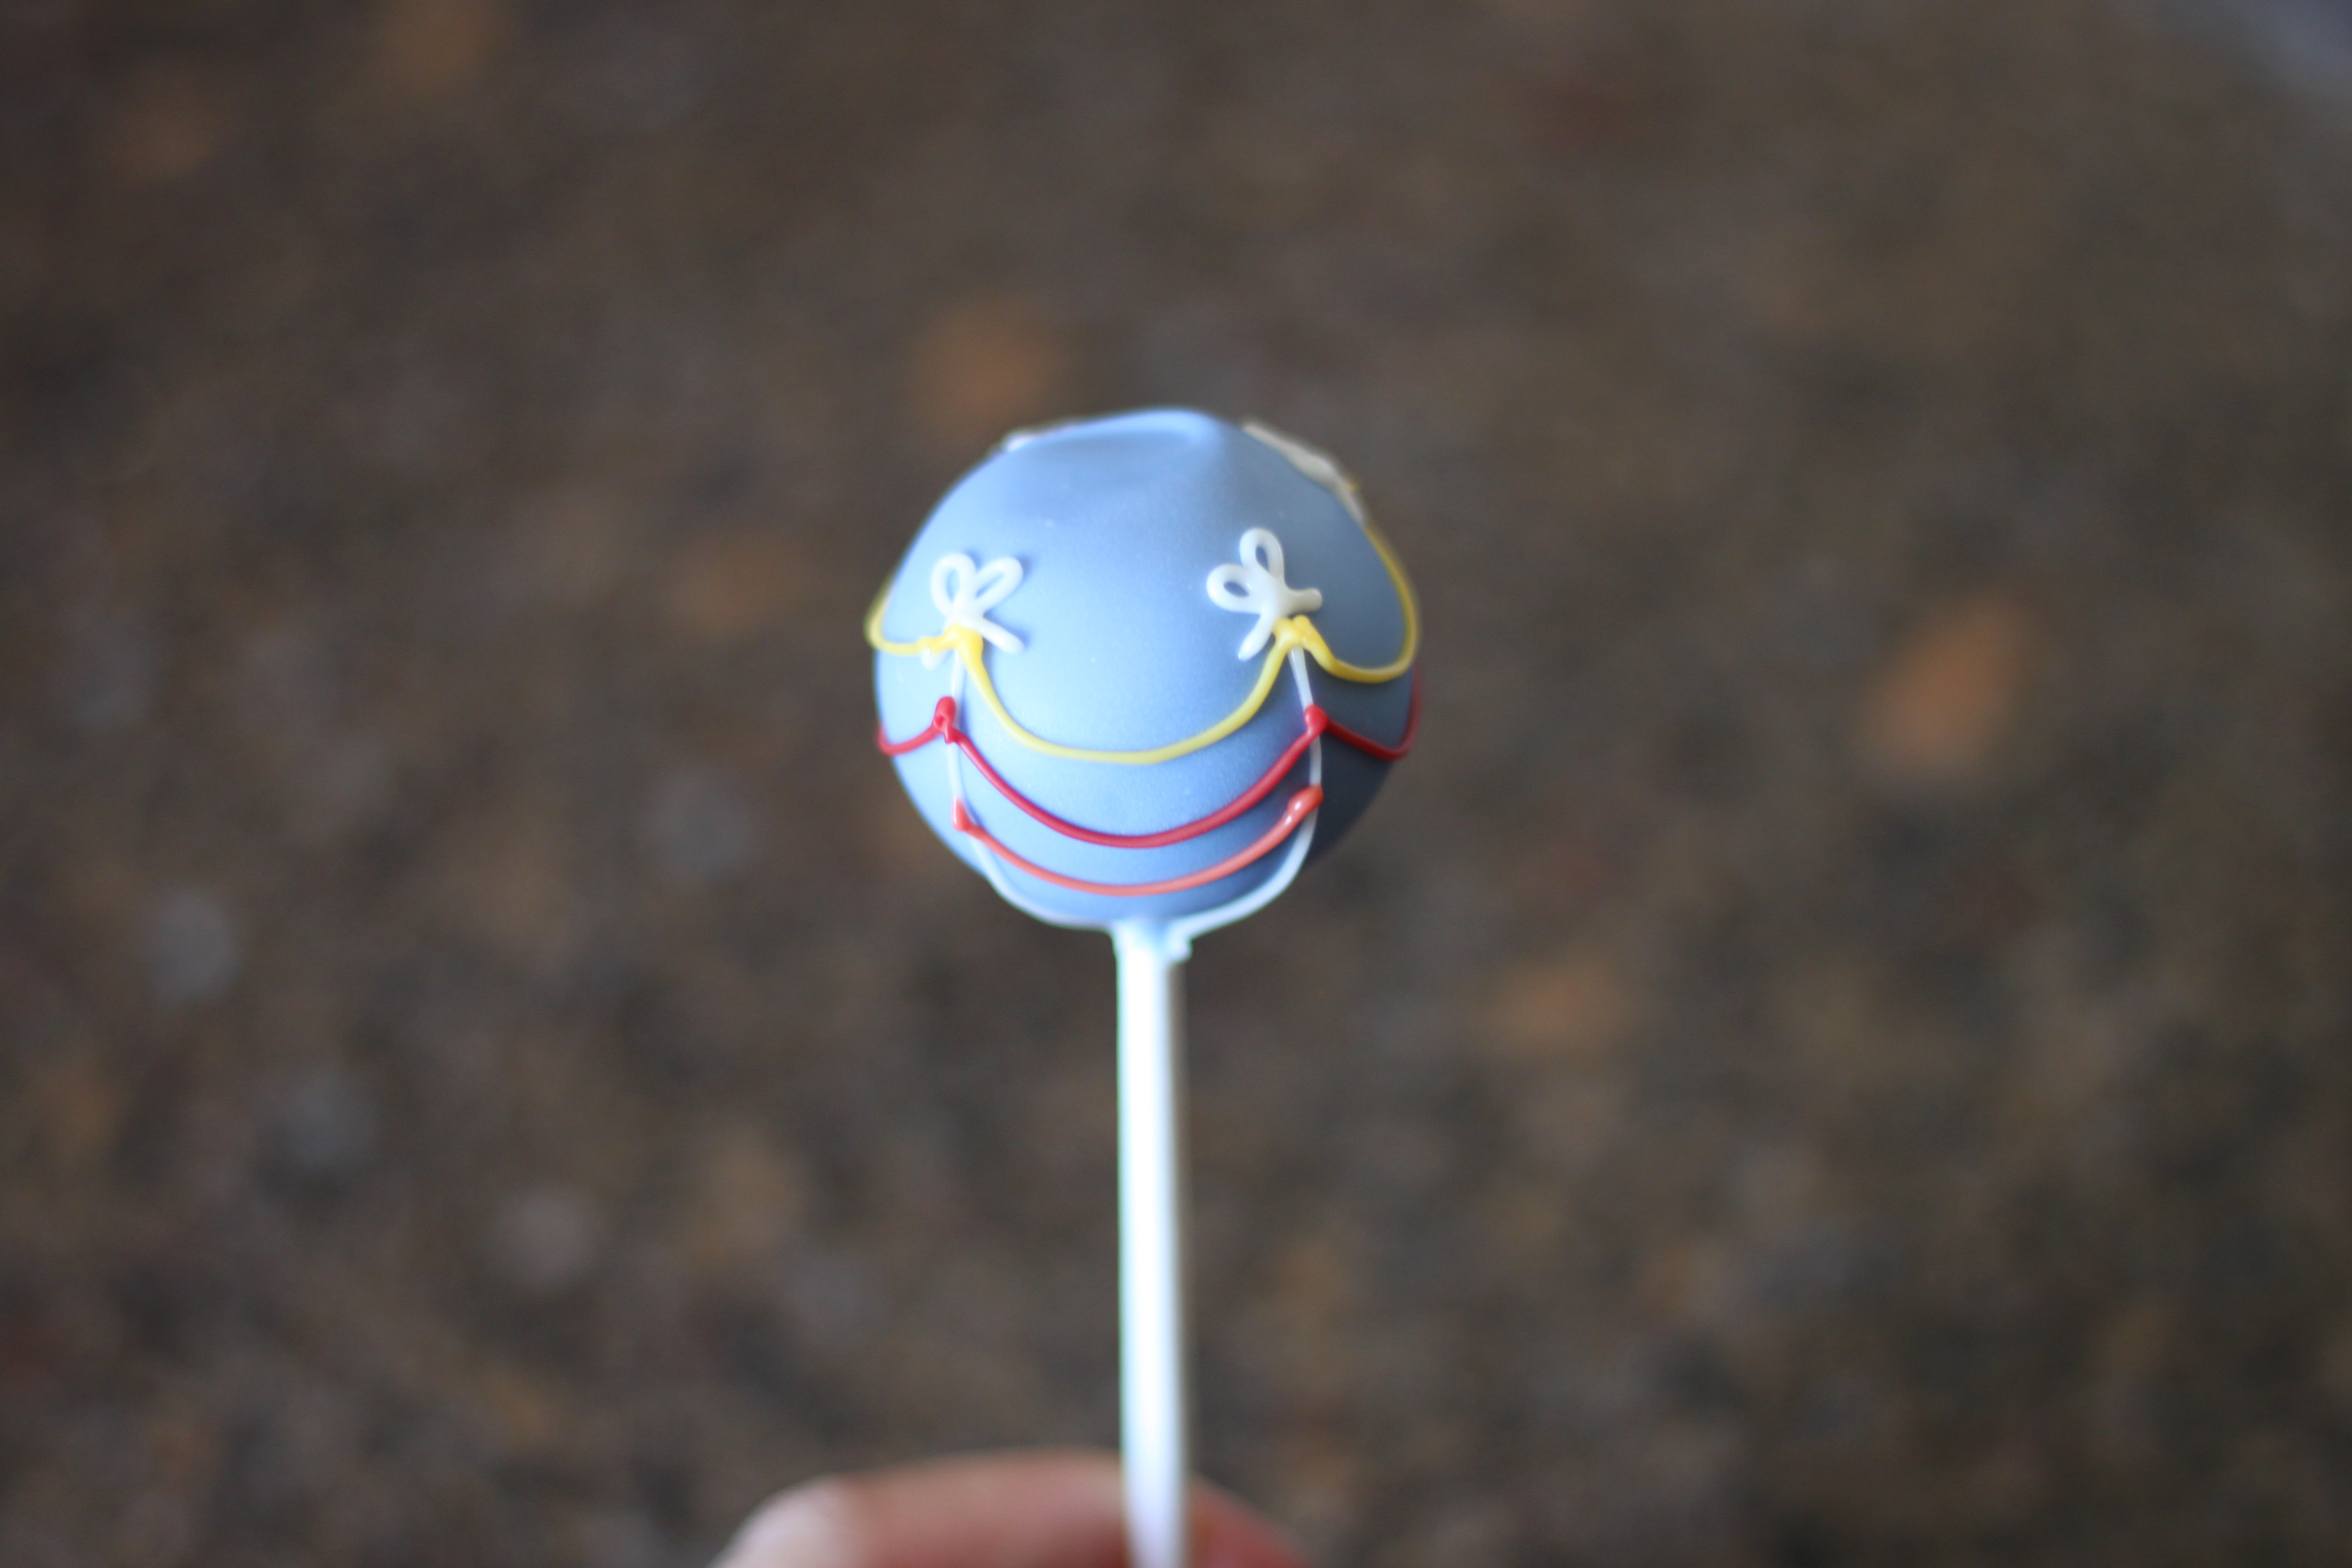
Now take your first color (yellow in my case!) and start at one line and loop it to the next line. To loop it, start at one line and pull the piping bag out away from the cake pop and then back in when you are nearing the next line. Do it in the four sections or all the way around.
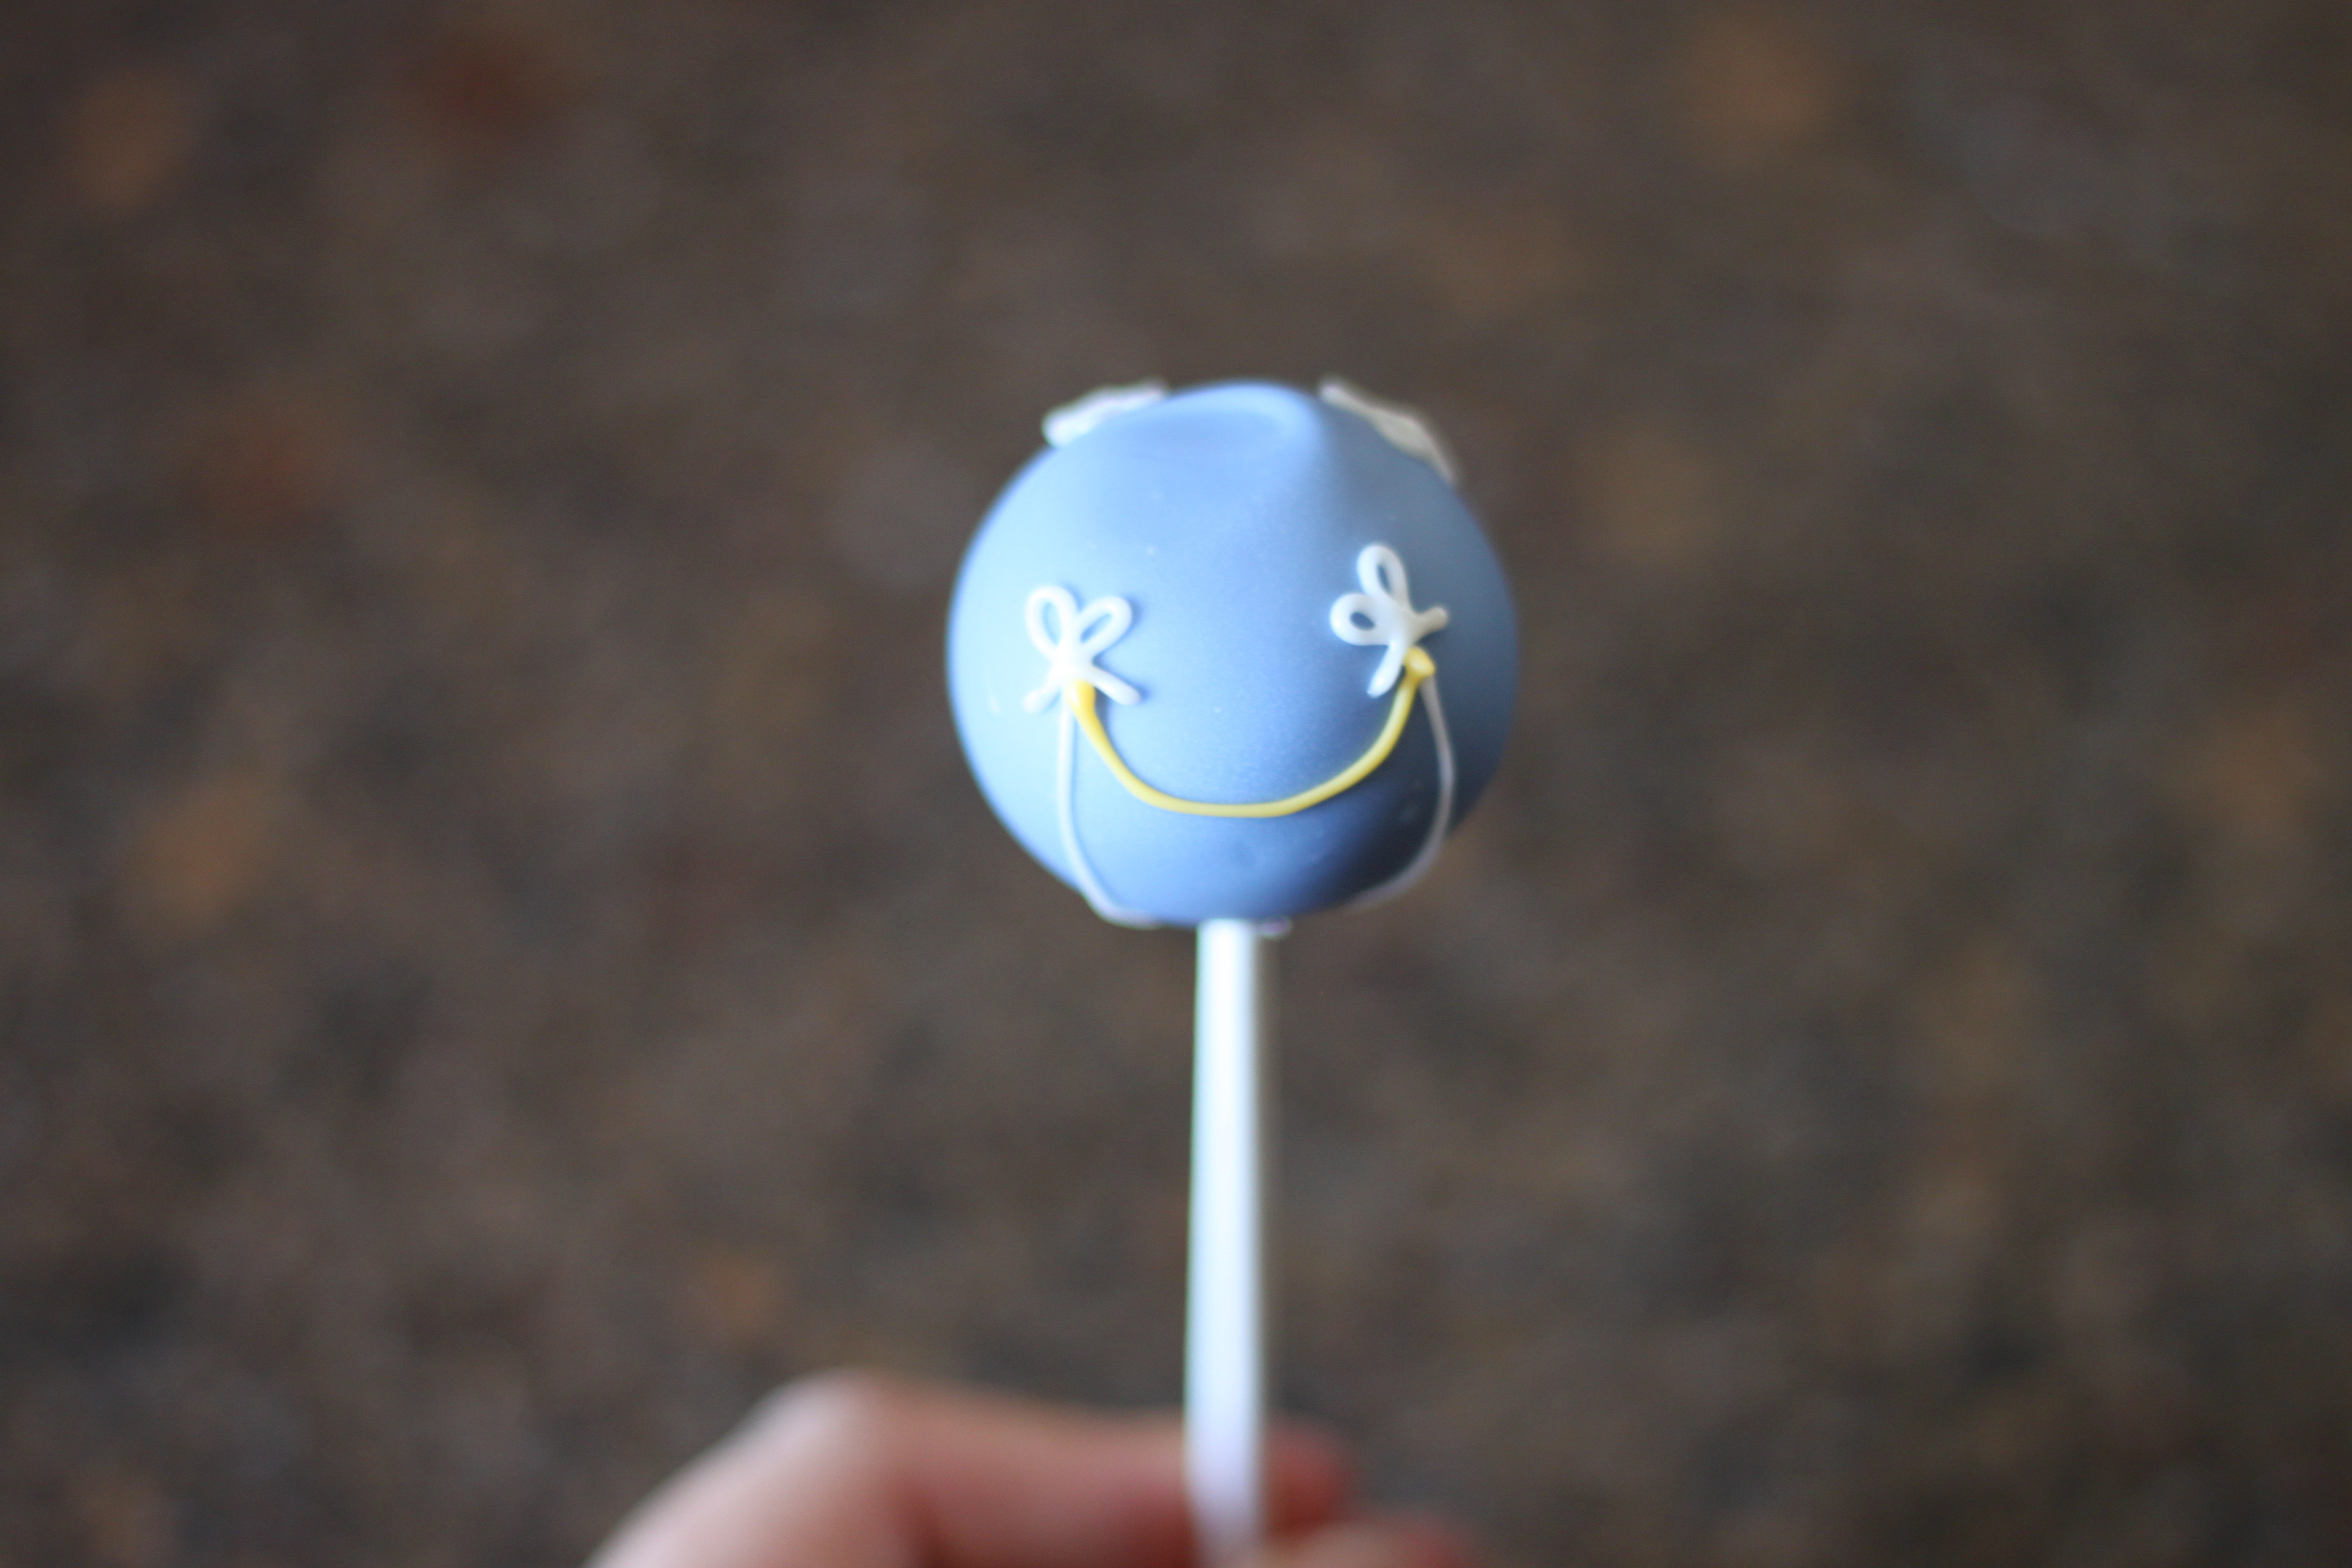
Repeat in the next color (Red) and then the next (Orange)
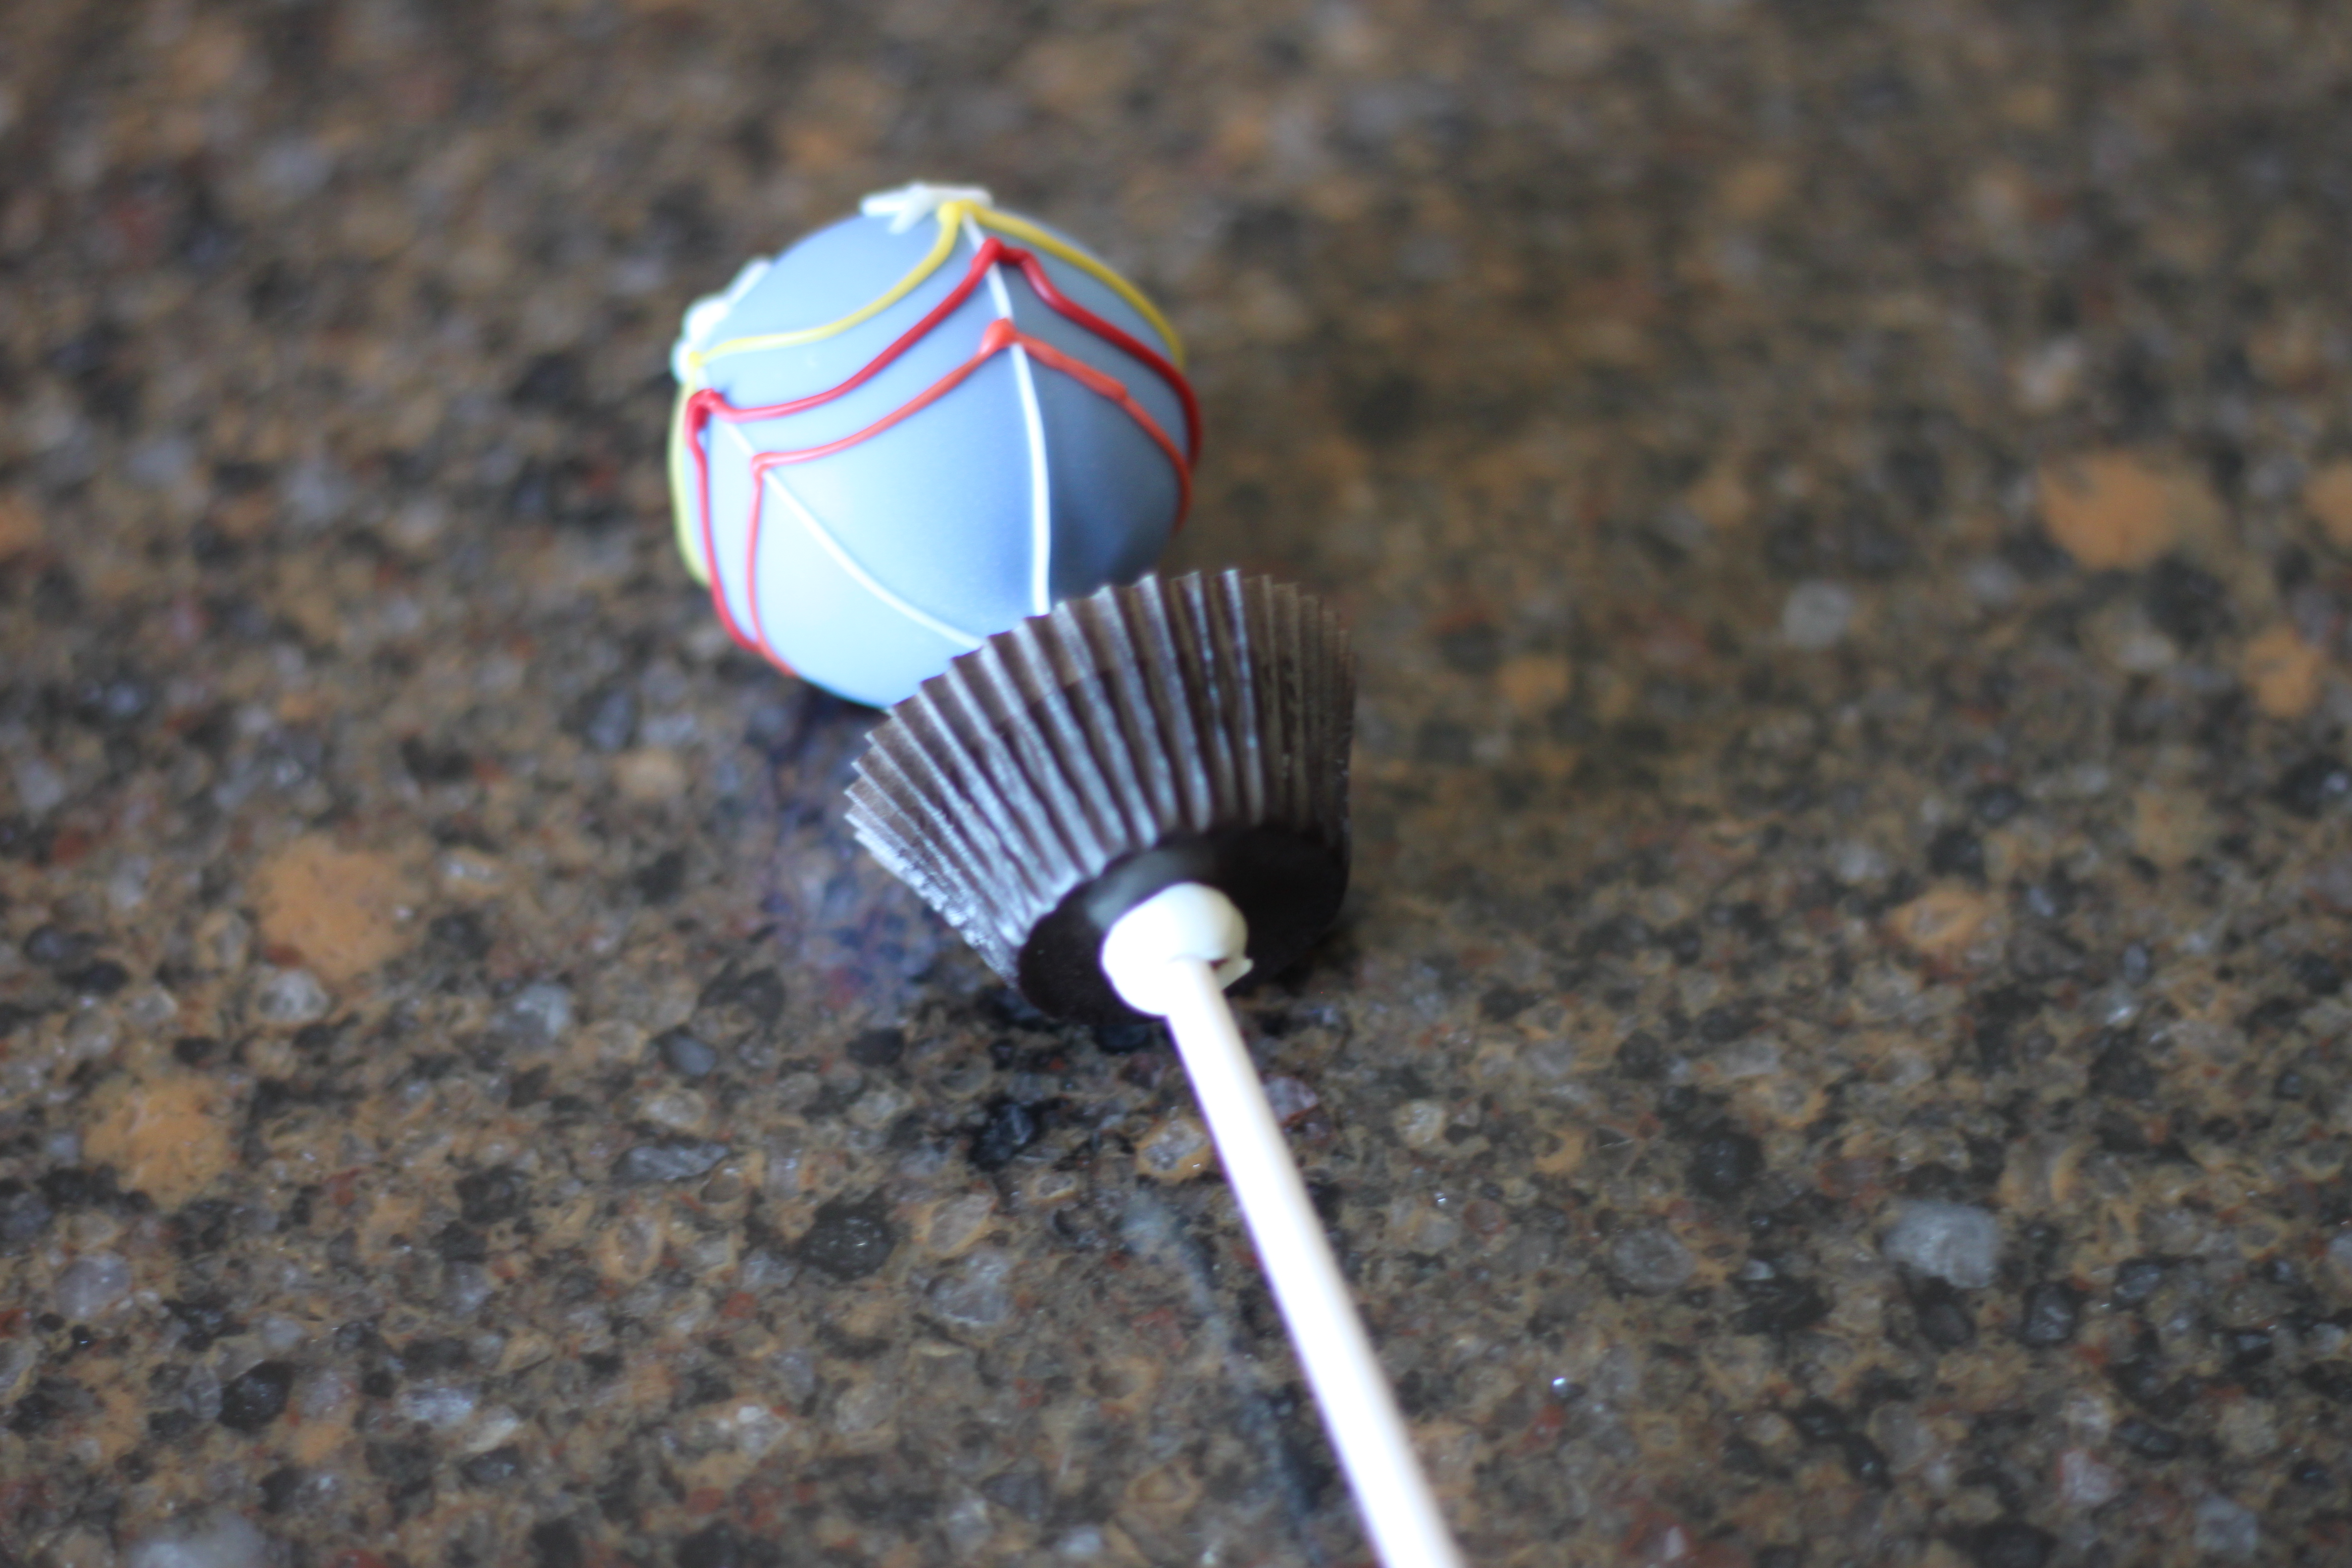
Once your “balloon” is complete, take your filled candy cups and push the stick through! If the dry chocolate smears on the stick just wipe it off with a dry paper towel, it comes right off!

I then secured the “basket” with a bit of candy melts around the bottom.
Ta Da!
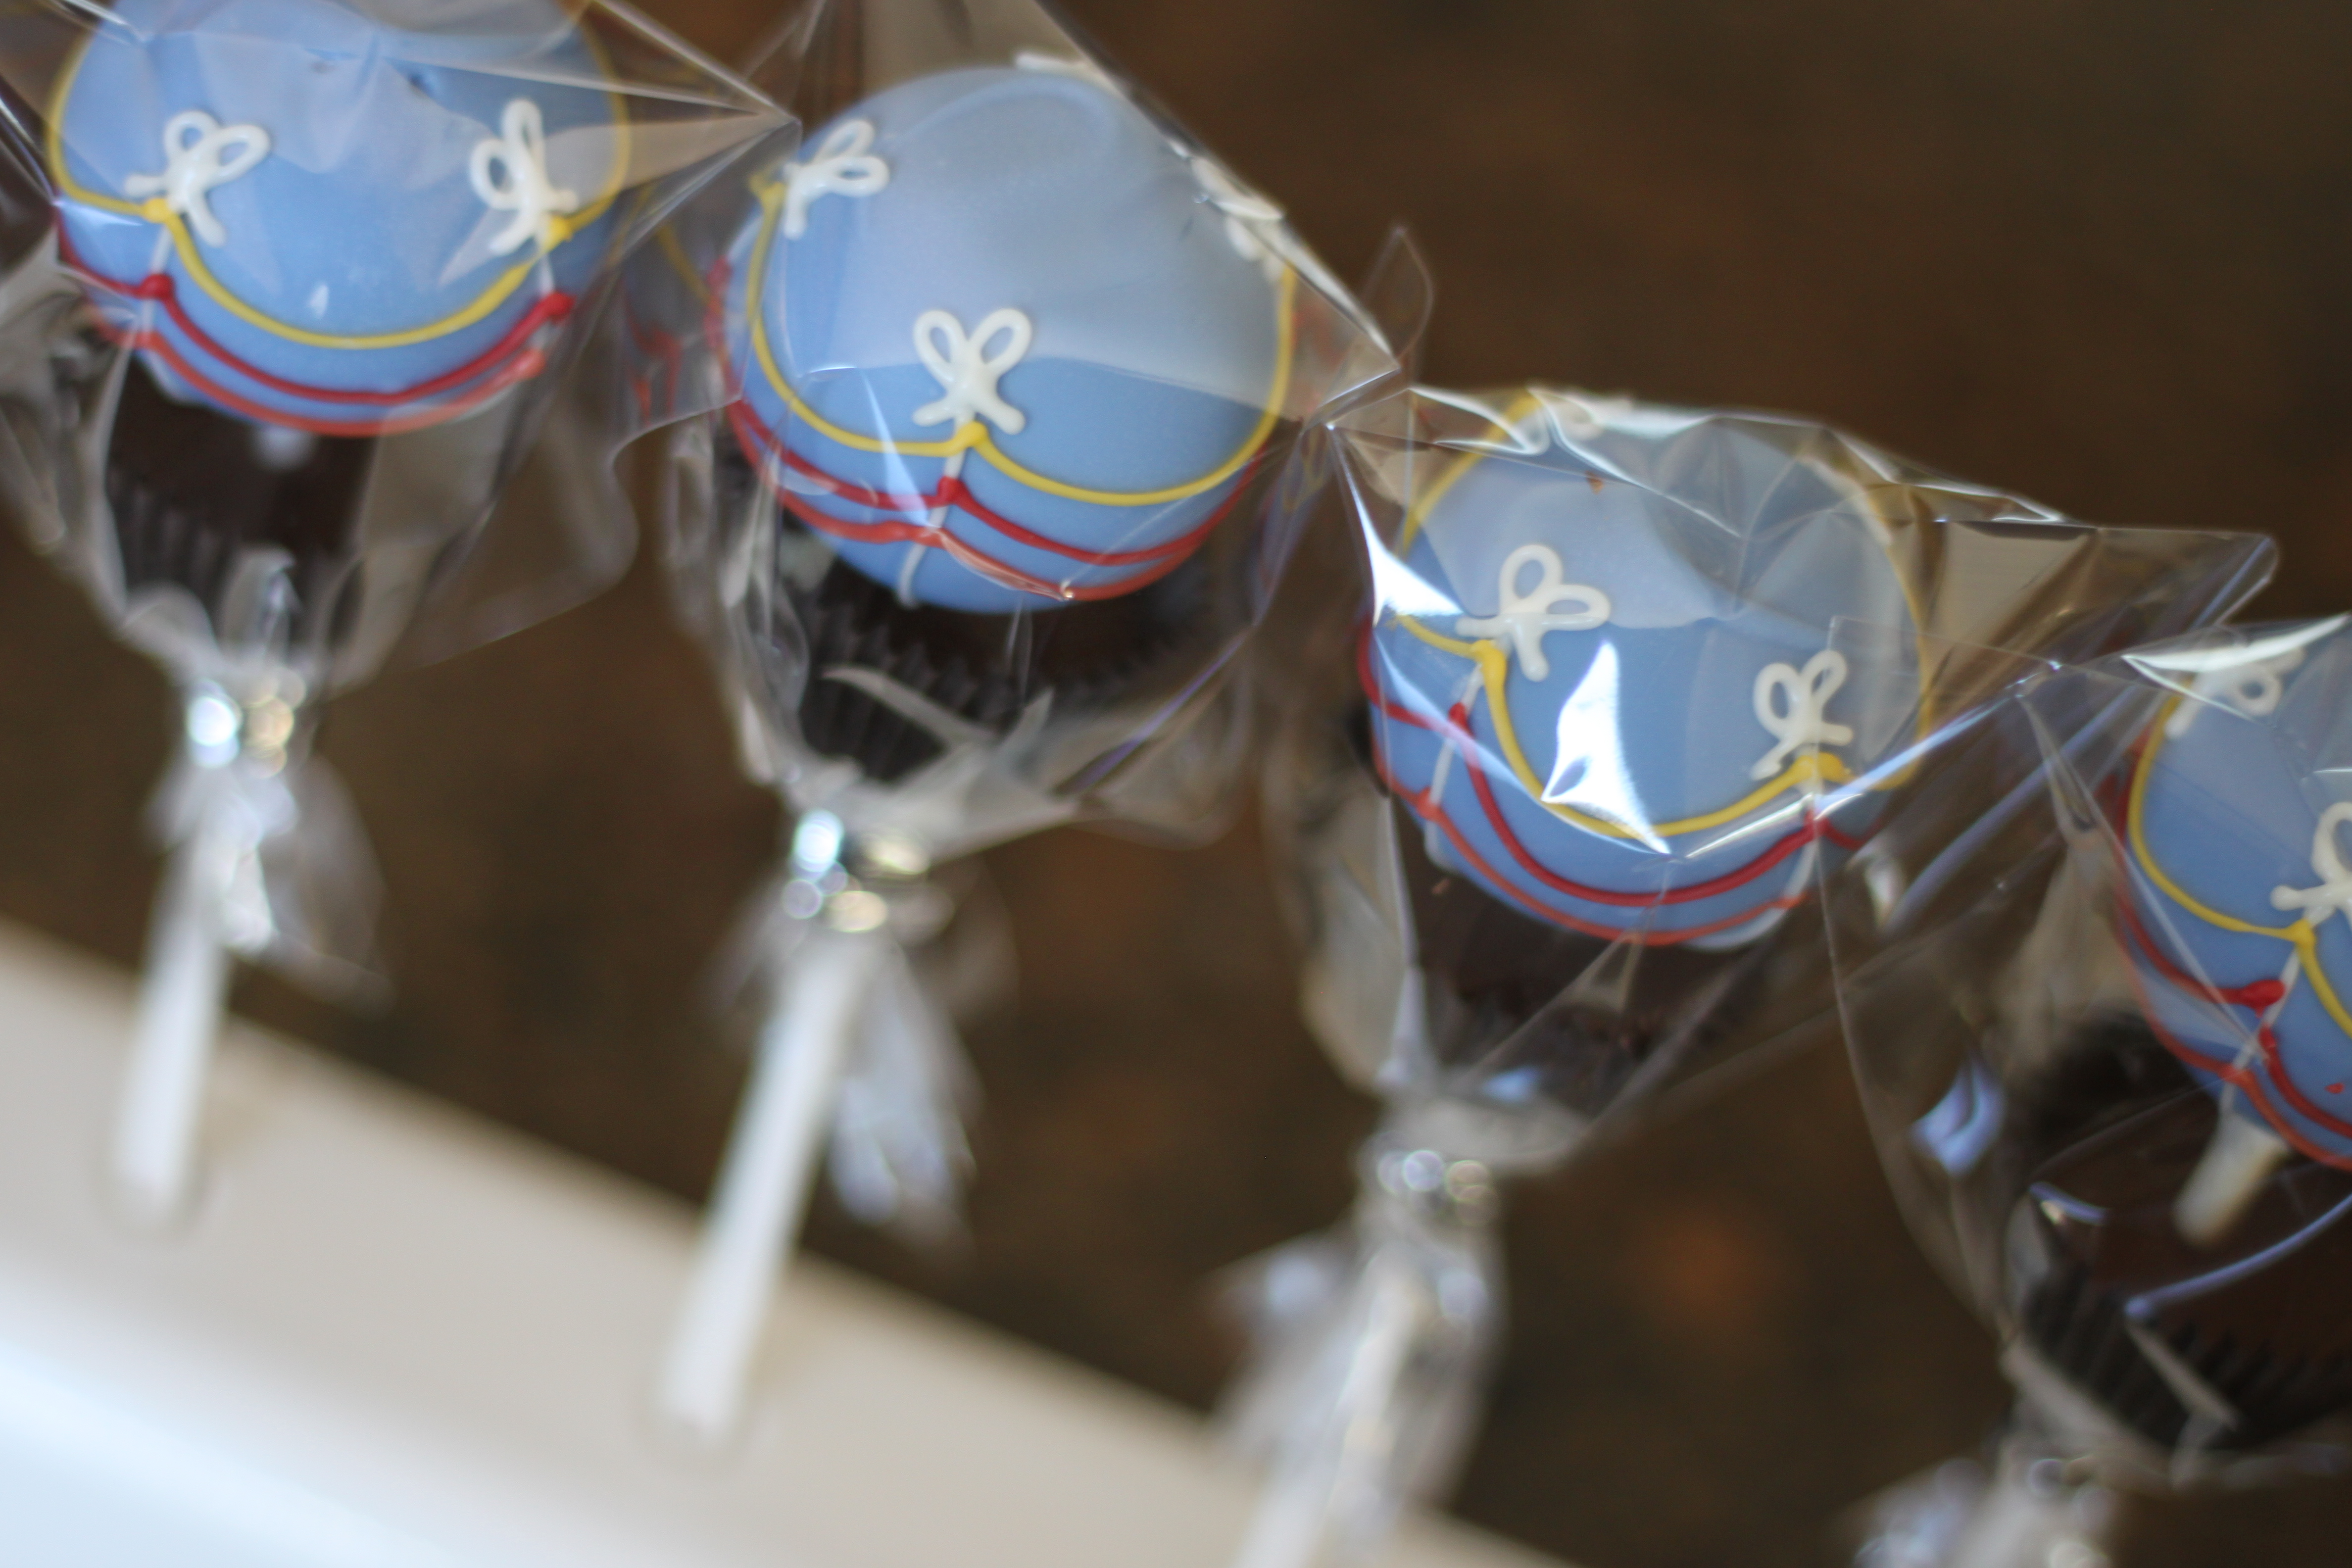
To wrap them, they wouldn’t fit in my normal 4X4 flat bag, but they DID fit in my “cookie bag” which is still 4X4 but it is a little longer with the self sealing lip! YAY!!
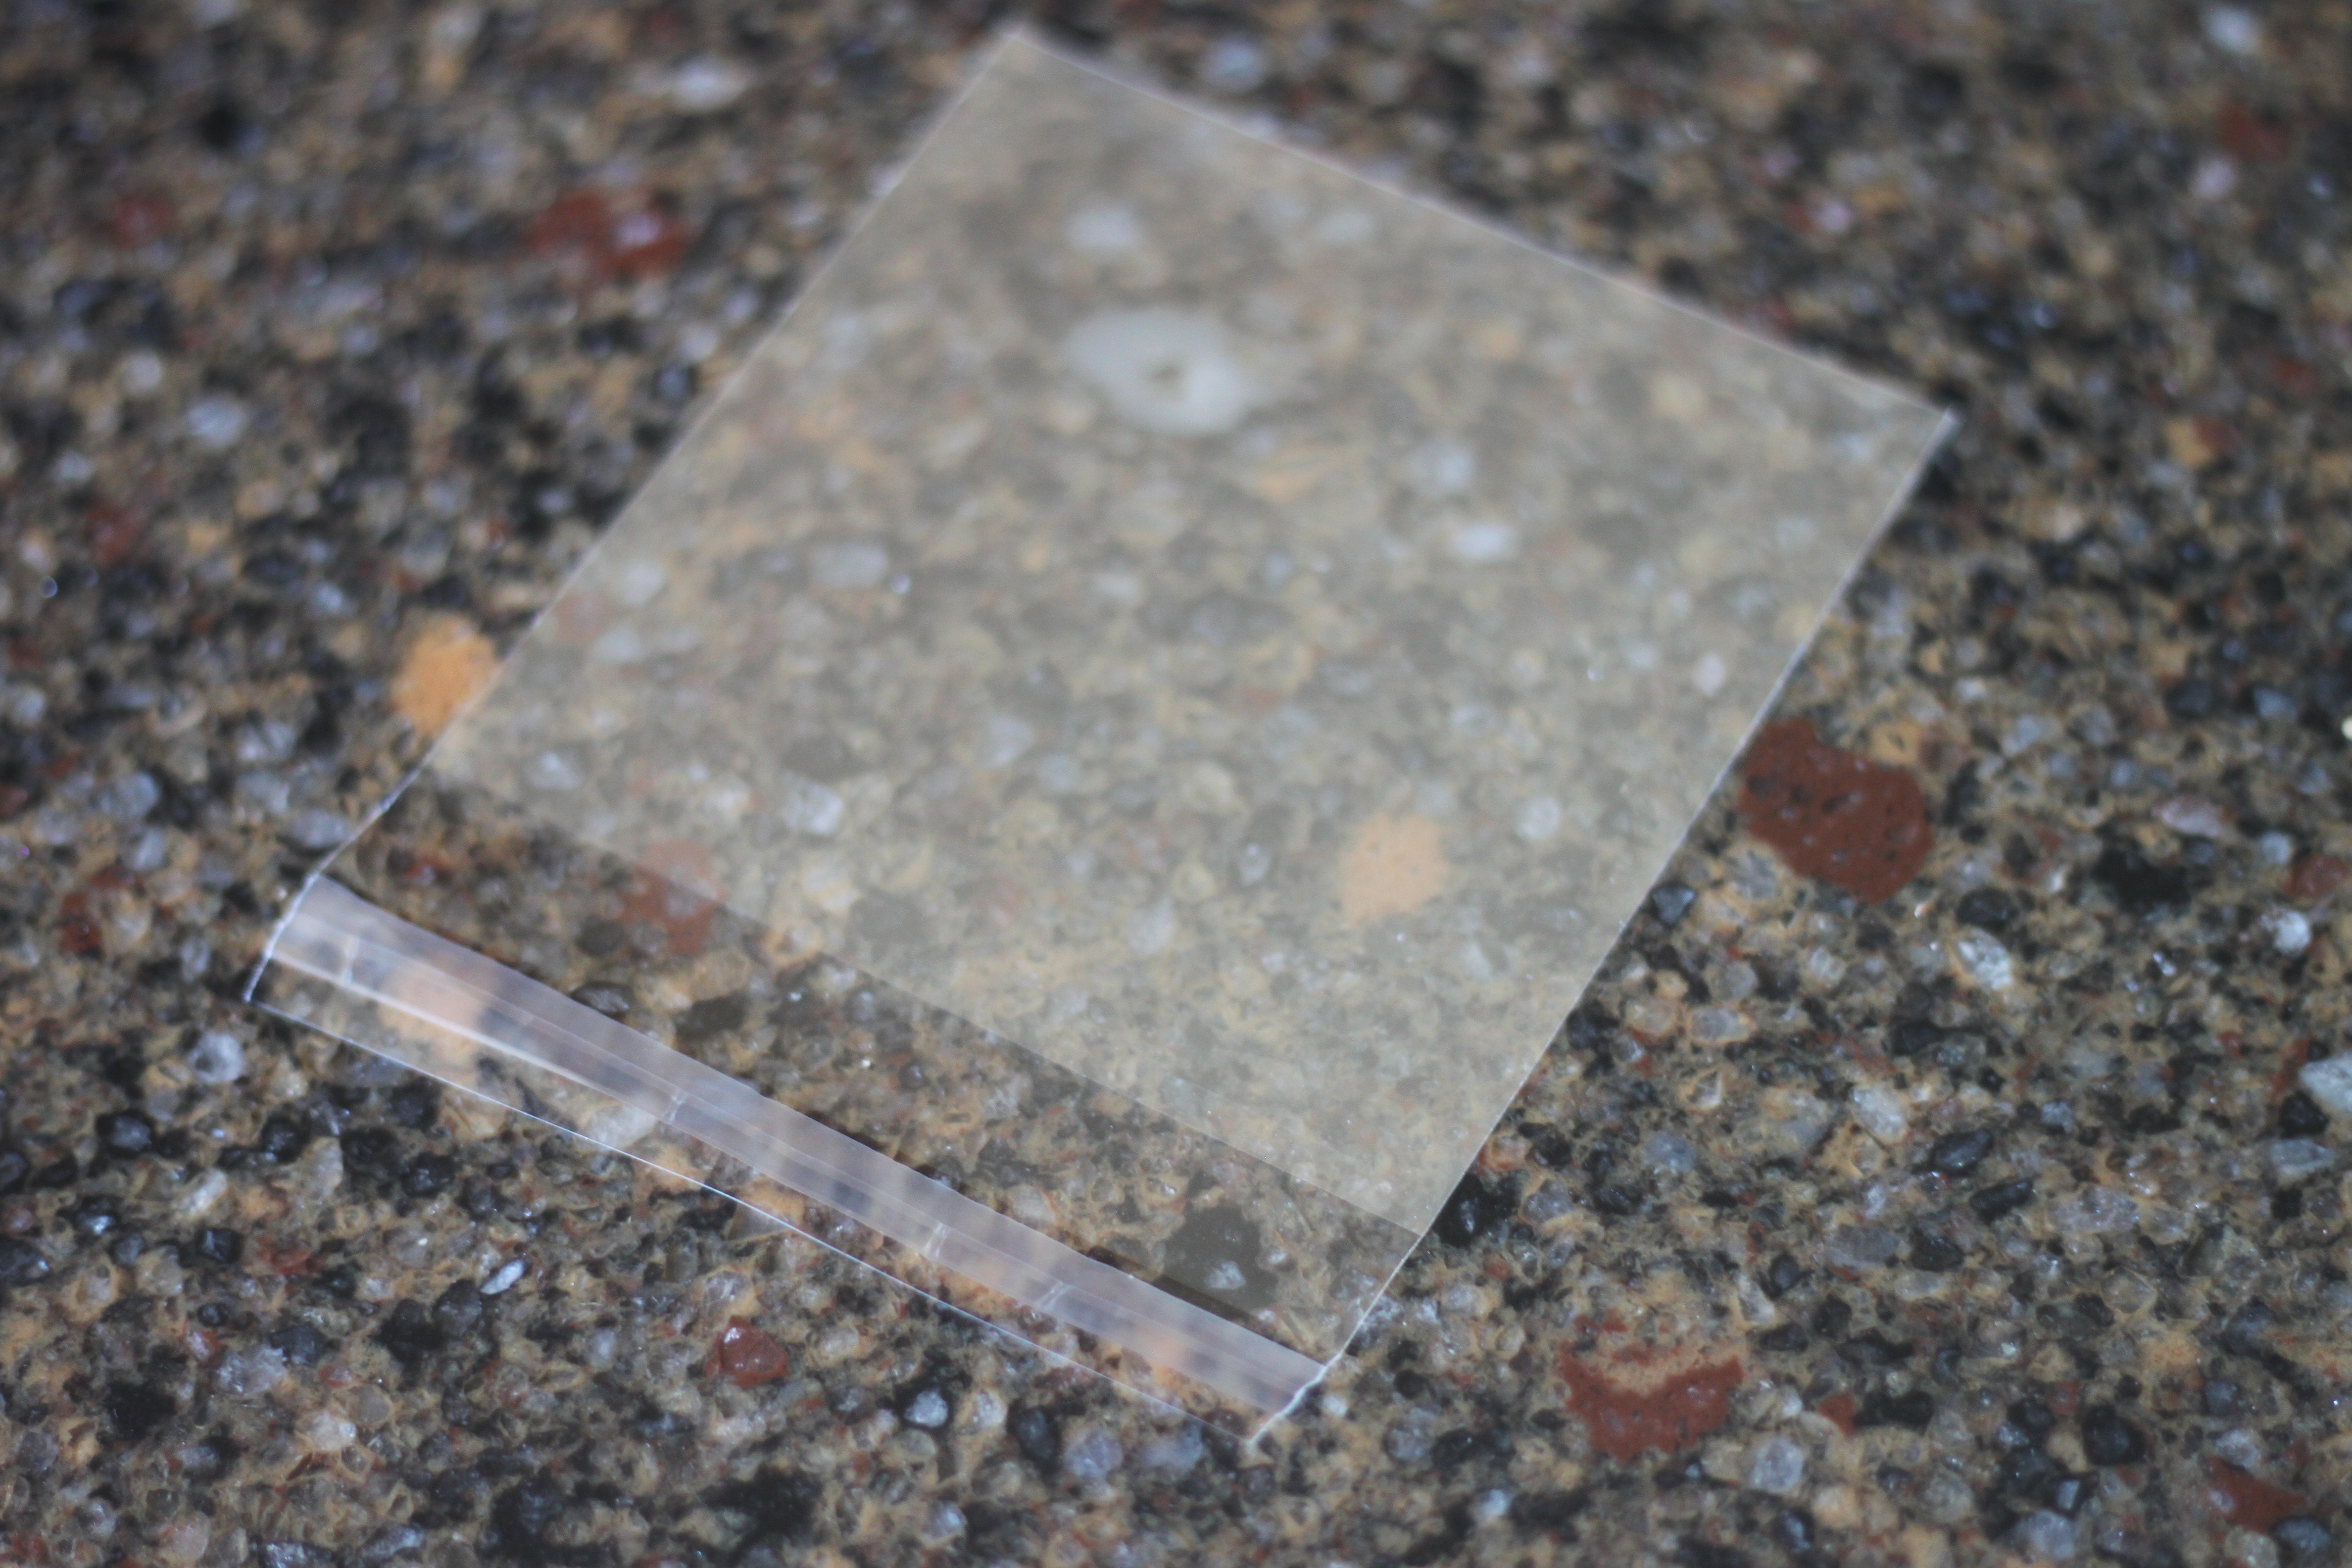
Perfect!! I love these super clear bags!
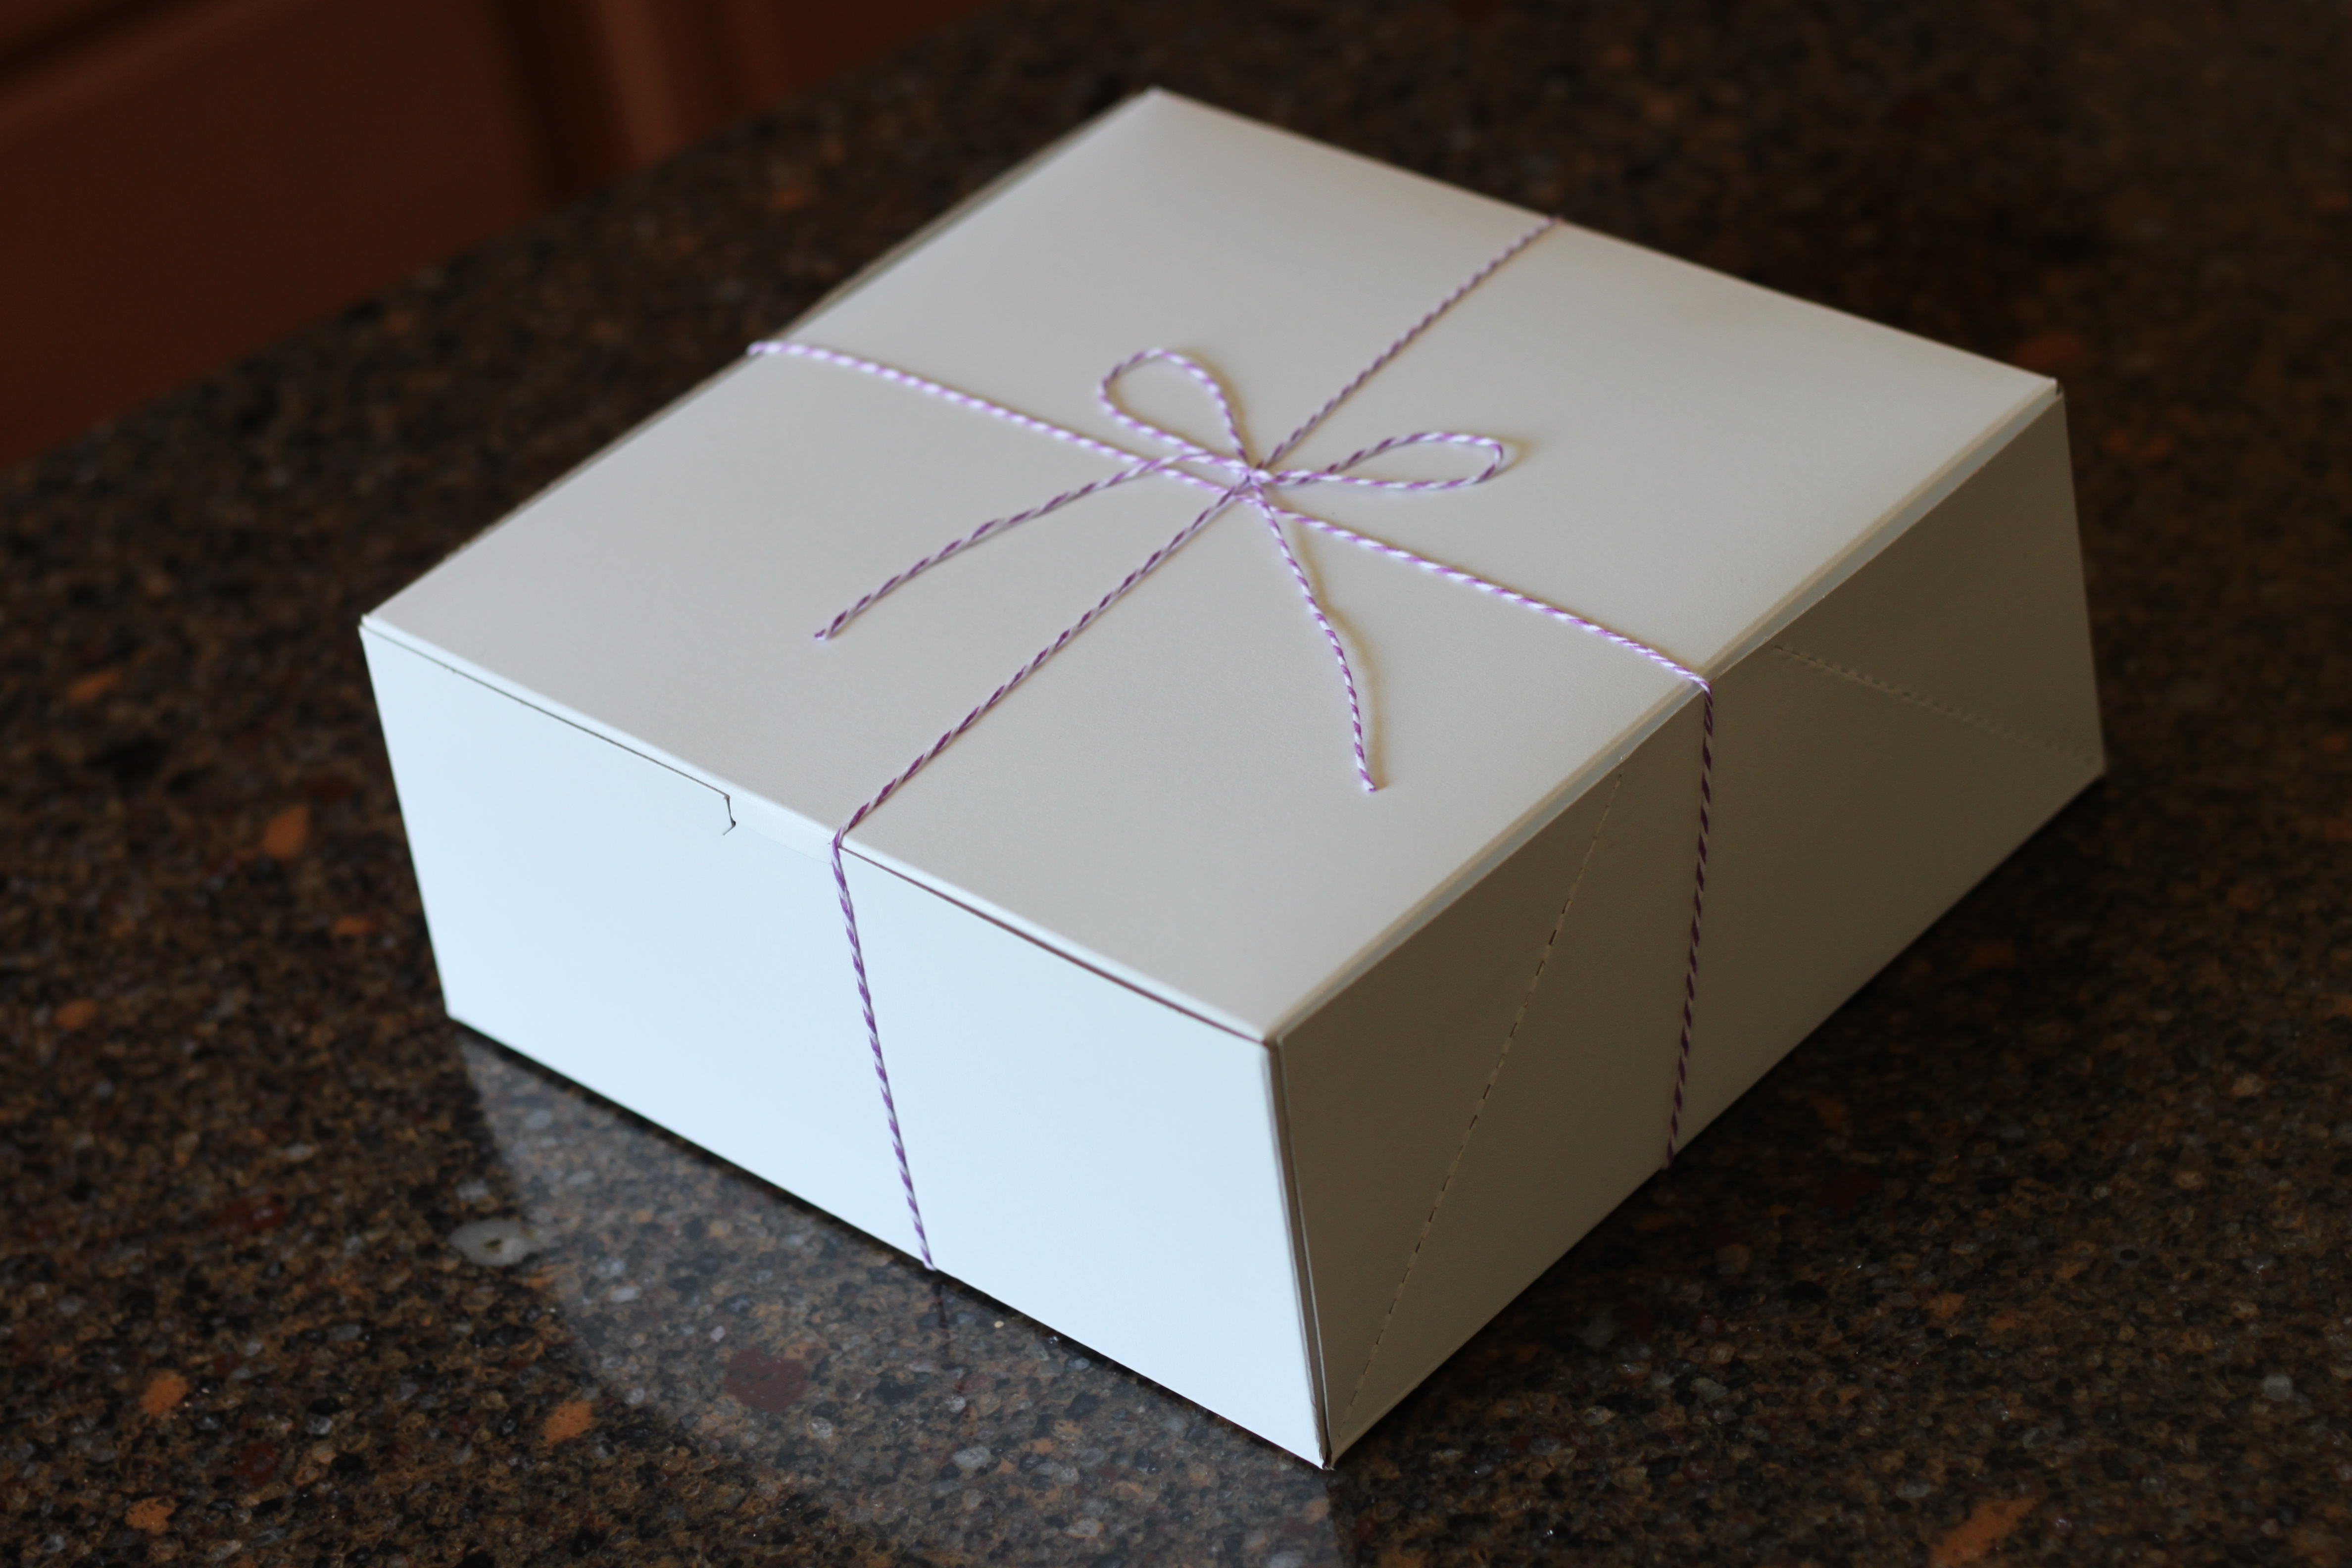
All boxed up with some decorative bakers twine, in purple of course:)!!
If you like the tutorial don’t forget to check out and share our Easy Roller or new Mini Easy Roller with your coworkers, friends and family! It is how we keep these tutorials coming:)!