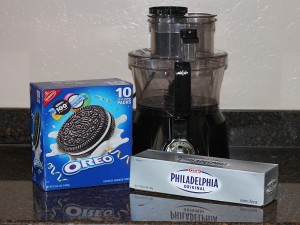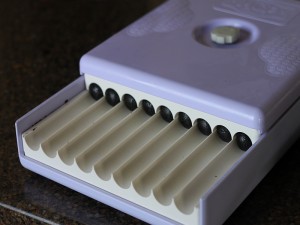
I get asked all the time if the “Oreo Pops” work with the Easy Roller! Have you heard of these? It’s just a package of crushed up Oreo’s and a 8 oz package Cream Cheese. How easy is that?! No Bake Pops:)
So this is it!
Now you don’t need THAT many Oreo’s or THAT much cream cheese, but this is what I had on hand;)!! Just 8 oz of cream cheese and the equivalent to one box of Oreo’s (the weight on the box of Oreo’s is 1lb 2oz in case you were wondering!)
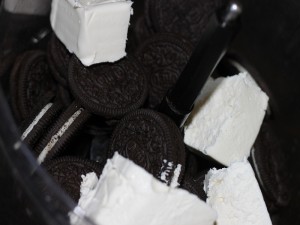
Put all that into the food processor and let it crumble all the Oreo Cookies and Cream Cheese together:)!
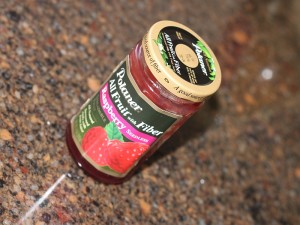
If you want to get a little creative you can add 2 TBS of this stuff… YUM!!!
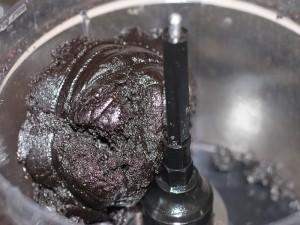
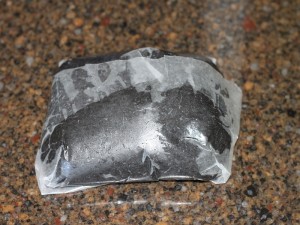
Here it is all completely combined!
To make this work with the Easy Roller I find it’s best to let this mixture sit for a bit! If I were to feel this “Dough” it would feel “grainy” from all those dry Oreo Cookies… The Easy Roller works best when these crumbs soak up the cream cheese and it no longer feels like wet sand or “grainy.” You can let it sit in the fridge overnight, but it really doesn’t need to be THAT long! It should be good in about 20-30 minutes, again, just until it doesn’t feel like there are dry cookies in there;)!
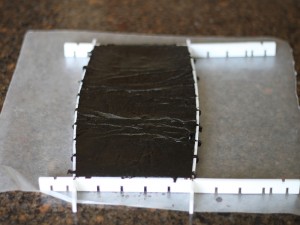
Here we go, just business as usual with the Easy Roller at this point! Measure it out into the frame (included with the Easy Roller)
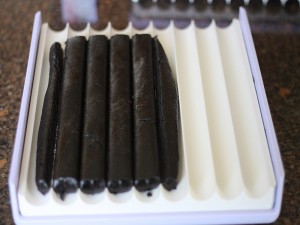
Place it into the Easy Roller and press the lid down once to cut out the strips of dough.
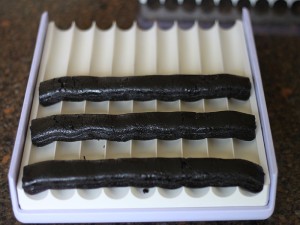
Take them off (carefully they are fragile-I lift from the top with one hand and support the middle of the strip with my other hand) and lay them across the other direction. 1 strip will go on the side closest to you, as far down as it will go. 1 about in the center of the Easy Roller and the 3rd strip goes between those two! OH!! Did I mention this is the *Optional 1 inch insert? I thought the taste of these were pretty rich in comparison to traditional cake pops (but yummy for sure!) so I wanted to make them smaller;) Just a FYI: The Easy Roller comes standard with the 1.25″ ball insert, so these, at 1 inch will be a little bigger then a whopper malt-ball candy, the insert that comes with the Easy Roller makes a pop the size of a ping-pong ball;)!!
Place the lid down on the Easy Roller to just cover the dough strips that are on there! It will not match up;)! Then slide the lid all the way forward until you can kind of see the dough balls out of the back *as pictured. Slide now back towards you until you have reached the point where it was when you started … Slide it any more back toward you and they will fall right out;)!! Less is more on the sliding! If you slide too many times they will just fall apart, it doesn’t take much to make them round:)!
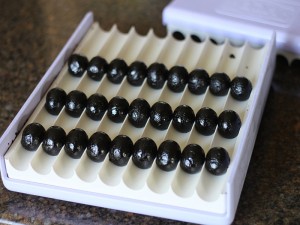
Here it is! Super Easy! With the 1 inch insert you can get 27 little balls at once …you know you were counting ;)!! These were pretty soft with the cream cheese so I put them in my cake pan and covered them with clear wrap and stuck them in the fridge for about 20-30 minutes. Remember, they are EASIER to dip cold, however, if they are too cold they will crack after they set, so be mindful not to leave them in there too long! Check on them and as soon as they are firm enough were you feel comfortable dipping, take them out and start;)!!
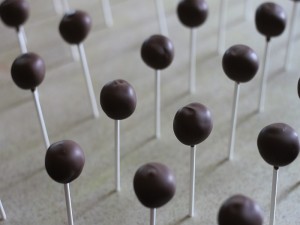
All dipped and ready to decorate! These were for a baby shower and they wanted Polka Dots:)!!
Can you guess if it was for a boy or girl shower;)!!
I bet you are wondering if the Easy Roller would work for those yummy Nutter Butter no Bake Pops?! If you have never heard of those, they are the same (cream cheese and cookie) as these Oreo Pops but with Nutter butter cookies instead! Yes!! They did work just the same! The trick is to just let those crumbs soak in the cream cheese before you start it in the Easy Roller. SO if you are sick of hand rolling all these little treats, may I suggest you visit this page;)!!

