

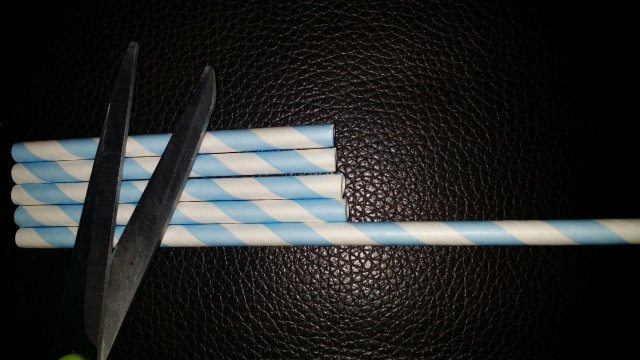
I was asked to make cake pops for a jungle themed baby shower! Since Baby Rattle Cake Pops are my favorite cake pops to make for baby showers, I thought I would try to mix those two up! So take a look at how I make these Jungle Baby Rattle Cake Pops It all starts with these cute paper straws!! I get mine from Papermart, but of course I had already used the orange and tan ones I had bought and forgot to replace them:( So I had to make due with the baby blue ones I had left! As you can tell they come in array of colors, so pick the one that fits your project best. First step is to cut them in half, they are about an 8″ straw and would be to big and not look much like rattles if you left them whole! Half size is just about perfect.
Next make the dough! To make the cake dough, bake a cake as normal, or buy one if you are not in the baking mood, then mash it up and knead it into pliable like “Play-Doh” consistency. If you are mixing by hand it is helpful to add a TBS or 2 of frosting in there to help bind it. However if you have a food processor or a stand mixer with the paddle attachment it is much faster and the frosting is not necessary unless you want to add it for flavoring purposes! Check out my post on Cake Dough!
Once you have the cake dough mixed to a pliable consistency roll out 2 cake balls per Rattle Cake Pop! One should be 1/2 the size of the other! If you love making cake pops as much as I do, you may want to take a look at the Easy Roller or Mini Easy Roller! It will roll all your cake pops for you, all 1.25 inch in diameter and the original Easy Roller is even interchangeable with optional inserts (sold separate)! Our 1 inch insert for those 1/2 size balls for the other end of the rattle are perfect!
If you have never seen it, here is how it works:
Next, when all the cake balls are rolled, 2 for each side of the rattle one half the size of the other, it is time to prepare your candy melts, or almond bark. You will need chocolate and white chocolate.
Melt the chocolate in a microwave safe bowl on 50% power for 1 minute and stir well. If it is not completely melted, continue to melt in 30 second increments until smooth.
Then melt 1/3 the amount of white chocolate in 30 second intervals. Next transfer it into a piping bag (Or sandwich bag) and cut a large opening in the corner. You want it to freely fall out with little squeezing effort. Still with control but the faster the flow the better.
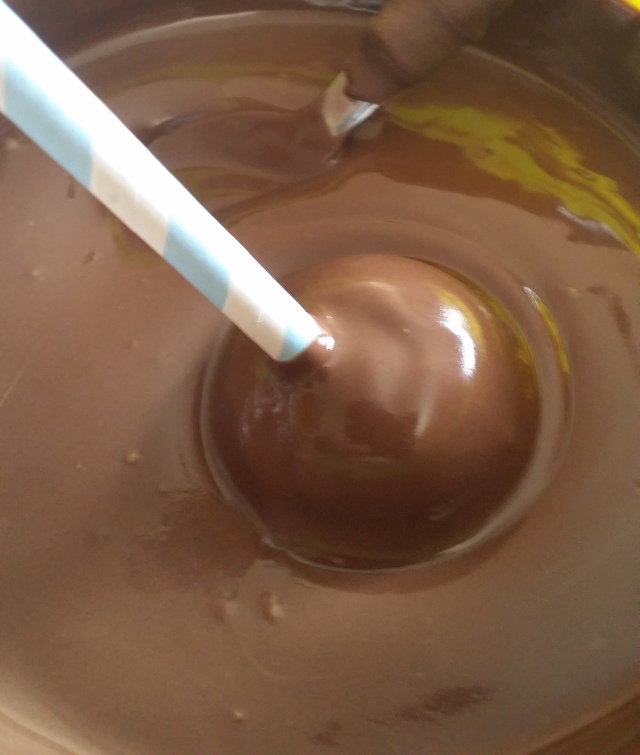
At this point you are ready to dip. Take the straw and dip the it into the chocolate and then into the cake ball and dip the entire ball into the chocolate. DO NOT tap off the excess chocolate yet!
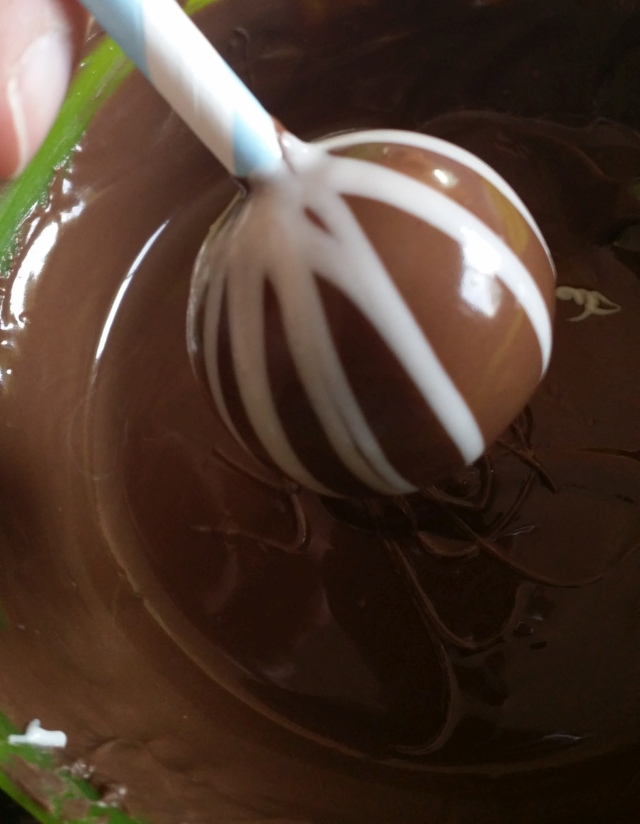
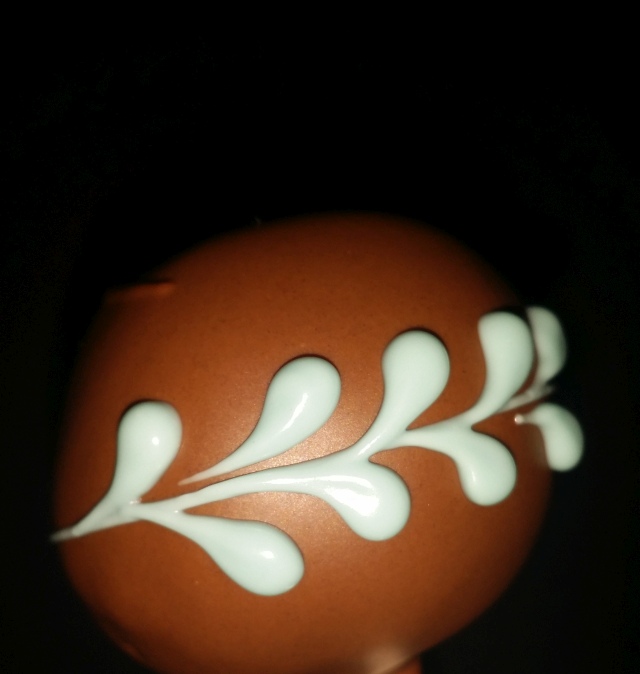
Then quickly drizzle the white all the way around and THEN tap off the excess. Those white lines will marble all the way to the tip of the cake pop if you shake off the excess directly over the bowl. (I am going for the “Zebra Tail” look!)
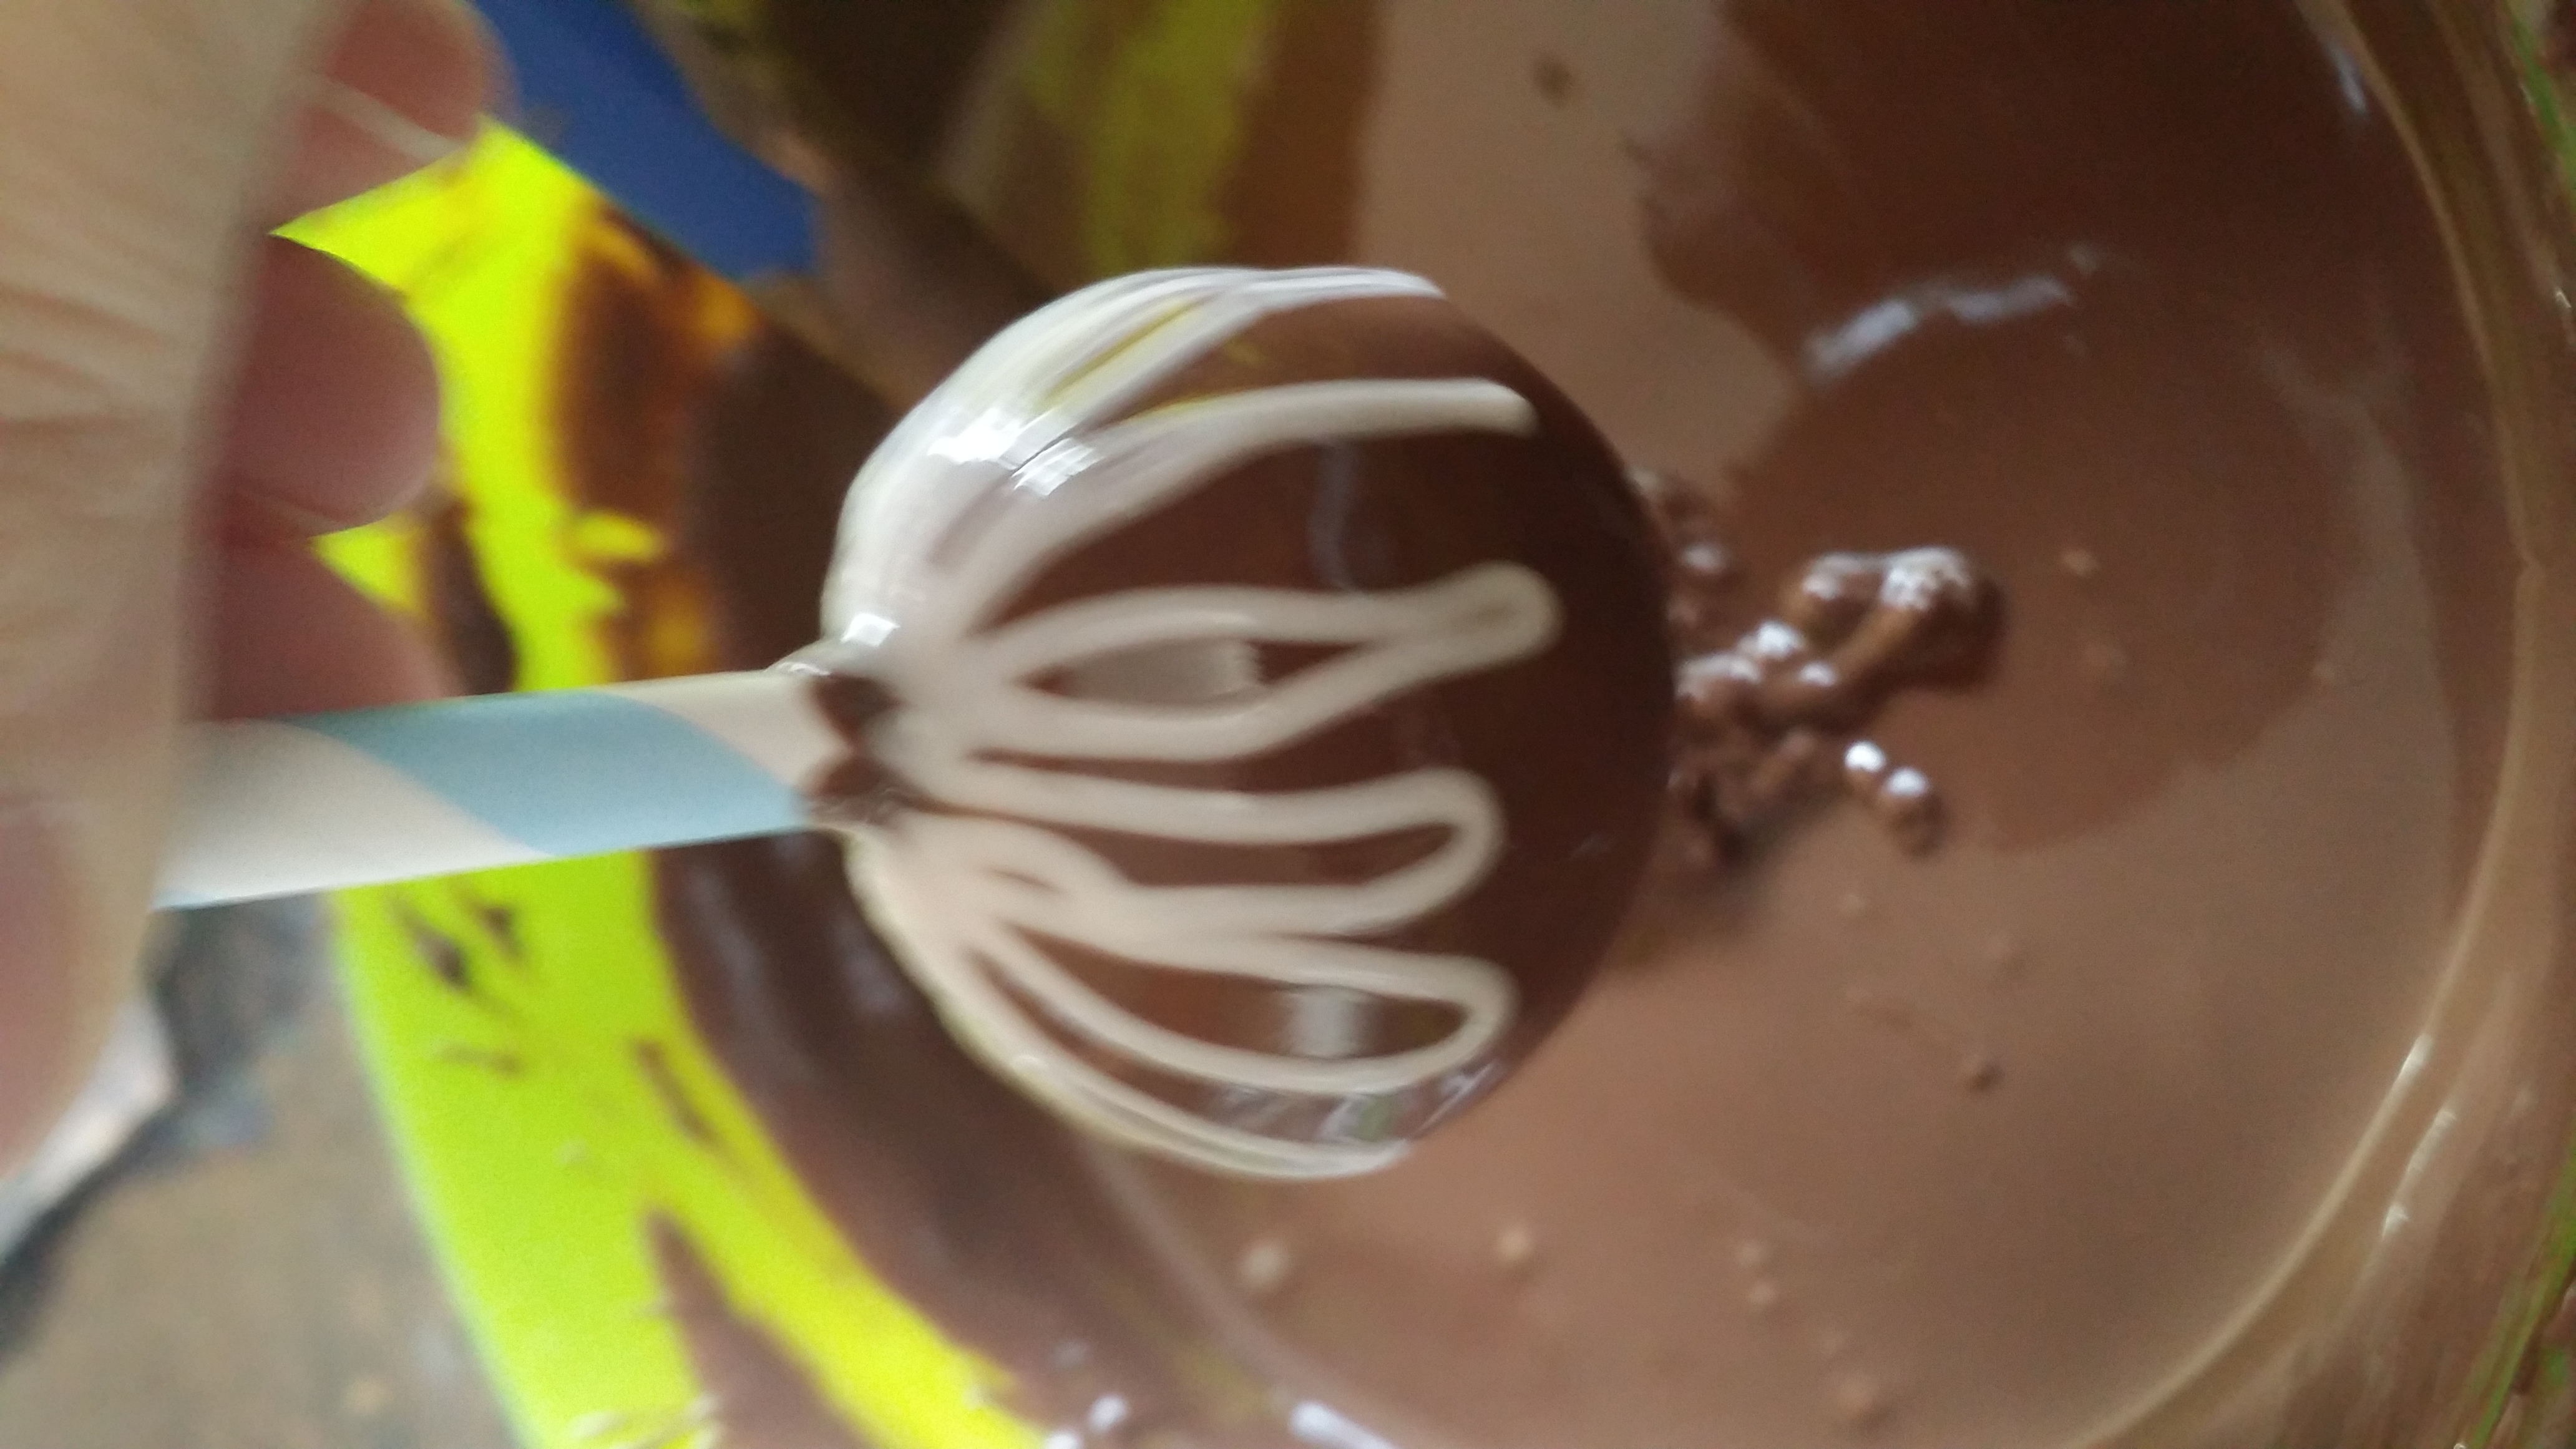
With all that excess chocolate it should run off smooth and give a cool marble effect! (*Great for bowling ball cake pops too;))
Once you reached the desired swirl effect place it in a brick of styrofoam or your favorite cake pop stand fitted for these straws!!
Since I am going for “jungle themed rattles” I am making a rim of paw prints!! (Here is where I thought it would be better in tan or orange but had to go with blue to match the straws I had on hand.)
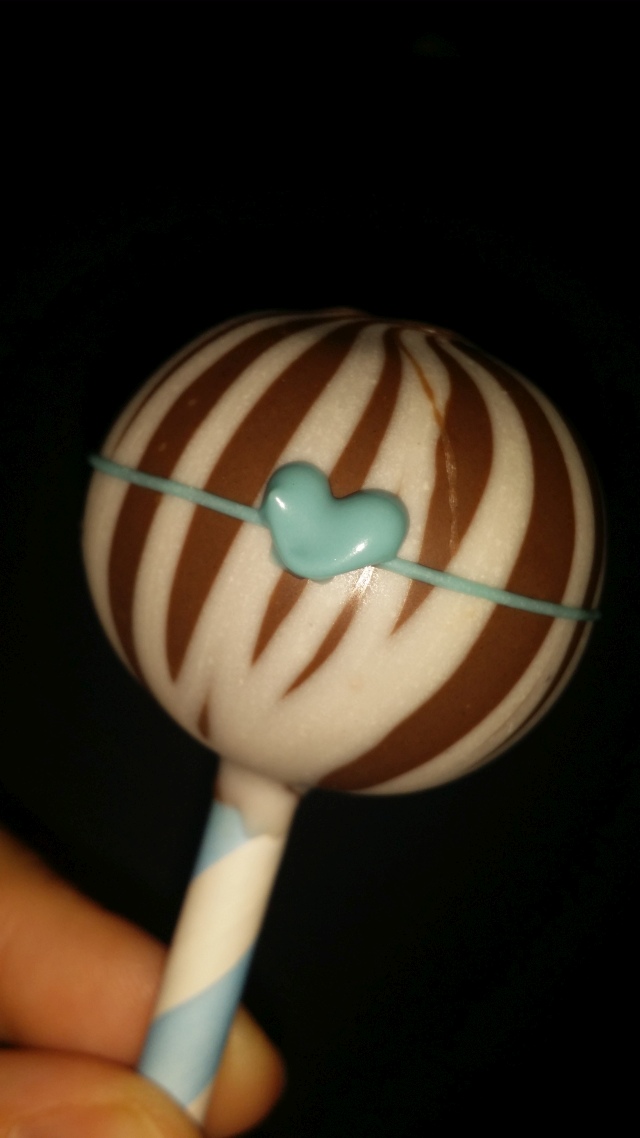
To make this mix up, or buy your preferred color of candy melts that you will be using. Melt them on 50 percent power and put them into a piping bag and snip a small corner this time. Just enough to where it runs out in a smooth line when squeezed with even pressure. Next pipe a line around the center of the top of the cake pop as a guide line. I do this easily by squeezing the bag with even pressure and twisting the cake pop in a circle rather then moving the piping bag around the cake pop.
Then make a heart! Do this by making a dot and pulling down on both sides.
Then on the opposite side from the top of the heart pipe 4 small dots for the toe prints:) I went all the way around like this!

Then added one bigger paw print to the top!

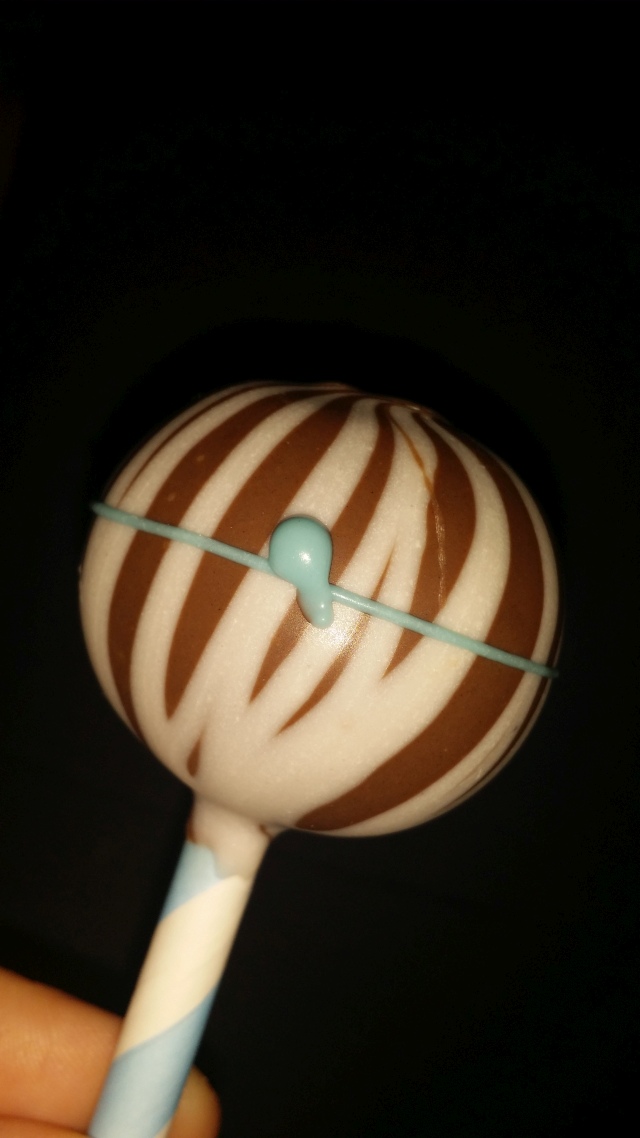
Played around with this design for the center rim too! Which do you like better? Starts out the same with the center guide line and then pipe a big dot and pull it towards the center line to form a “tail”
Once these tops are dry/set, dip the bottom of the stick in chocolate and then into the half sized cake ball for the bottom of the rattle and then dip the entire little cake pop side into the chocolate! To dry this side I just used the cake pan that I had and set them in leaning around the sides with the smaller ball above the rim of the cake pan. If you had an old Styrofoam egg create you could wash that and set the heavy top side into the egg container and leave the wet side up to dry. Either way:)!
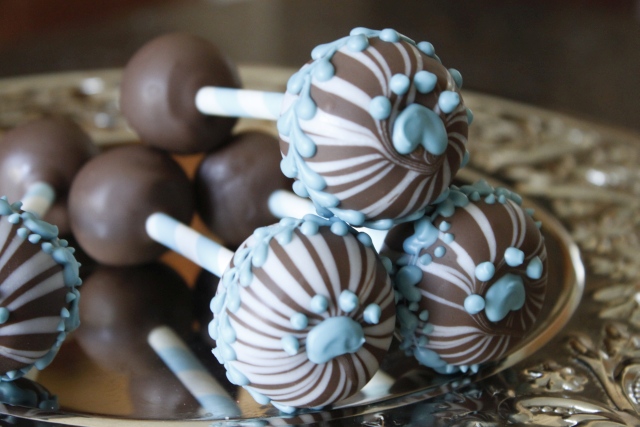
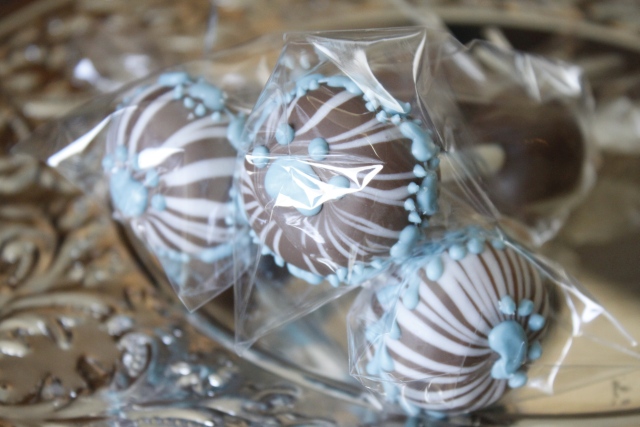
Here is what the finished “Jungle Themed Cake Pop Baby Rattle looked like:)! She loved them!!

Of course you cannot deliver them like this you need to wrap them and if giving them for favors I think they really are best individually wrapped. After spending all that time decorating I want the consumers to be able to see all my hard work before they open them, so I wrap them in these crystal clear “cello” bags that I buy here on Papermart. I find the thinner 1.2 ml bags work perfectly! These were 3X8 inch bags and it allows you to wrap the entire rattle in one bag…they were a little tight but it did fit! For standard cake pops, I usually buy the 4X4 bags and there is more than enough room. Either way I find Papermart to be a good resource.

As always if you like these tutorials and want to see more please “like” and “share” our Easy Roller or New Mini Easy Roller with your co-workers, friends and family! It means the WORLD to me:)!!