

Lets Make some “Worms and Dirt Cake Pops! These cake pops are great for beginners!
You Will Need:
- Easy Roller …or our new Mini Easy Roller! (optional, but WE recommend it;)!
- Box Cake Mix of your choice (Or your favorite recipe) …or leftover cupcakes or cake scraps!
- 3 Eggs
- Water
- Vegetable Oil
- Oreo Cookies
- Chocolate Almond Bark or Candy Melts
- Cake Pop Sticks
- Gummy Worms
Oreo Crusted Cake Pops start out like all other cake pops, with a baked cake!
Making the Cake Pop Dough
This can be store bought, your best recipe or a simple box cake mix. Once you have your Cake the next step is knead it down to dough. To do this, just crumble it down and knead those crumbs by hand with just enough frosting (or binder of your choice) into a “Play-doh” like consistency. If you don’t want to knead the cake by hand, give the food processor a try! I always use my Food Processor. It’s so much faster! A mixer with the paddle attached works just fine as well! It only takes a minute or two to go through these steps!
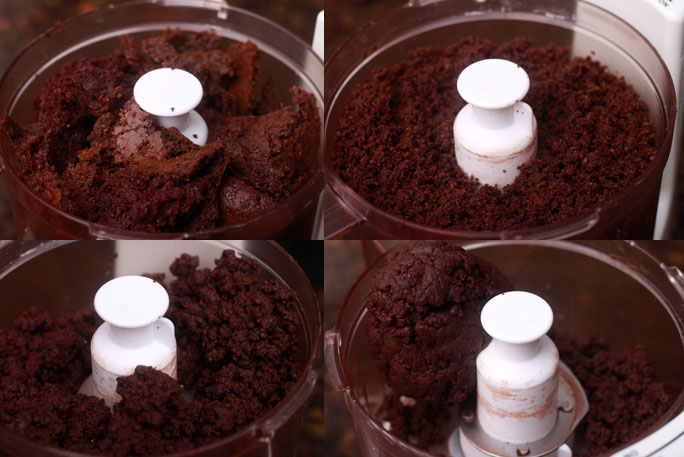
First it will break down into fine crumbs, then they start to stick to each other and form a bit bigger of a crumb and finally, if you leave it in long enough it will turn into a big ball of dough all by itself!
Rolling Cake Balls
The next step in creating these worms and dirt Cake Pops is to roll the cake dough into rounds. Have you seen the Easy Roller? It will roll 21 cake pop rounds at a time! That means you will be done with this step a snap! First, measure the dough into the frame (provided). Then place the measured dough into the Easy Roller to be cut into dough logs. Then turn those logs the other way on the Easy Roller and slide just a few times! This will yield 21 cake pop rounds! Here is a 30 second demo… See for yourself:)!
Cake pops are easiest dipped cold. However, if the dough is too cold you will find your cake pops cracked after the chocolate has set. Cake pops actually have the best outcome if they are dipped at room temperature, So if you are going to refrigerated them for ease of dipping, just make them cold enough to where you are comfortable dipping them. For this project I would say refrigerate them until you get all your toppings prepared:)!
Getting Prepared
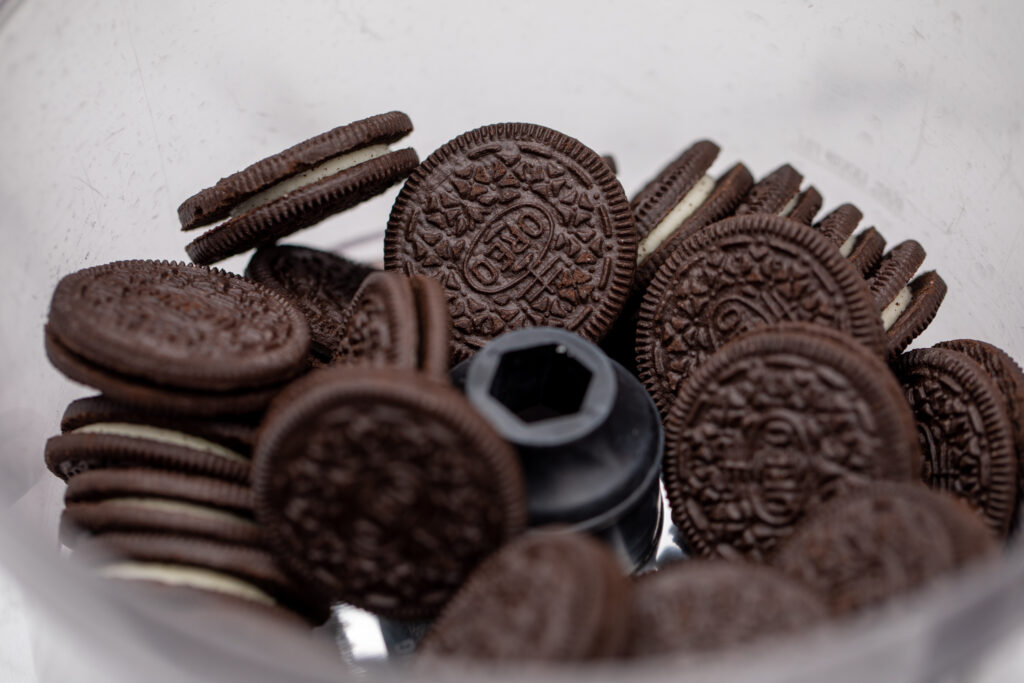
You guessed it, next step, get all your Oreo’s and crumble them up!! I use the food processor for this! However, if you don’t have one, don’t worry, you can put them in a large freezer bag and crumb them by rolling over them with your rolling pin!
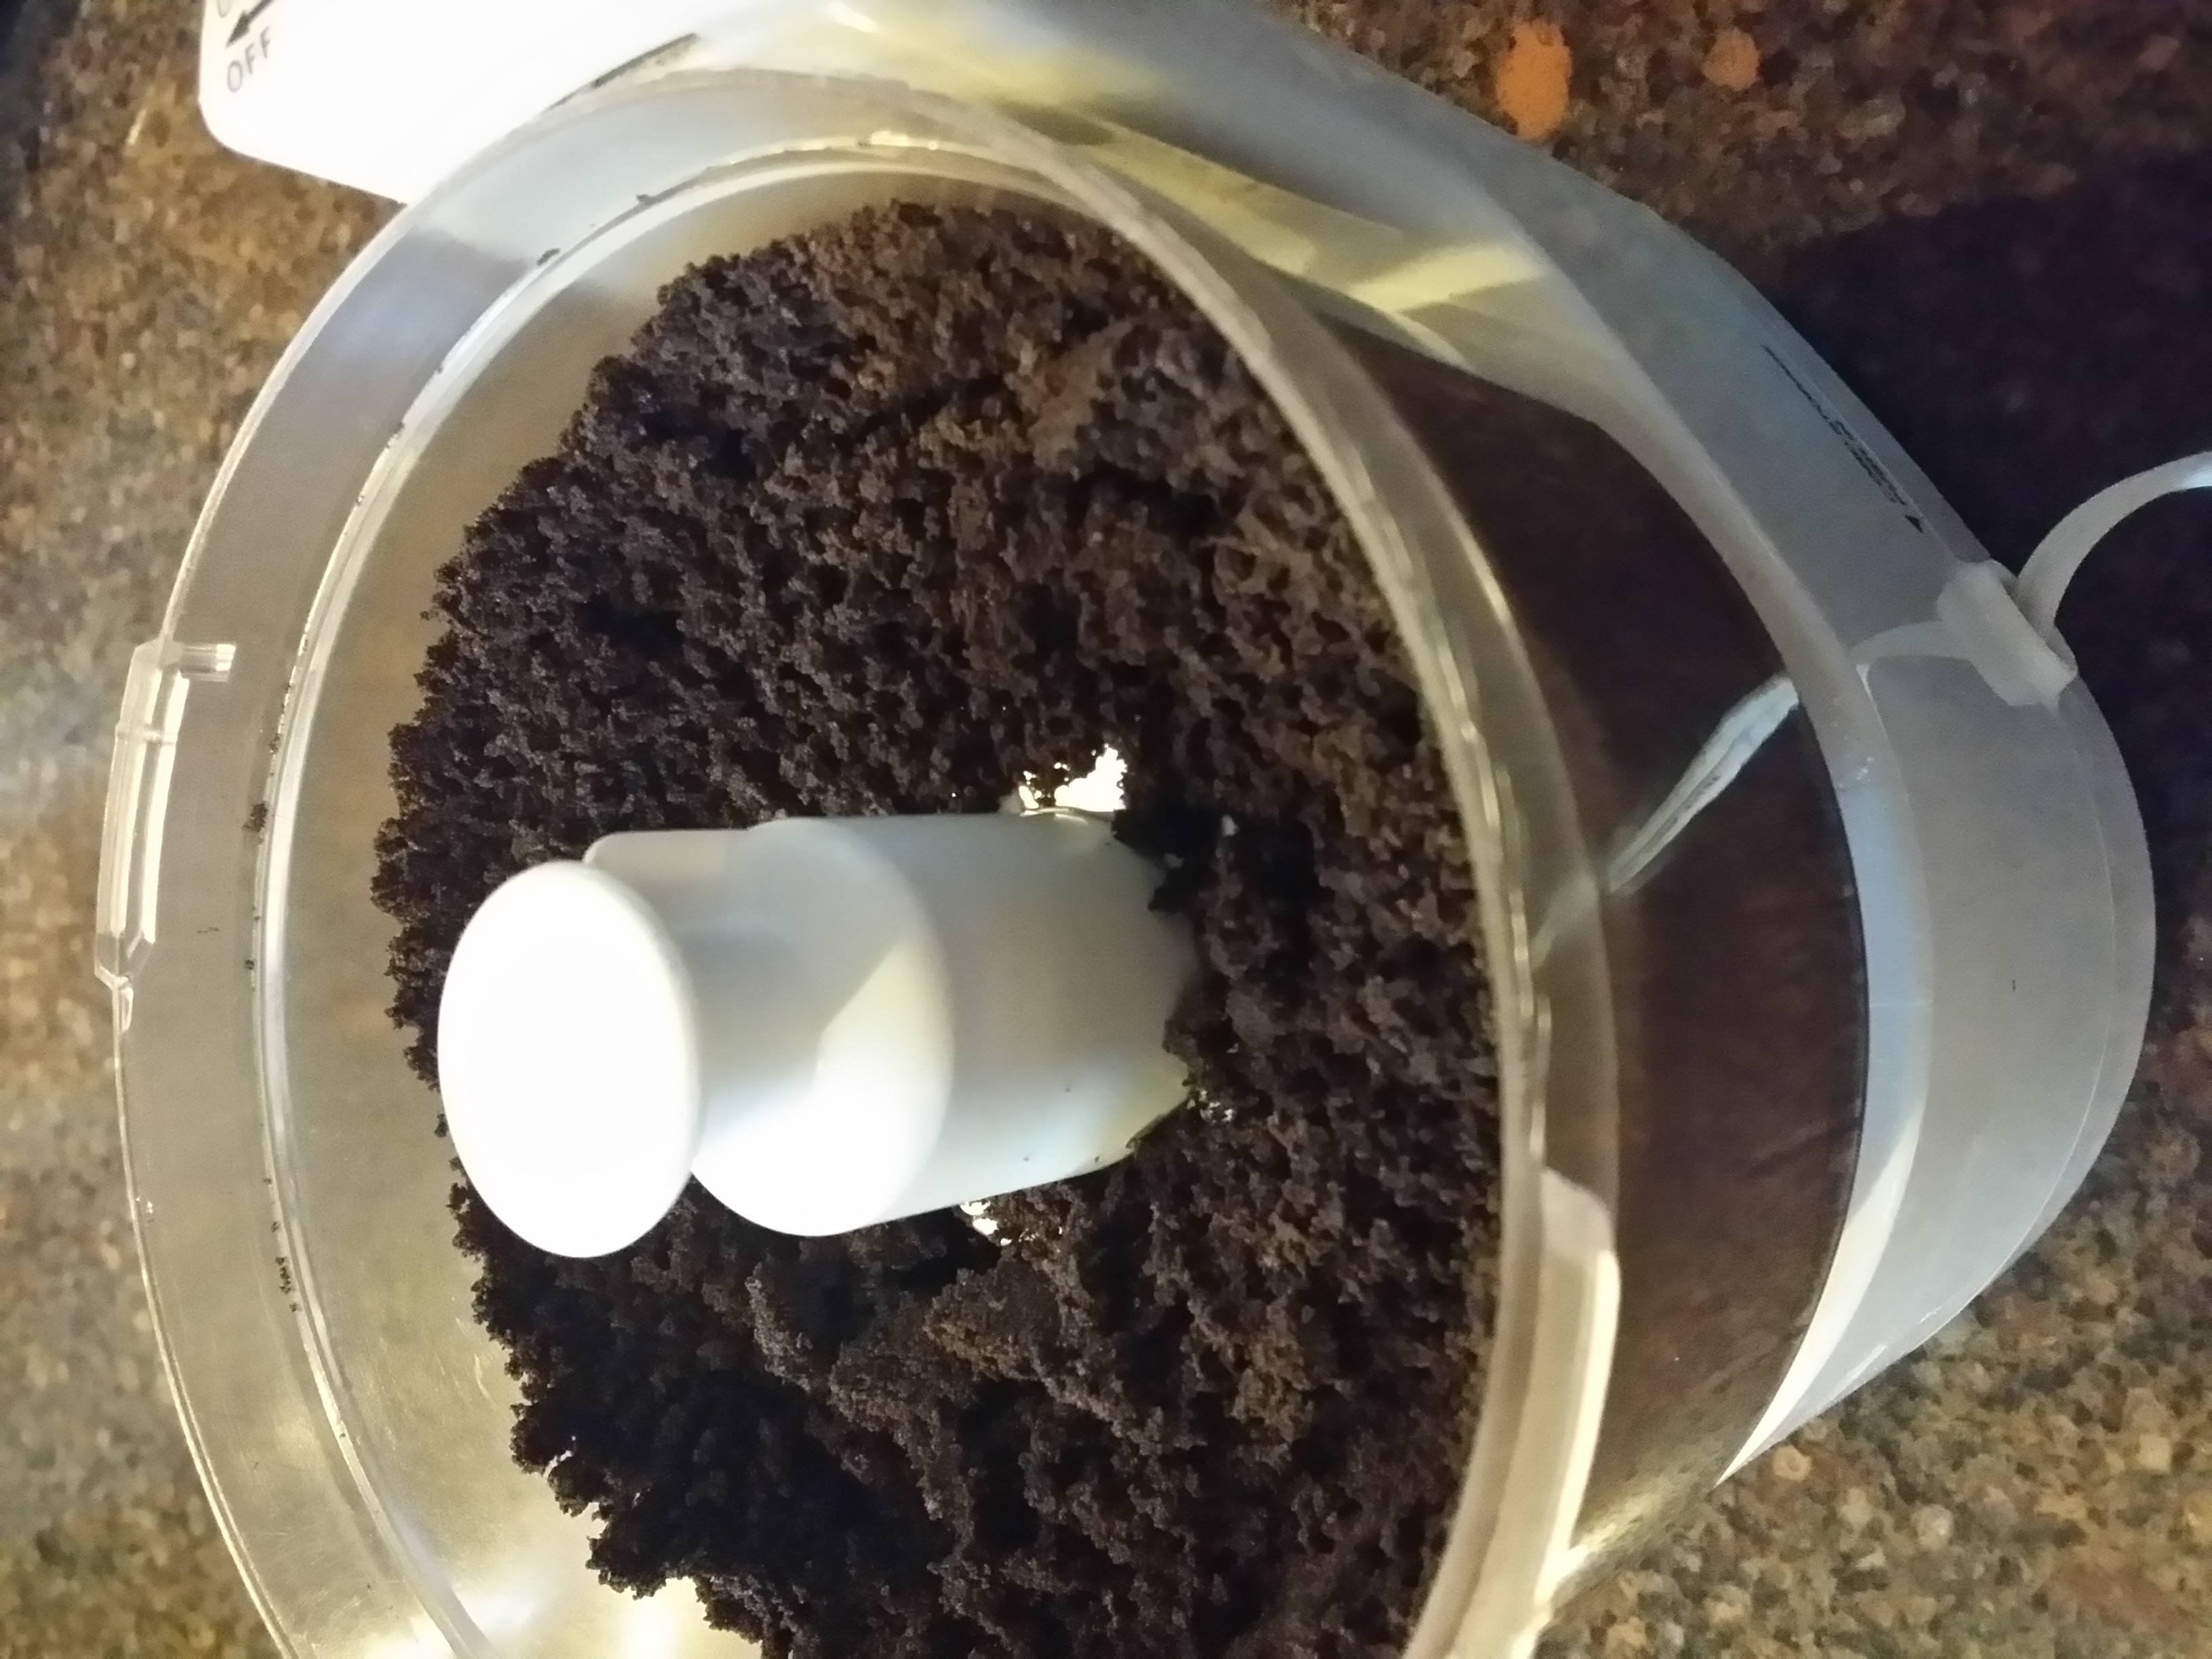
If you are able to put them into the food processor, just put the whole cookie in there and turn it on until they looked like this…
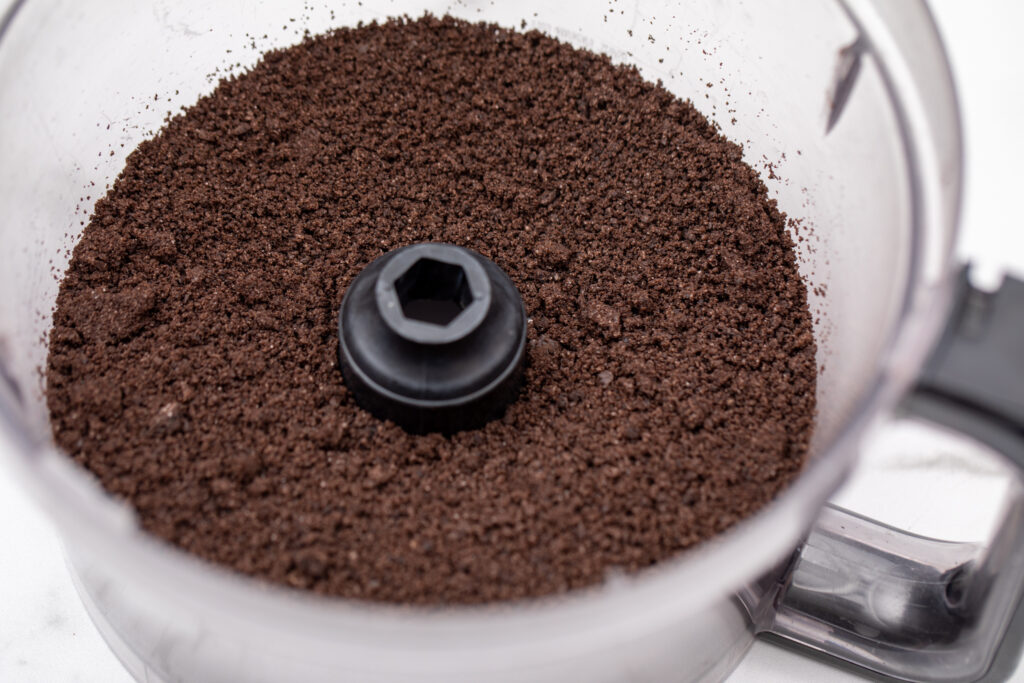
Place these into a bowl and get a spoon for it (unless you want your hands to be full of crumbs)!
For these cake pops I cut the gummy worms in half. If I left them whole they were just too long and I thought they looked a little funny. So the easiest solutions was to just cut each worm into 2! Set these aside so they are ready to go when you need them!
Next put your candy melts into a microwave safe dish. Then place it in the microwave at 50% power for 1 minute to melt it down. If the candy melts are still not yet melted, put them back into the microwave at 50% power for 30 second increments until it is melted.
Putting it all together
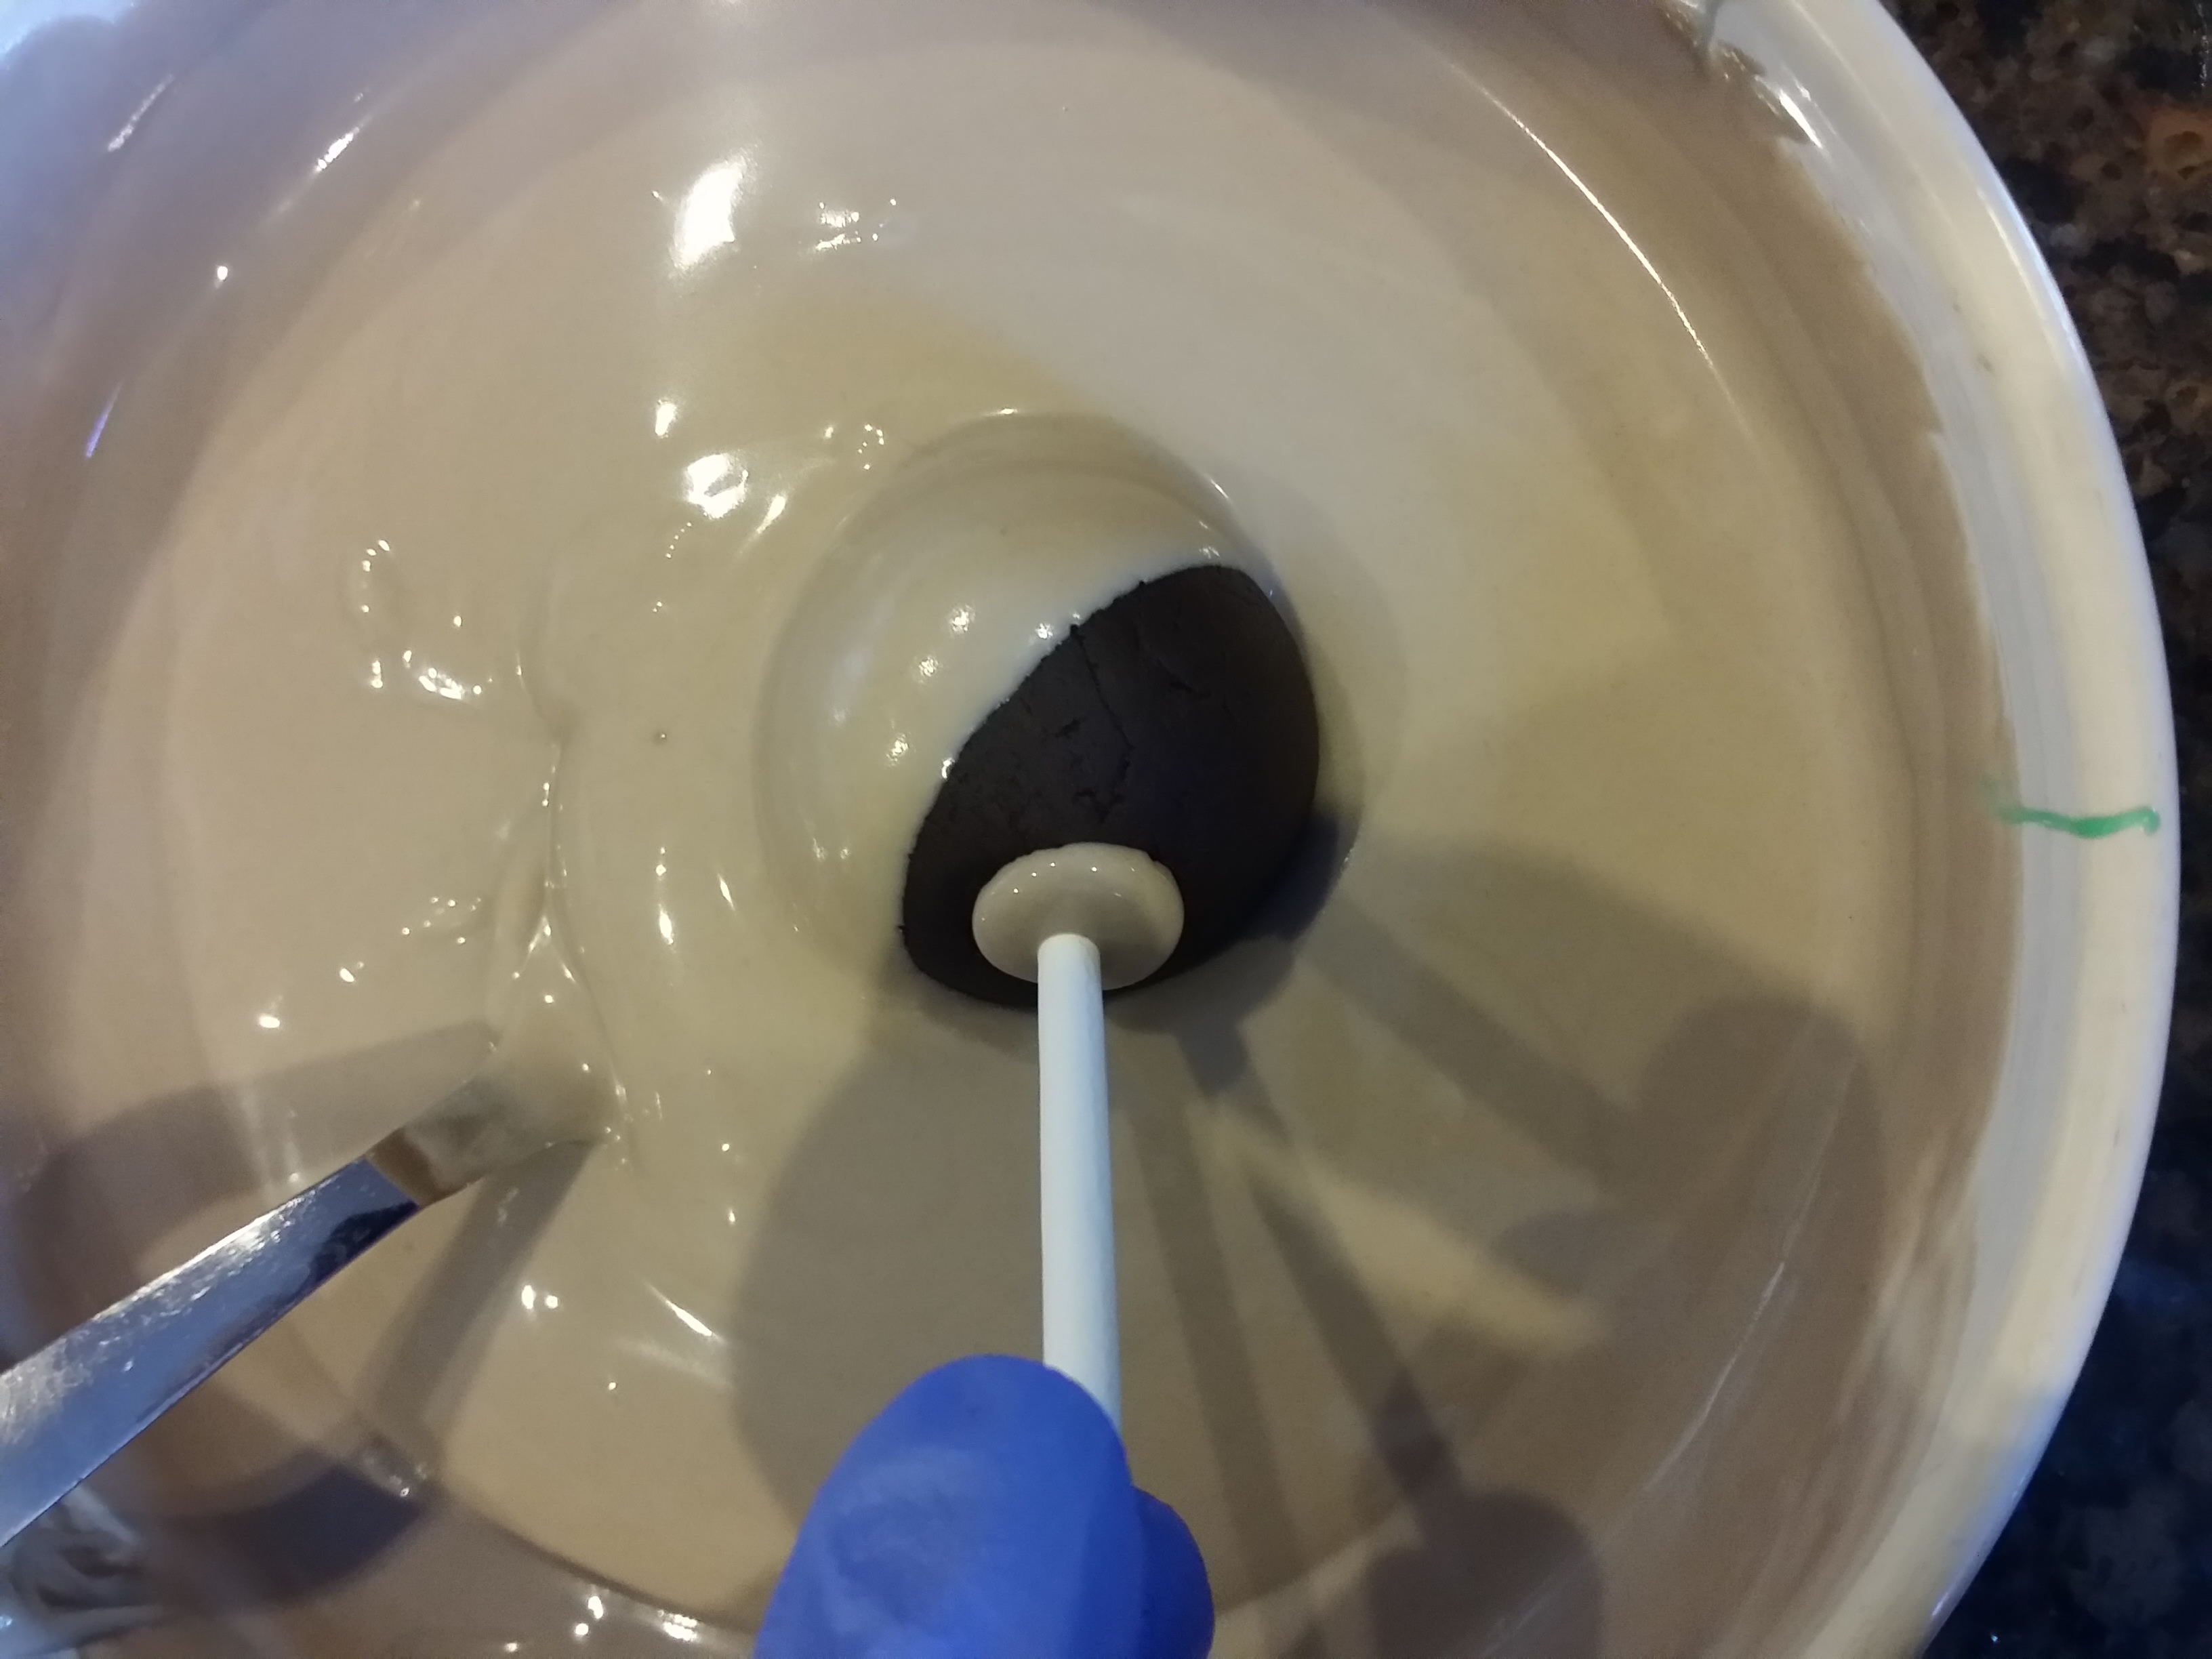
Get your cake balls out of the refrigerator and dip your cake pop stick into the melted chocolate and then into the cake pop. Now dip the entire cake pop into the melted chocolate. Tap off the excess!
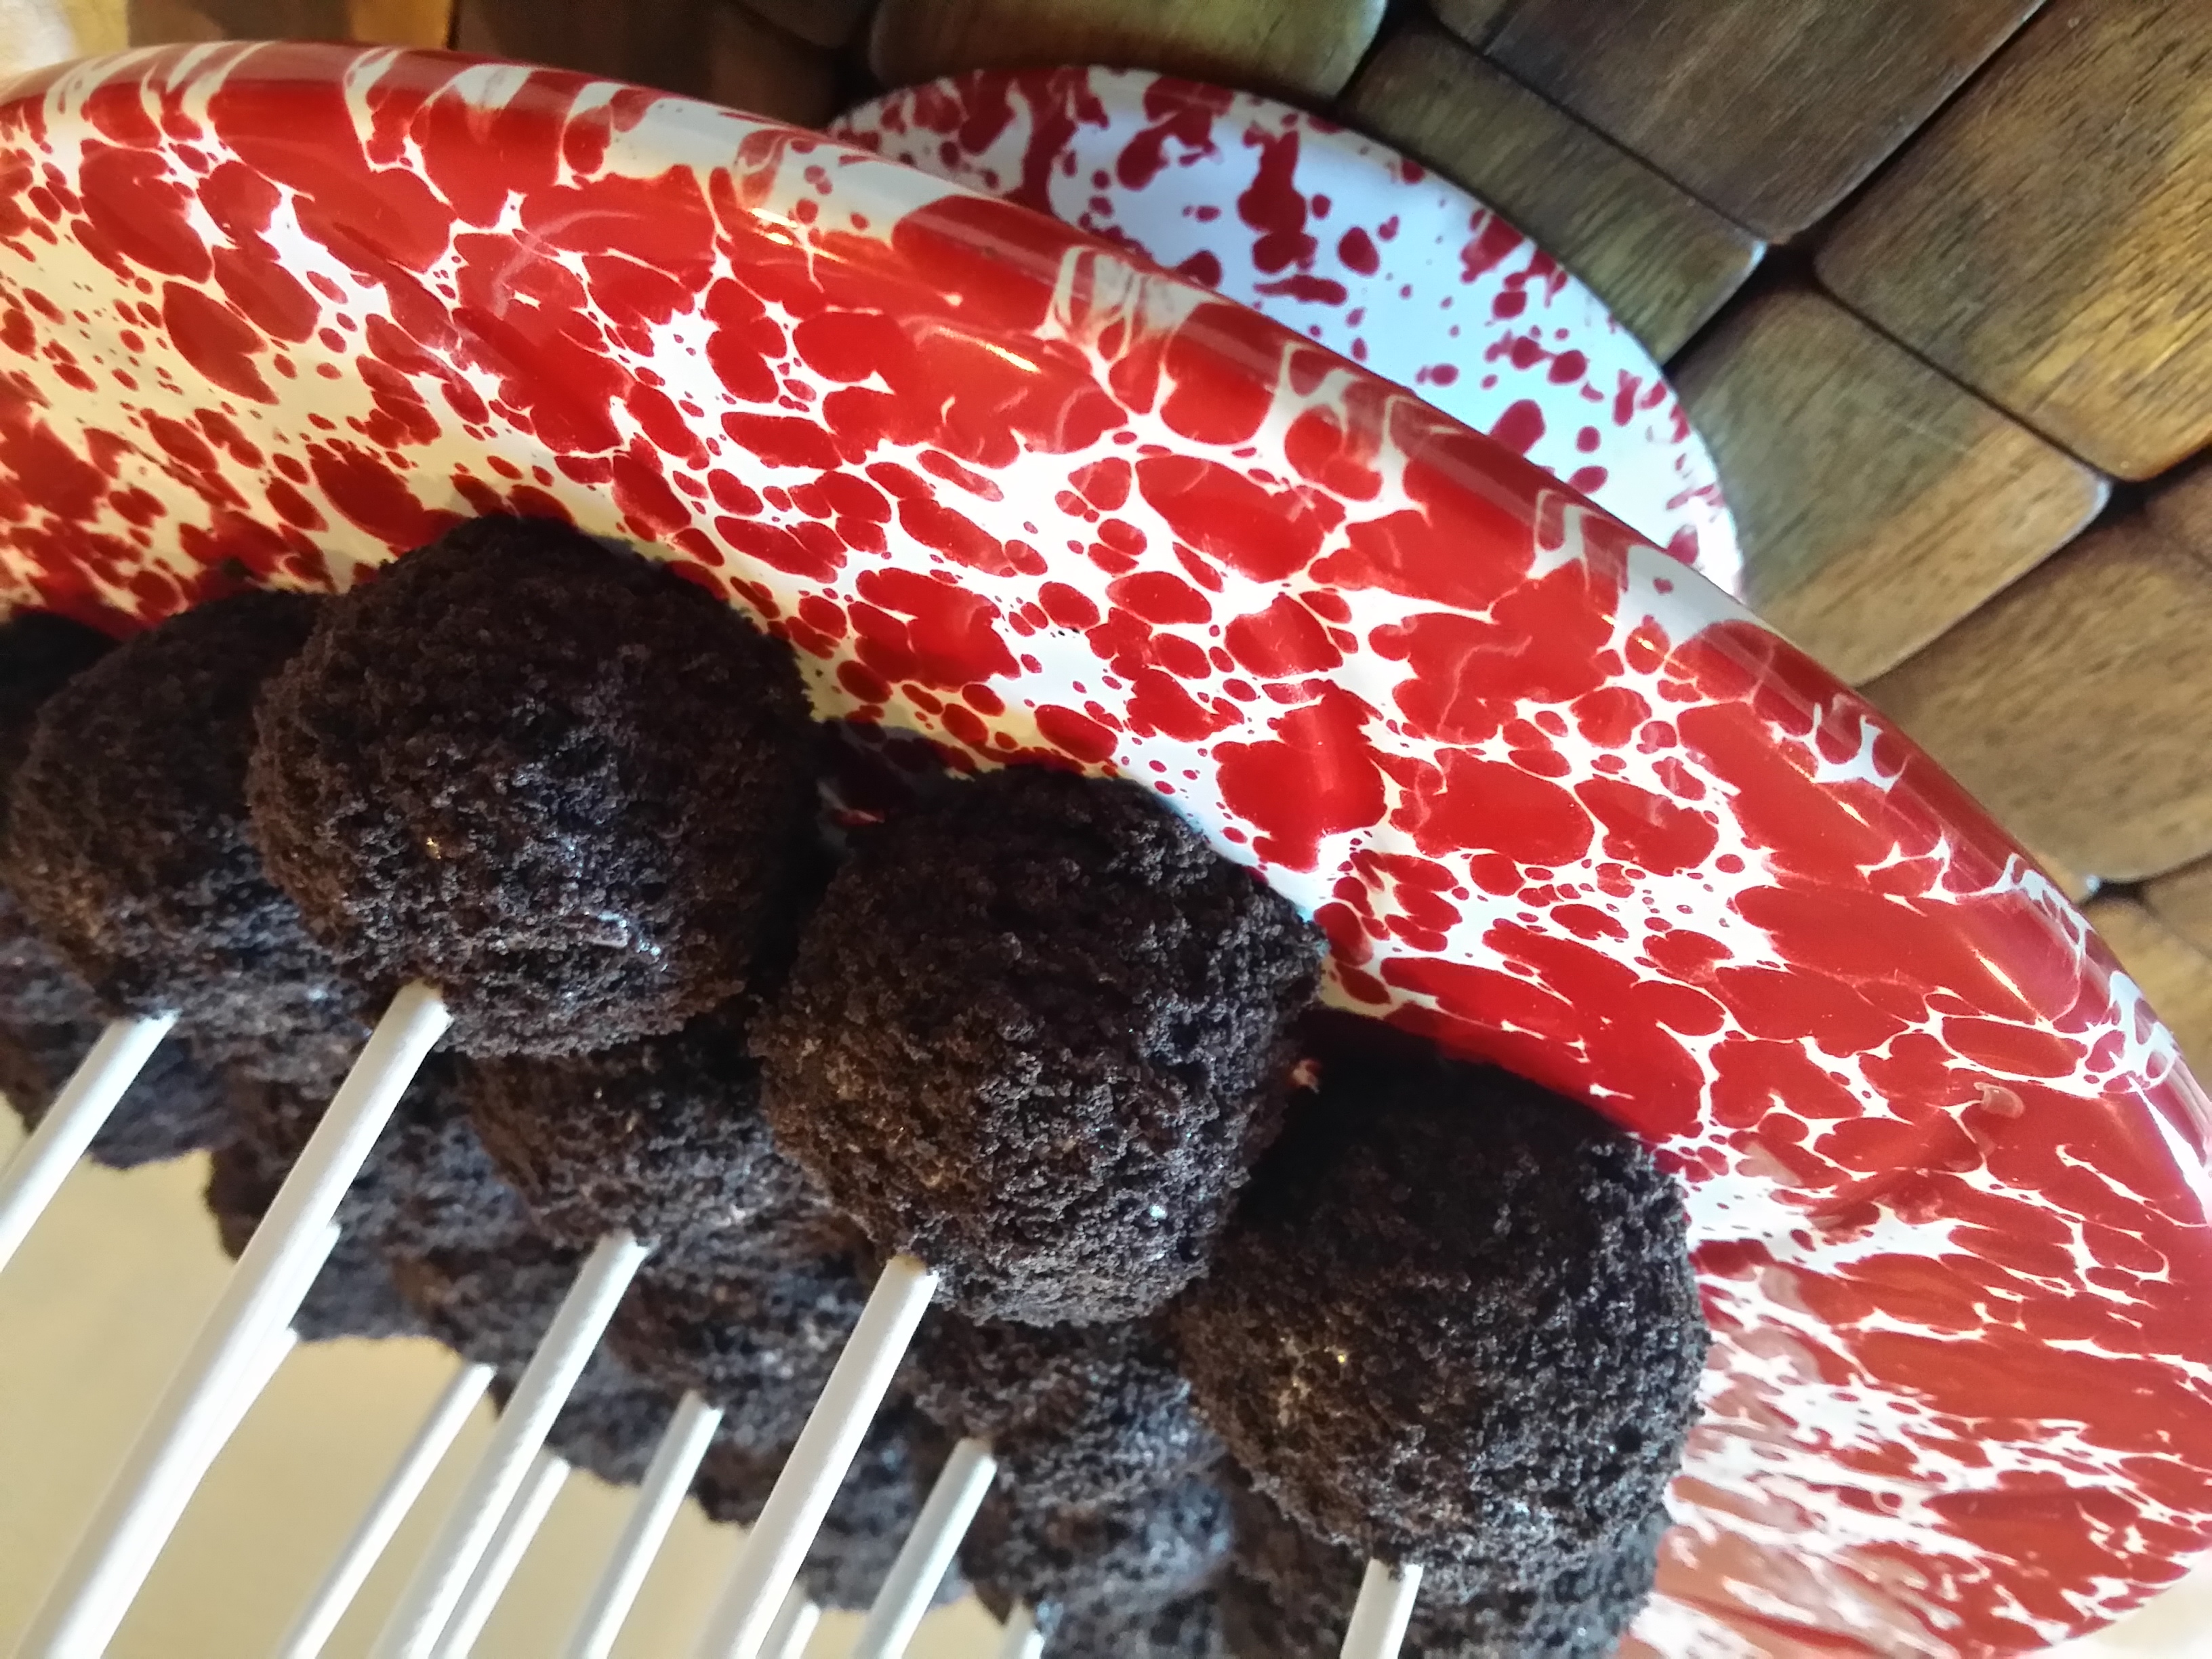
Then immediately dip your pop into the cookie crumbs. They will stick to your wet candy melts! Roll it around in the bowl and when you have gotten the base coated, tap off the excess cookie crumbs.
Then take your gummy worm piece and place it at the top, near the stick . Now you just place them on the wax paper to set.

These are a Huge Hit and are absolutely DELICIOUS!!! If you like the tutorial don’t forget to check out and share our Easy Roller (or our new Mini Easy Roller!) with your friends! It is how we keep these tutorials coming:)!
Sharing is caring!