
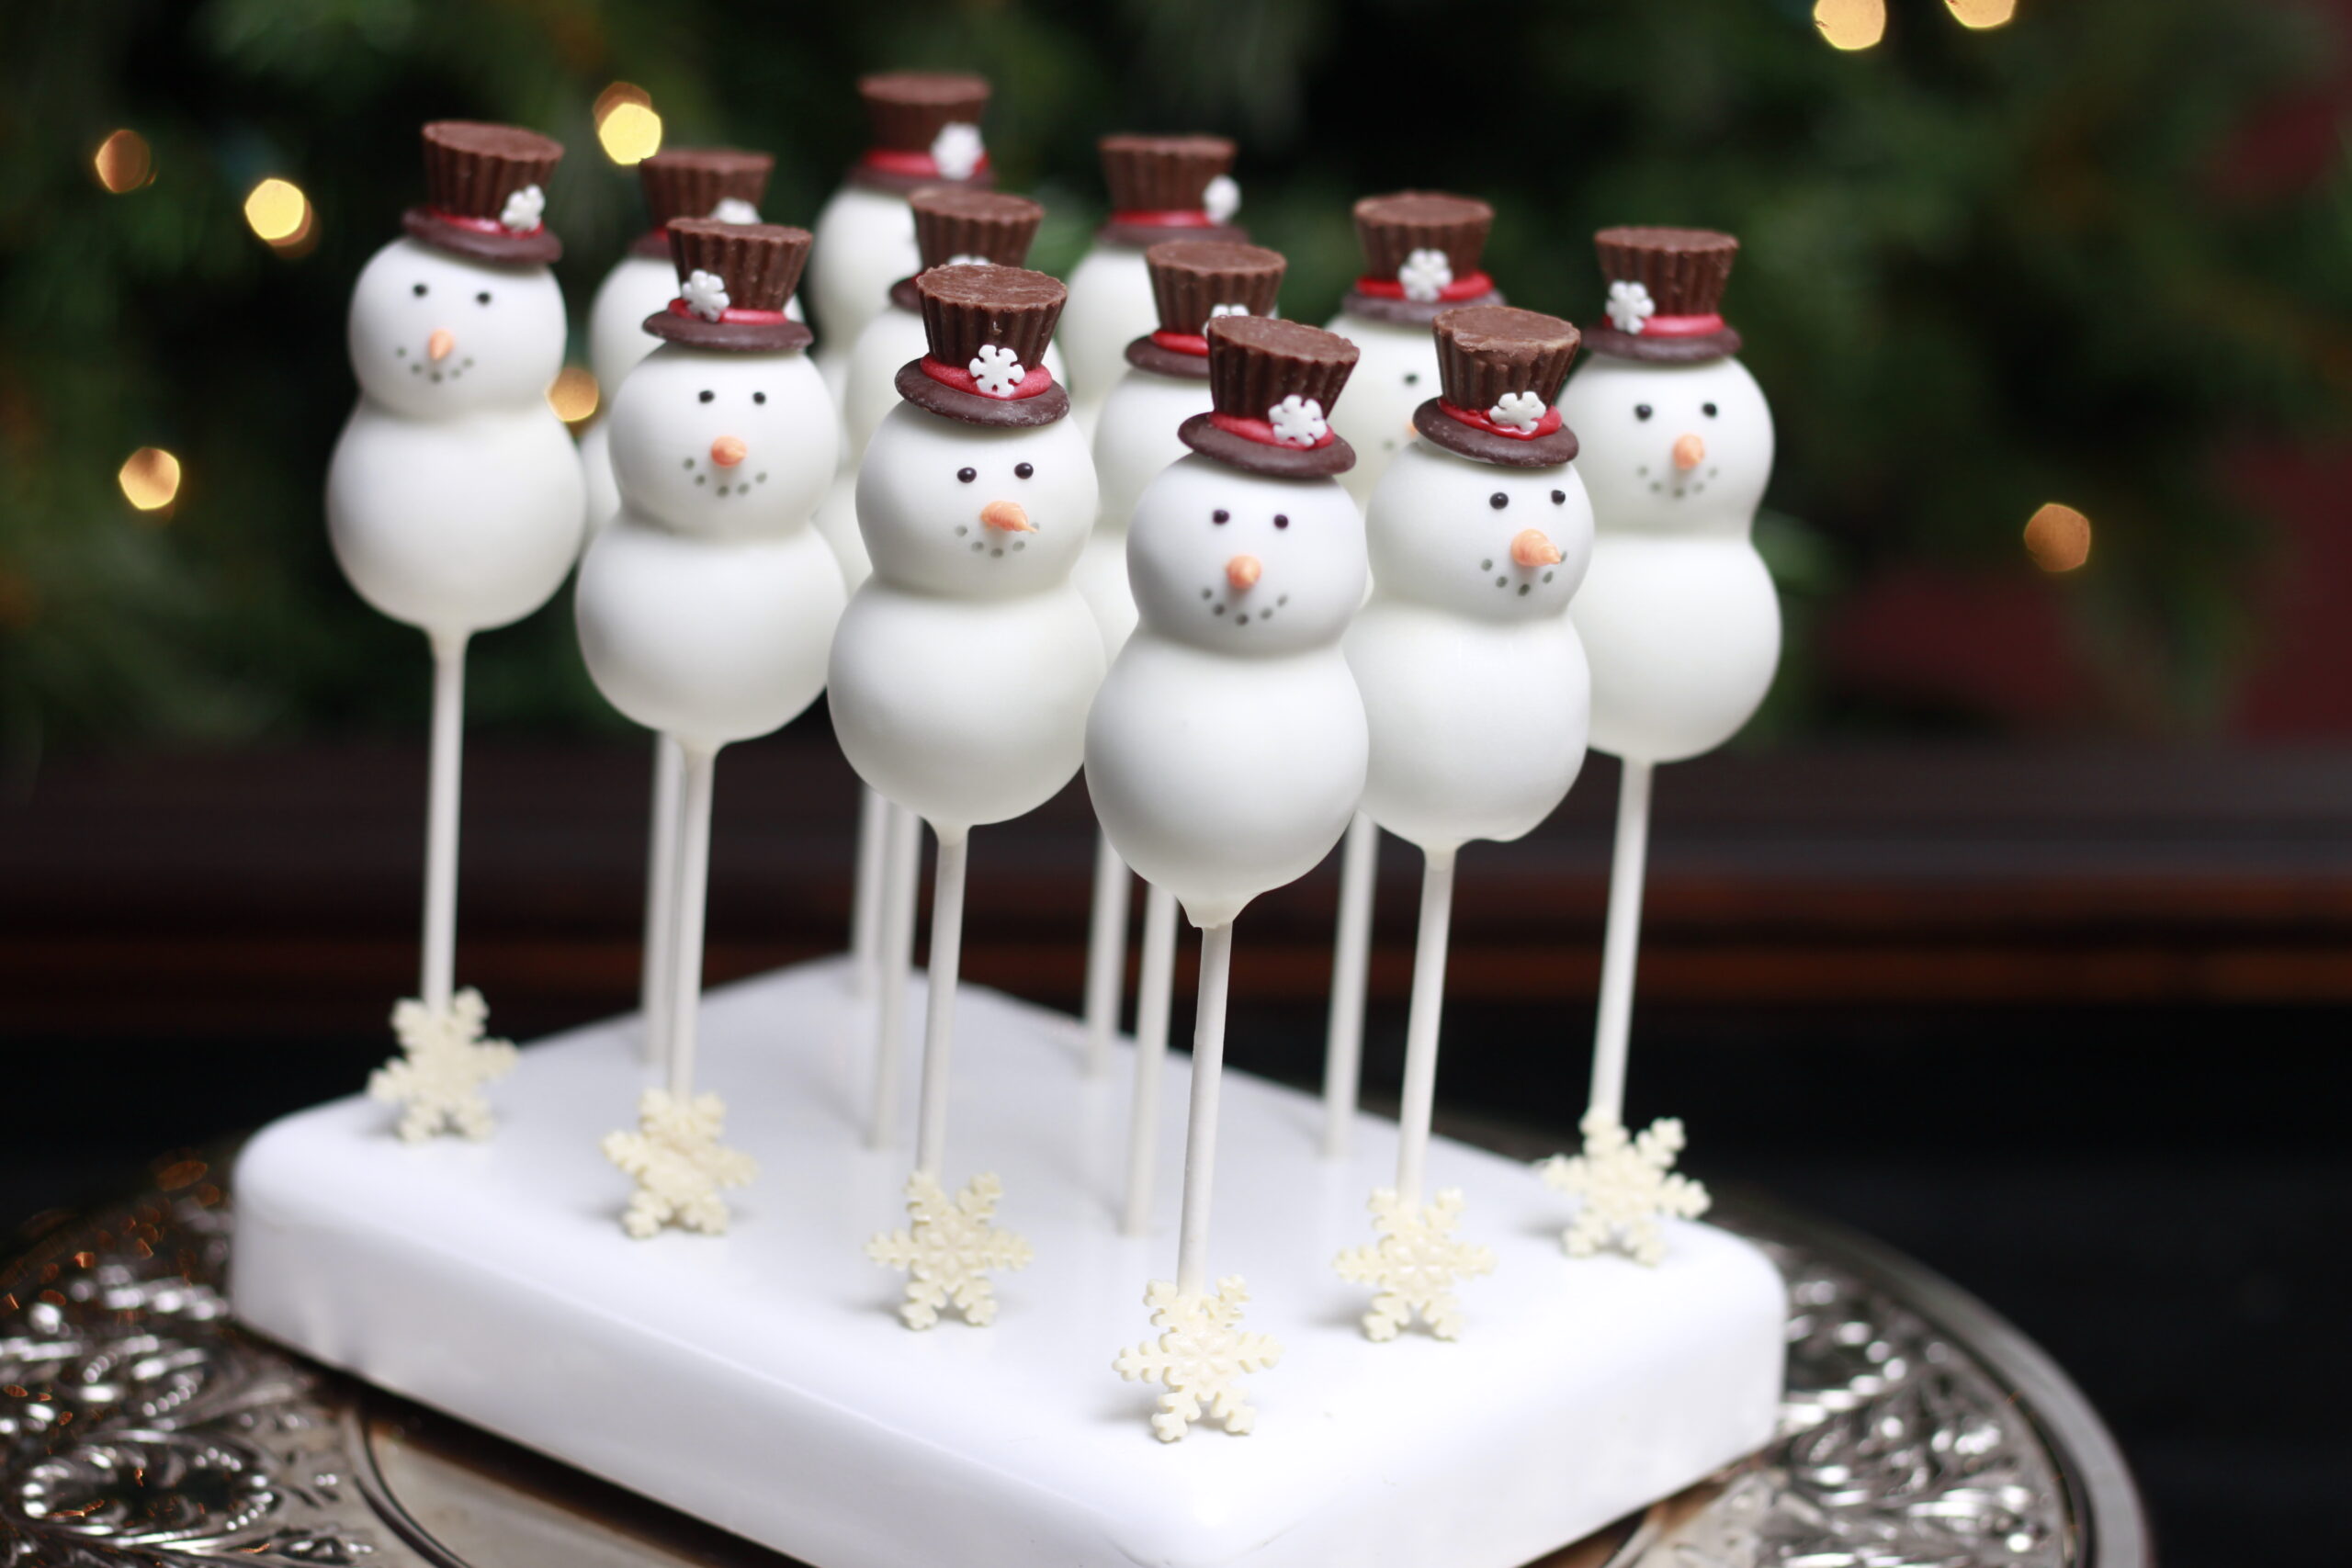

Lets Make some “Snowman Cake Pops!” These cake pops are great for the wintery, Christmas, and holiday season!
You Will Need:
Easy Roller …or our new Mini Easy Roller! (optional, but WE recommend it;)!
- Box Cake Mix of your choice (Or your favorite recipe …or leftover cupcakes or cake scraps!)
- 3 Eggs
- Water
- Vegetable Oil
- Chocolate Candy waffers
- White Chocolate Almond Bark or Candy Melts
- Red Candy Melts
- Orange Candy Melts or candy color
- Black edible marker, or black candy melts, or candy color
- Mini Reese’s Candy
- Snowflake Sprinkles
- Cake Pop Sticks
- Wax paper
Making the Cake Pop Dough
This can be store bought, your best recipe or a simple box cake mix. Once you have your Cake the next step is knead it down to dough. To do this, just crumble it down and knead those crumbs by hand with just enough frosting (or binder of your choice) into a “Play-doh” like consistency. If you don’t want to knead the cake by hand, give the food processor a try! I always use my Food Processor. It’s so much faster! A mixer with the paddle attached works just fine as well! It only takes a minute or two to go through these steps!
-

How to make cake pop dough by HCP Easy Roller
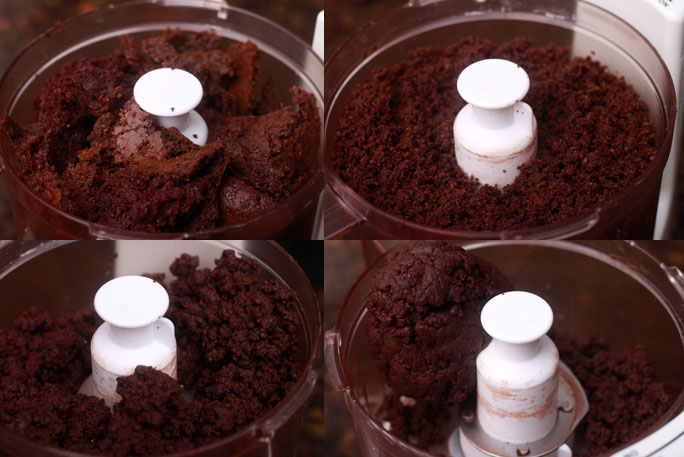
First it will break down into fine crumbs, then they start to stick to each other and form a bit bigger of a crumb and finally, if you leave it in long enough it will turn into a big ball of dough all by itself!
Rolling Cake Balls
The next step in creating these Snowmen Cake Pops is to roll the cake dough into rounds. Have you seen the Easy Roller? It will roll 21 cake pop rounds at a time! That means you will be done with this step a snap! First, measure the dough into the frame (provided). Then place the measured dough into the Easy Roller to be cut into dough logs. Then turn those logs the other way on the Easy Roller and slide just a few times! This will yield 21 cake pop rounds! Here is a 30 second demo… See for yourself:)! It is also interchangeable! I have a smaller 1 inch ball insert, a larger 1.5 inch ball insert and even a cupcake shape!
For these snowman cake pops, I made the bottom cake pop with the standard 1.25 inch ball (about the size of a pong pong ball) and the tops were 1 inch round balls (about the size of a whopper candy!)
Cake Pop Tips & Tricks
Cake pops are easiest dipped cold. However, if the dough is too cold you will find your cake pops cracked after the chocolate has set. Cake pops actually have the best outcome if they are dipped at room temperature, So if you are going to refrigerated them for ease of dipping, just make them cold enough to where you are comfortable dipping them. For this project I would say refrigerate them until you get all your toppings prepared:)!
Getting Prepared
The first step in decorating these Snowman cake pops is getting all your “pieces” together! We have the Hat, nose, eyes and mouth! Let’s start with the snowman’s hat!
The Hat

On a peice of wax paper, start to building the hats! To make these, first set the chocolate wafer down, flat side on the wax paper. Next melt the red candy melts (on 50% power or defrost in the microwave) for 1 minute. Remove and stir. Then repeat in 30 second increments until the candy melts become fluid. Then transfer the melts into a sandwich bag and cut the tip. Now put a healthy dollop of the red candy melts in the center of the chocolate wafer. Add enough on the candy wafer so when you place the mini Reese’s on top it, the red candy melts Ooze around the base of the mini Reese’s! Place it on top, upside down! Now add a snowflake sprinkle and let the red candy melt set and all those pieces are fused together.
The nose and mouth can wait till you are done dipping the cake pops, but I wanted to talk about them before moving too far ahead.
For the Nose
We are going to melt just a few wafers of the orange melts. Since there is just a few, melt them in the microwave right in the sandwich bag. However, this time, 50% power in 30 second increments. If you have candy colors handy (they are not that handy, just online or possibly your local craft store!) you can put a few drops in your left over white and make your own orange!
For the Mouth
I have edible markers, I have been doing this a while;) But if you don’t, you can do the same thing as the orange. Just heat up a little bit of the black candy melts in the sandwich bag. I will say black is even harder to find if you didn’t pick some up after Halloween!!) If that is the case for you and can’t find any, the milk chocolate will work just as good and taste even better!
Lets Start Dipping Cake Pops!
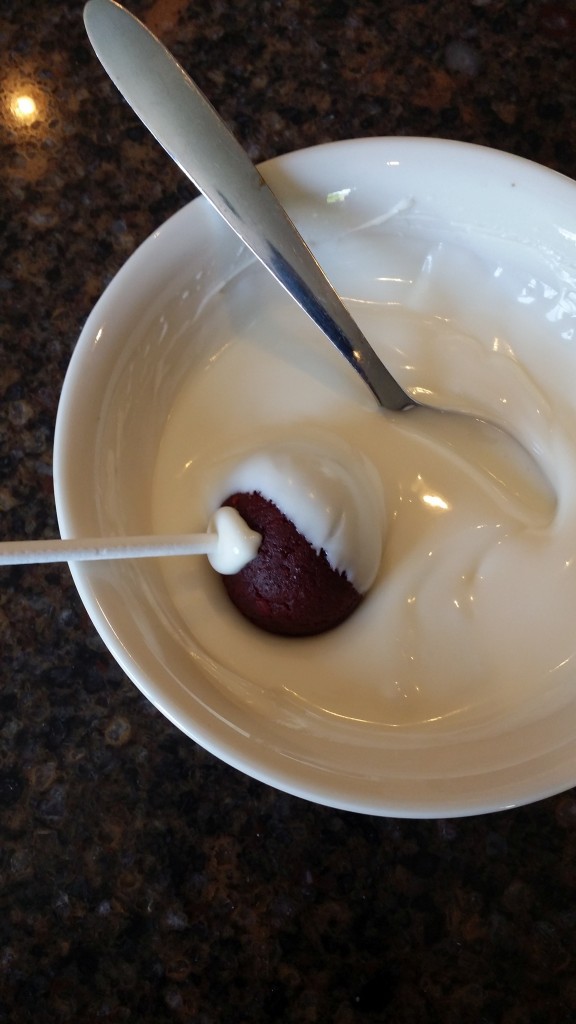
Next melt the white candy melts (on 50% power or defrost in the microwave) for 1 minute. Remove and stir. Then repeat in 30 second increments until the candy melts become fluid. Then dip the cake pop stick into the candy melts and then into the cake ball. This will act as glue for the stick! Continue until all the larger pops have sticks! When that “glue” sets its time to dip the entire pop into the candy melts. Tap off any excess and place it upright to set. As it is still wet, add the smaller cake ball to the top. Continue this until all the larger cake balls are dipped and the smaller (naked) ones are on top.
Once all those have set, go back around and dip the tops into the candy melts. Place those back on a cake pop stand to set up. But before they set completely, add your pre-assembled hats!
Now you are almost there!
All that is left is to add the Eyes, mouth and Nose! Just dot the Black candy melts, milk chocolate or use the edible marker to put small dots for the Eyes and mouth.
The nose…
Take the Orange candy melts you melted and wait for them to cool off a bit in the zip lock bag. The cooler the melts are the faster it will set up and the thicker it will come out (with control). I like to make tiny circles for the base and kinda wiggle it out for some depth, and hold it until it sets up enough to hold a carrot shape 🙂

There you go! Perfect little treat to share this holiday!
If you like the tutorial don’t forget to check out and share our Easy Roller (or our new Mini Easy Roller!) with your friends! It is how we keep these tutorials coming:)!
Sharing is caring!