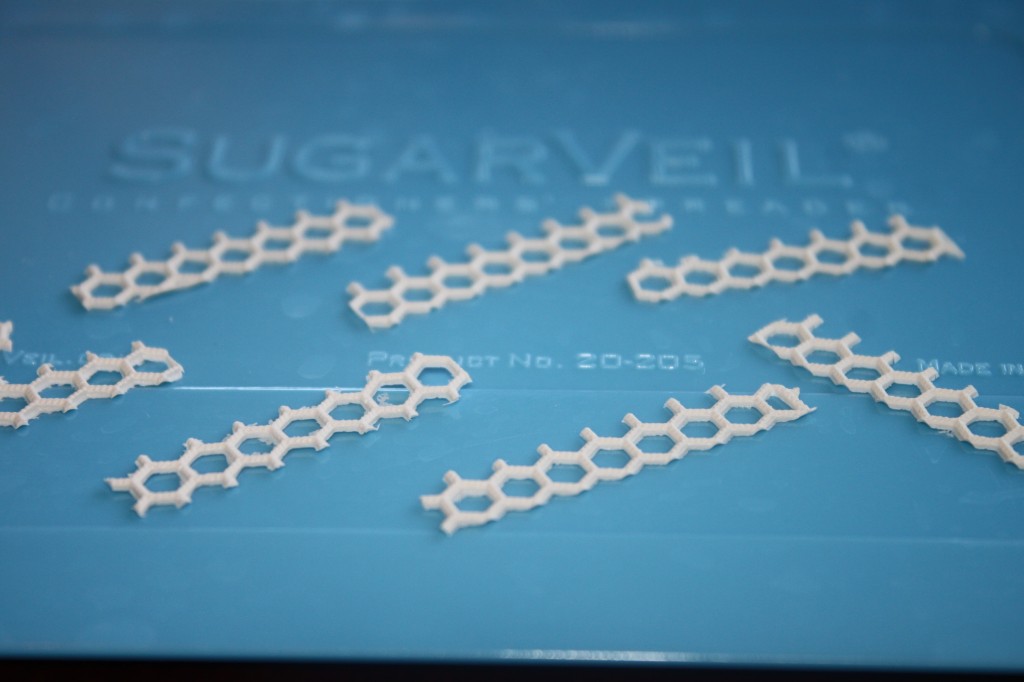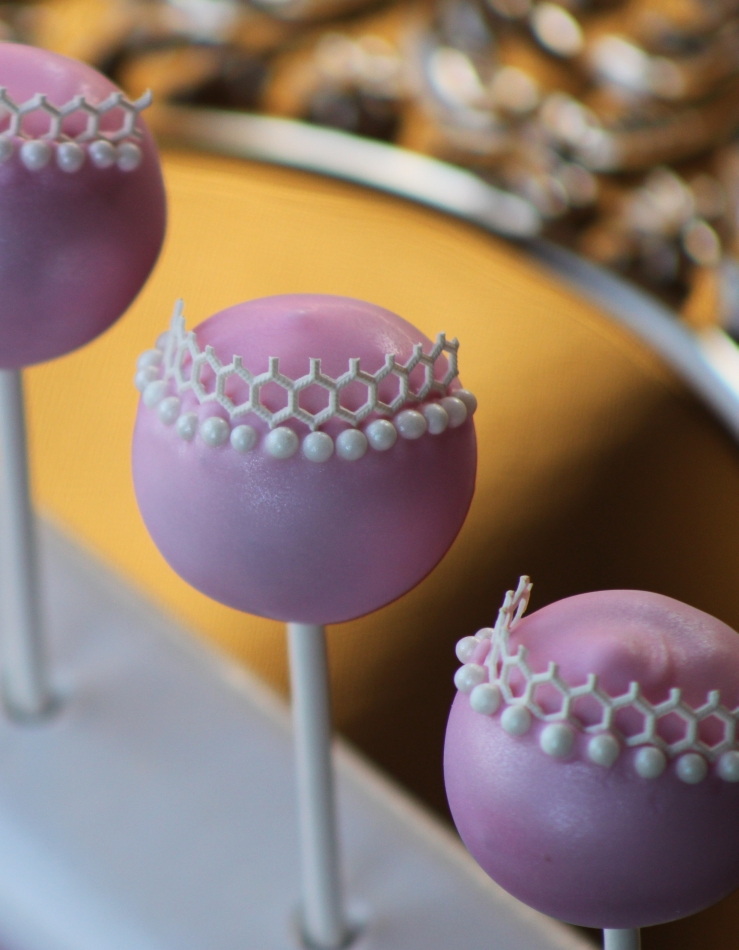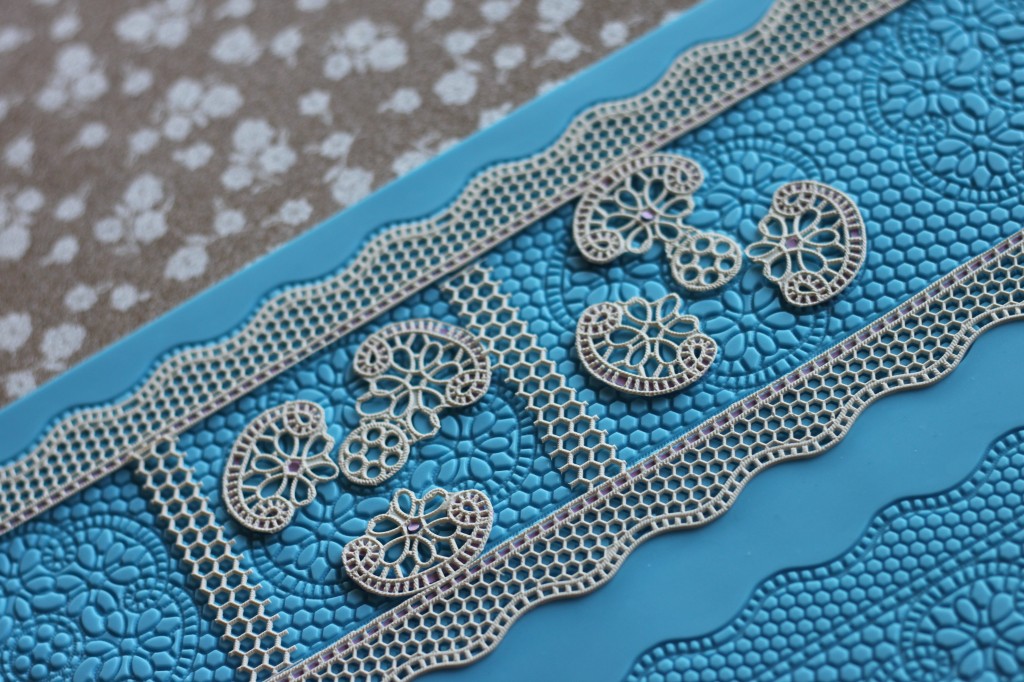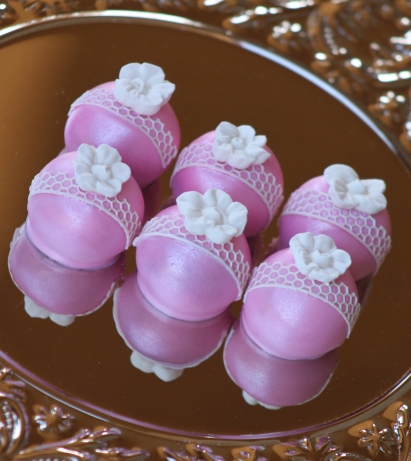
Has anyone heard of SugarVeil® Icing? If not, it’s about the coolest thing ever …next to my Easy Roller… of course;)! There are so many things that can be done using it. What is SugarVeil® Icing you ask? SugarVeil®, the original edible lace product, was invented by Michele Hester more than ten years ago. It’s a great-tasting product without chemical additives or preservatives that, when mixed with boiling water can be spread onto a Lace mat or just piped onto any edible project (cake pops included)! When you pipe your SugarVeil® you can do it directly on your work surface, OR you can pipe it on to parchment paper and peel it off and apply it after it dries, it bends and twists so you don’t have to be limited to just flat forms:)!! Of course they have a Icing Dispenser as well! It is so much fun to play with! It is like a piping bag and airbrush in one.
Also if anyone has ever piped “dots” then you know what a pain those are! They always have that “point” to them… However, with the SugarVeil® Icing, they just sink right back in and… perfect dots! Exciting right!? My favorite part is the mats you can choose from. My mat has a little doily in it and I love this one! Once it’s dry you can wrap the entire sheet around the cake, OR cut out the pieces you like and apply just those pieces. As an example you can cut just the doily’s out and place it on a cookie or it looks really fancy in your tea or hot cocoa, or cut out the smallest pieces for cake pops;)!
Here is how it works:
I have mixed my SugarVeil® with boiling water (and a little purple food coloring), and let it sit in the fridge overnight.
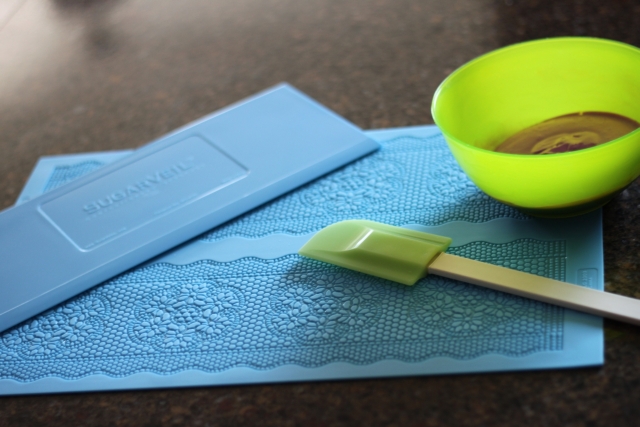
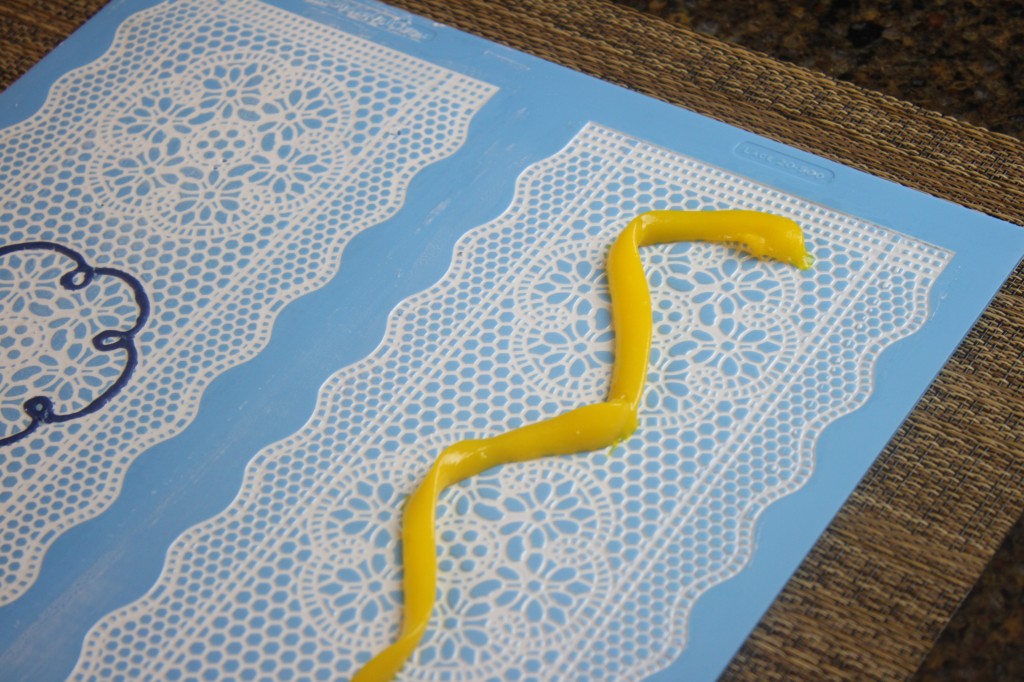
So here is everything I need to start! My Spreader, the mat, a spatula, and the SugarVeil® is pictured below.
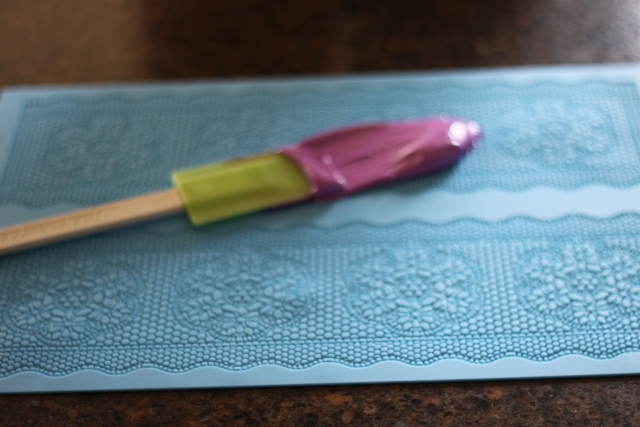
Take your spatula and spread a little SugarVeil® onto the mat.
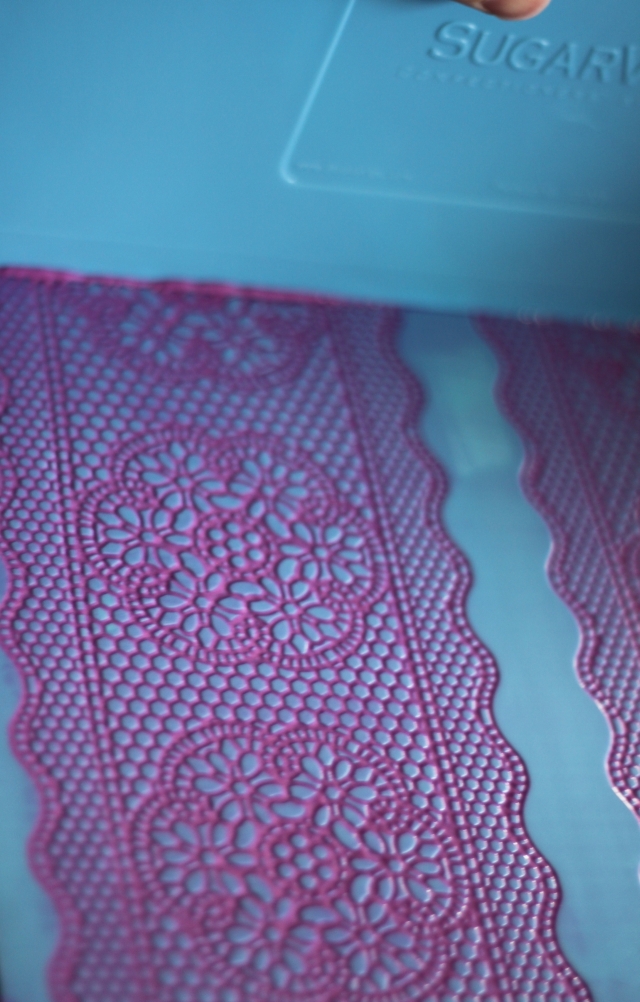
Then use the spreader to push the SugarVeil® into the lace mat. Make sure to swipe over it a few times for even coverage! When you have it completely covered, wipe the spreader clean and take one final pass over the mat. This makes sure all the intended open areas are open:)
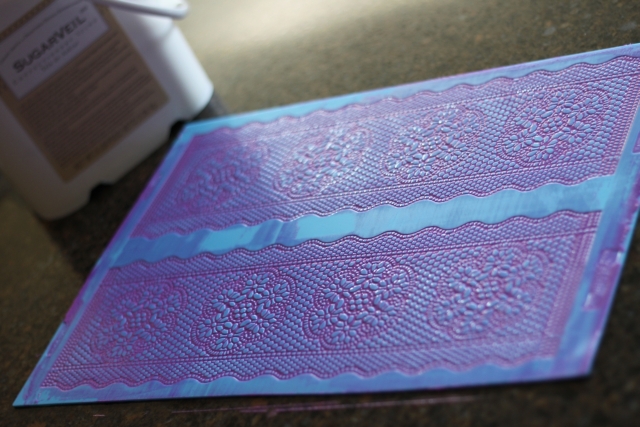
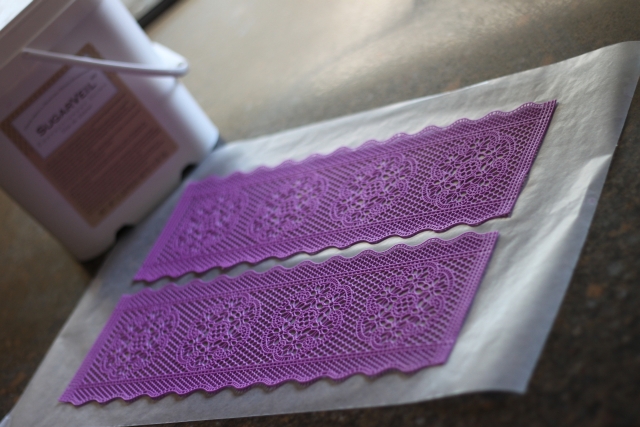
Ta Da! Now you will let this set till it dries! It can take up to a full day to dry (and it will depend on where you put it and where you live on how fast it dries) I have a hard time waiting, so I put mine in the oven at the lowest setting (I think its 200 F) and when it reached that temp I turned it off and just let it sit in there. Guess what?! It was dry in about 20 minutes:)!!
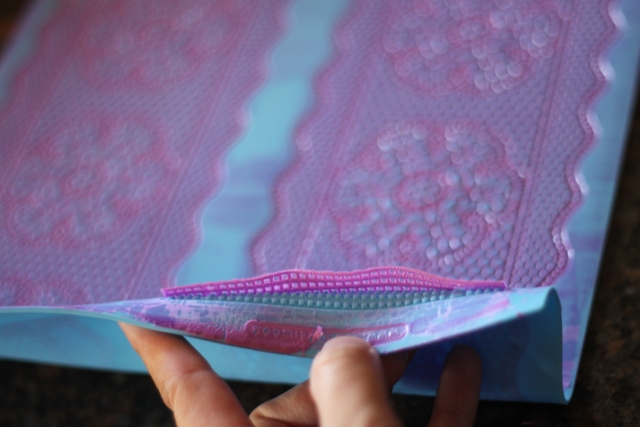
You know its ready when you can bend the first 1/4 inch or so and it comes off like this!
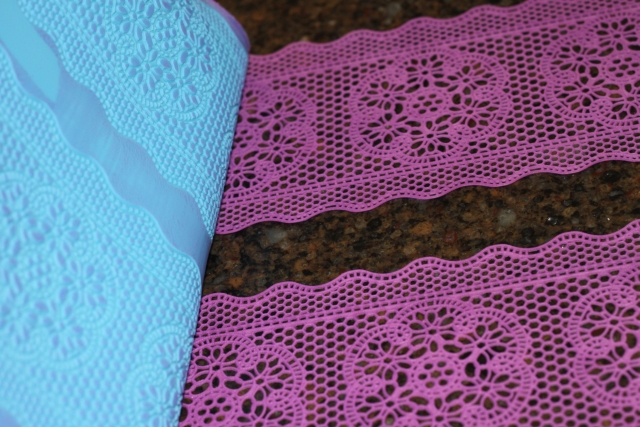
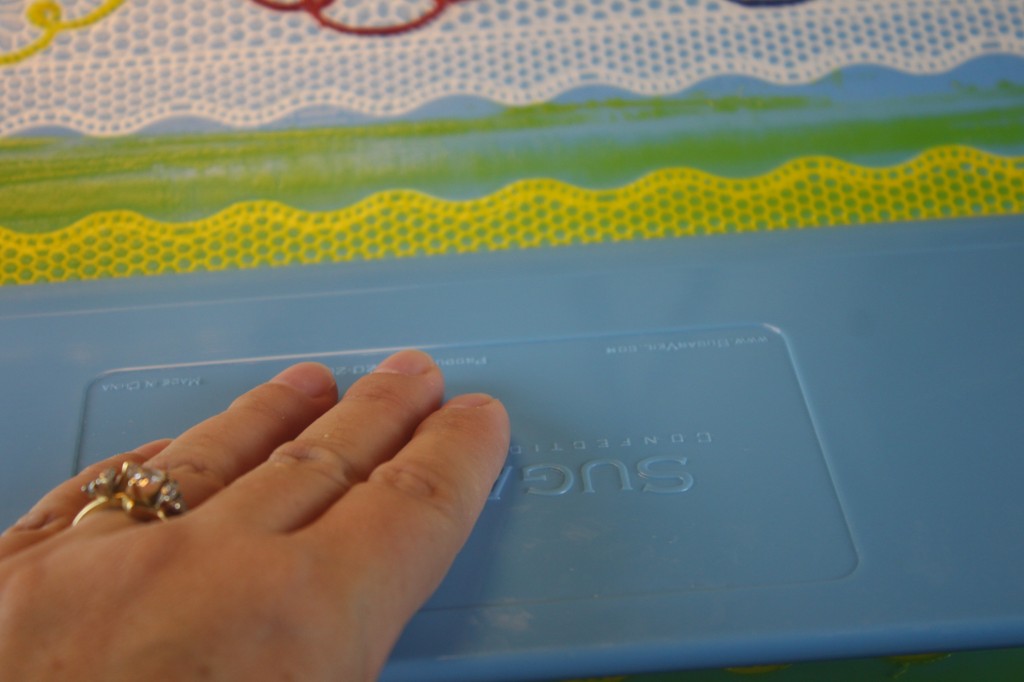
To Release it from the mat, turn it upside down. Take the spreader tool and hold down the lace, then remove it from the mat about 2 inches at a time, replace the spreader tool closer to the mat and pull the mat back again. Repeat until the lace is free! Always pull the mat off the lace NOT the lace off the mat if that makes sense;)!
Here it is!
Once you get going with SugarVeil® Icing the possibilities are ENDLESS!! I have so many Pictures to share with you!
Check this out:
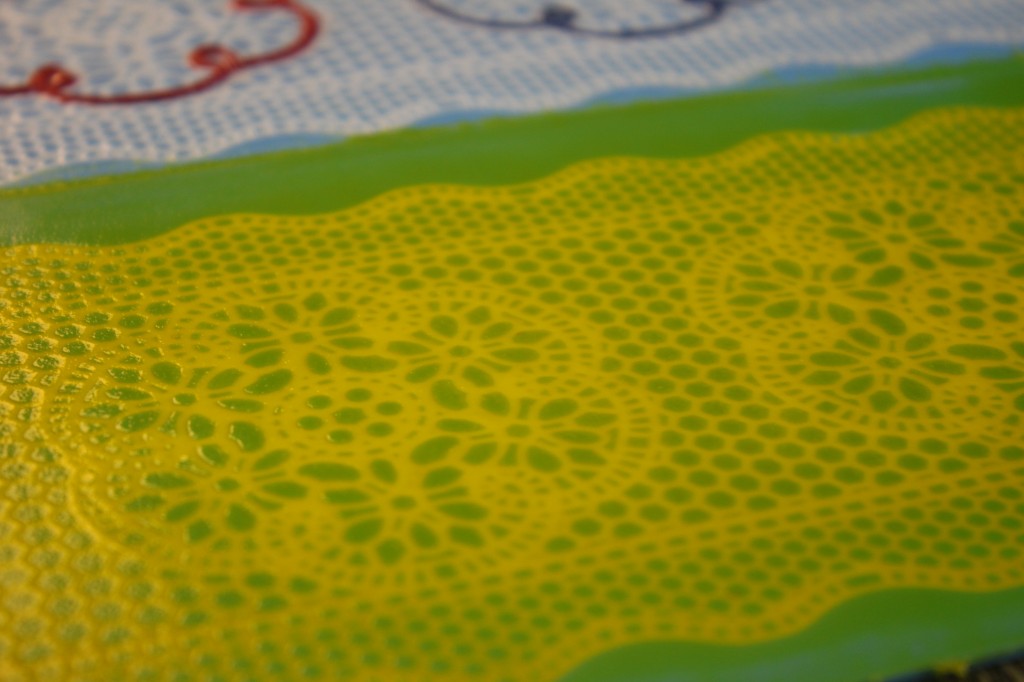
One side I used White SugarVeil® Icing and then tinted the remaining icing with gel color to put in the icing dispenser and just piped the outer edge for the “threaded” look! Then the other side I used a second coat of yellow on top to give it a different look…A Dual Layer affect! So after the white layer has dried, put the second color over top:
Use the spreader to give it a even coat all over:
Then let it dry after you have accomplished this:
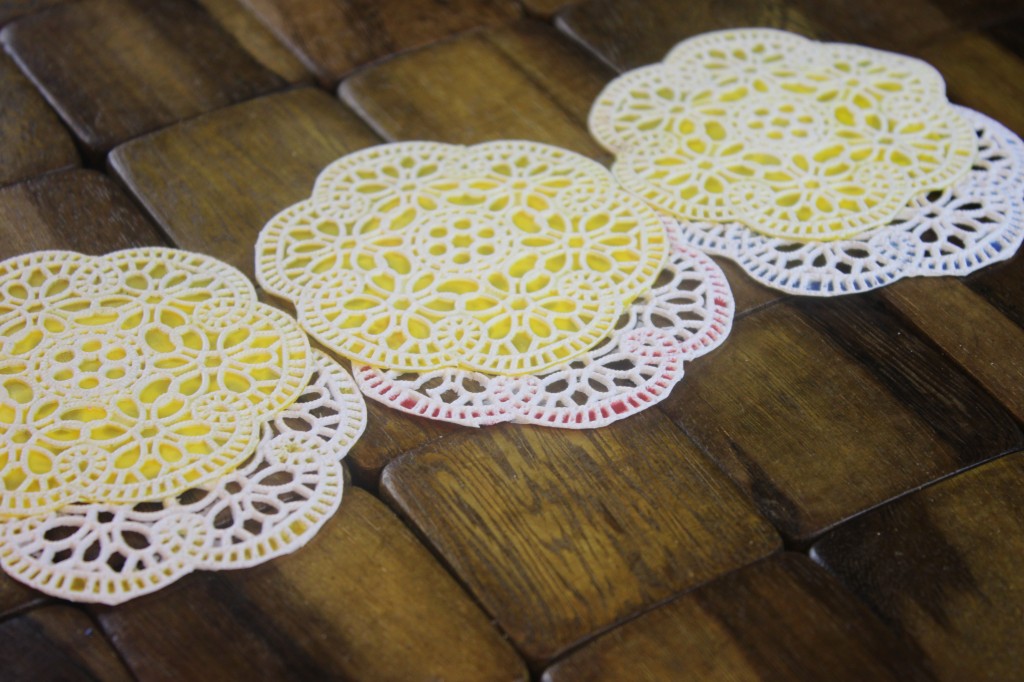
Then after it dries and you cut it all out:
I love these cake pops I made with dual layer SugarVeil® Icing technique and the Lace kit (along with a few button molds):
With SugarVeil® Icing you can use it as a full sheet or cut it all up and use your imagination to come up with all different designs and ideas! Within Each mat there are so many possiblilties!! Even the simplest cuts and shapes can be an amazing cake pop decoration… Like this little piece:
With that little piece I made a very popular “Princes Cake Pop”!
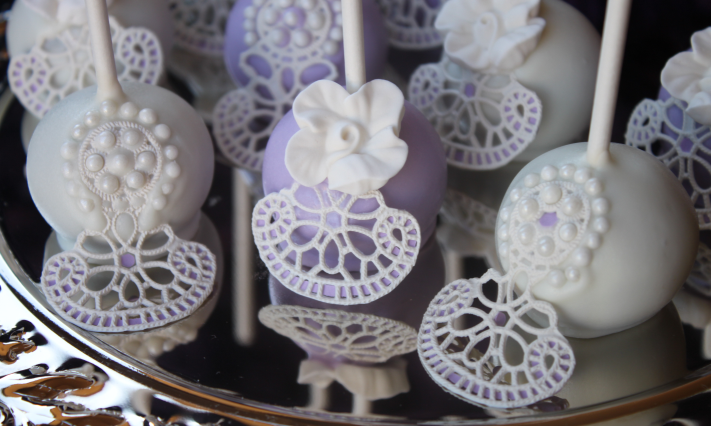
With just these Cut outs I made some more gorgeous wedding cake pops:
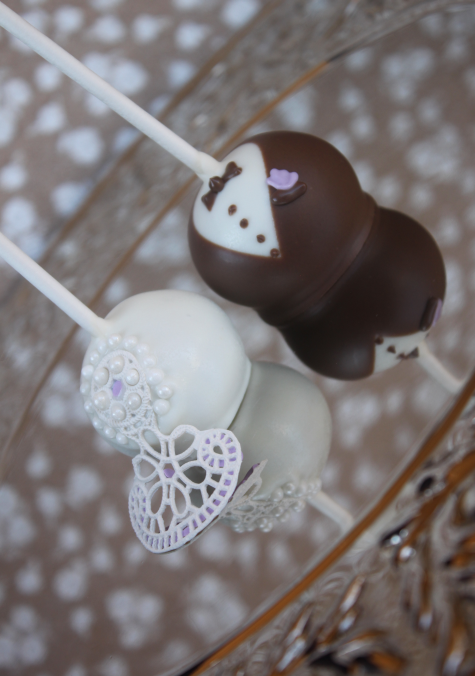
Here are a few examples of Wedding Cake Pops!
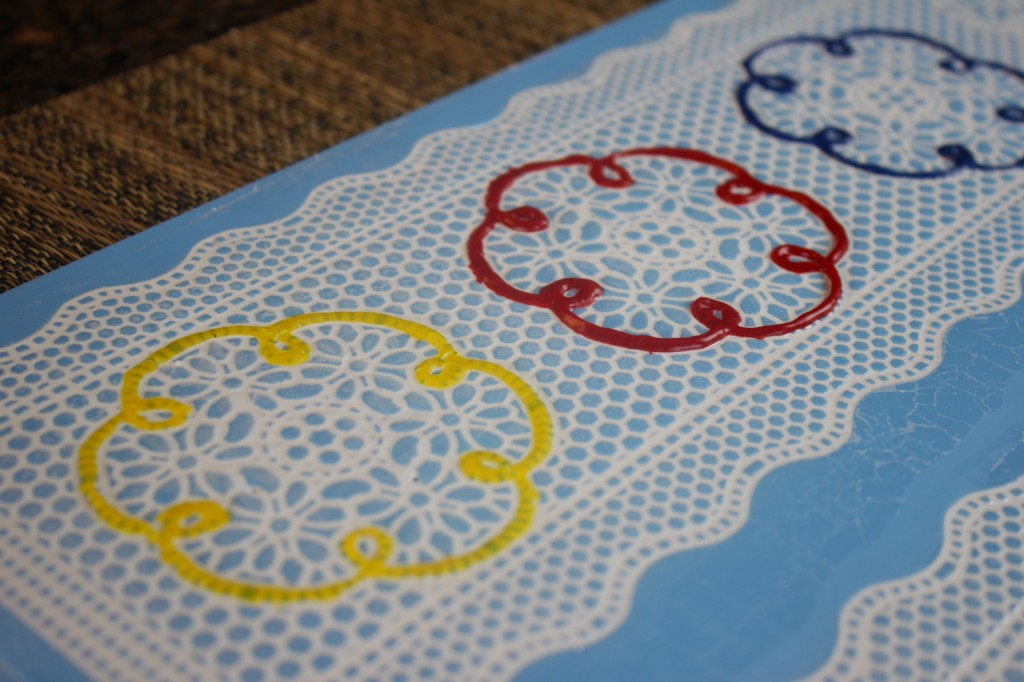
Notice the Purple I piped on with the Icing Dispenser:)!!
I just love these as a “couple” 🙂
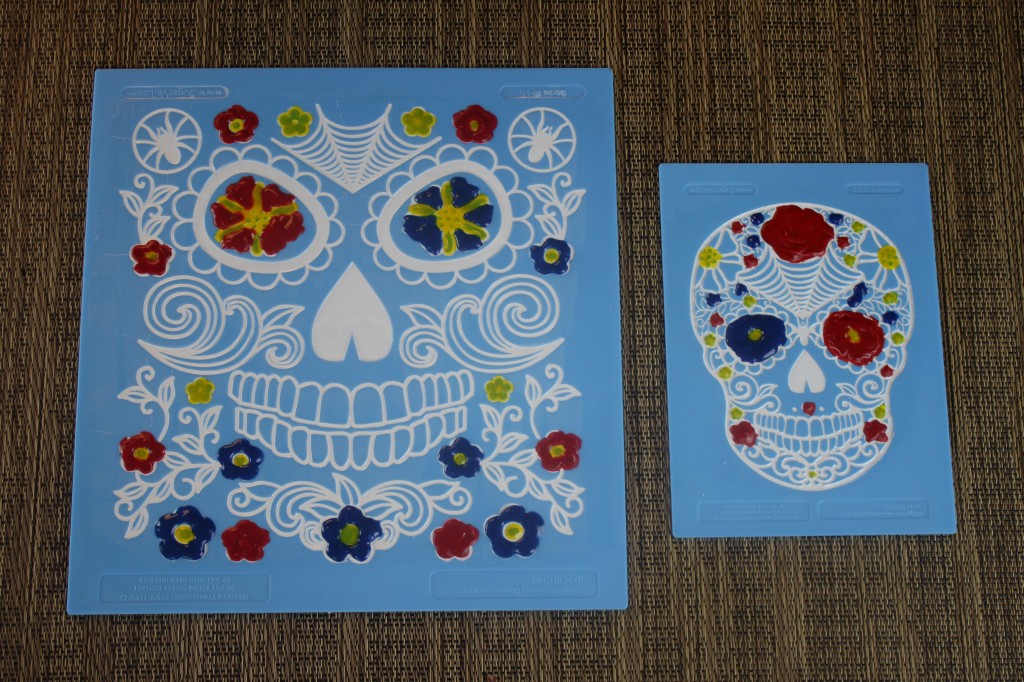
So when you look at a SugarVeil Mat, don’t just look at the whole piece, look at it in sections and think how many designs you can get out of one mat! …Like this mat that came out in October 2013… it is not just a sugar skull it is a wealth of flower cut outs! I love these to accent my cake pops! And yes, I used the Icing Dispenser to color in the flowers:)!
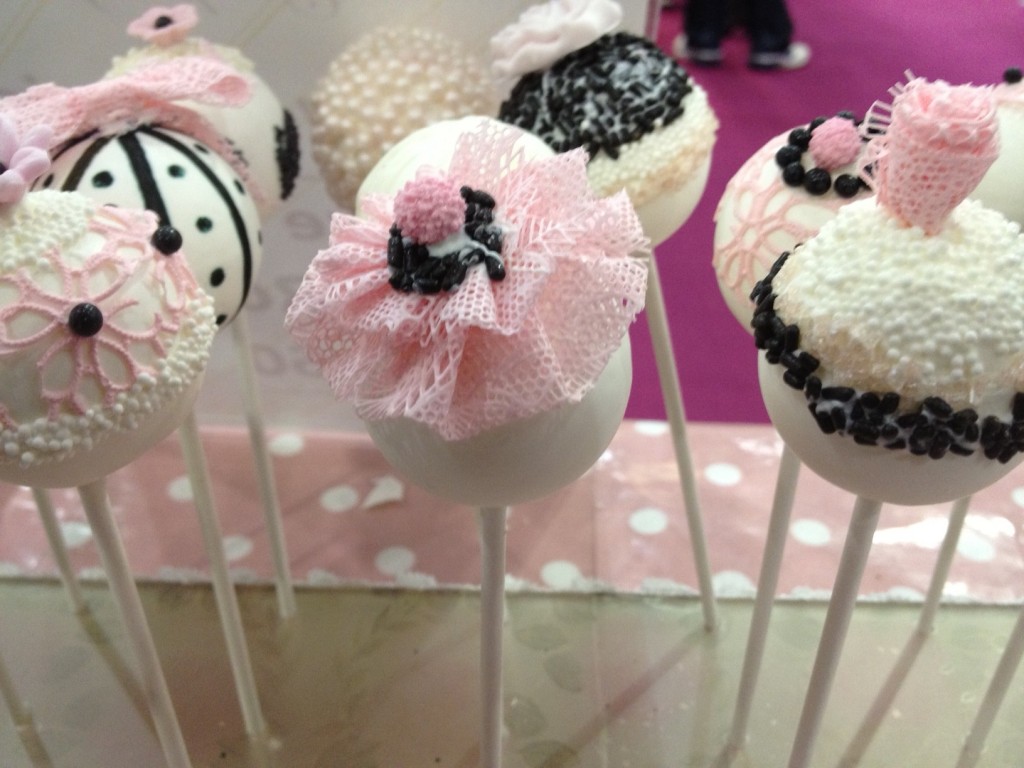
Take a look at some of the other cake pops and creations I found using Sugarveil:
These Sugarveil Cake Pops were displayed at the Cake International a couple years ago!
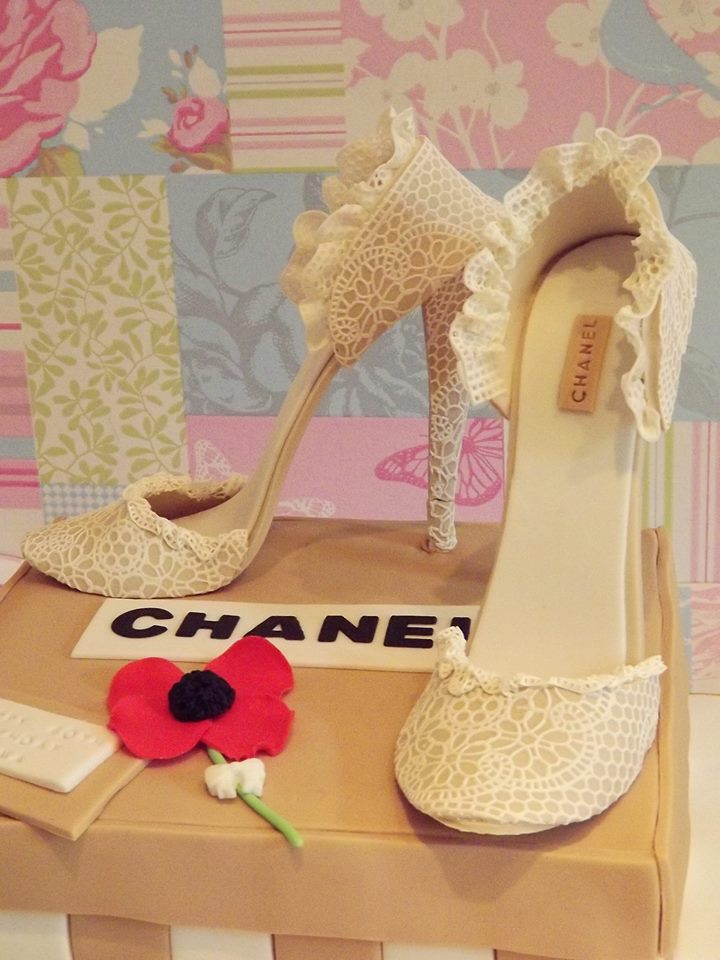
High Heels are all the rage, check these out from Cakes By Adele:
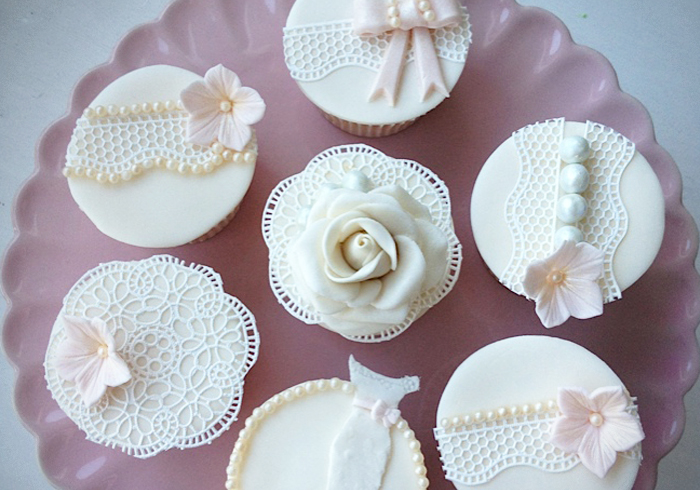
Check out these cupcakes from Lady Berry Cupcakes
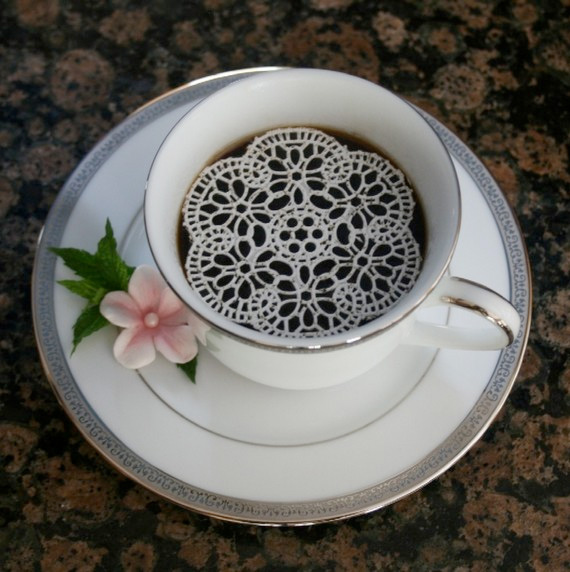
See how fancy it looks in Oh afternoon snack’s tea!
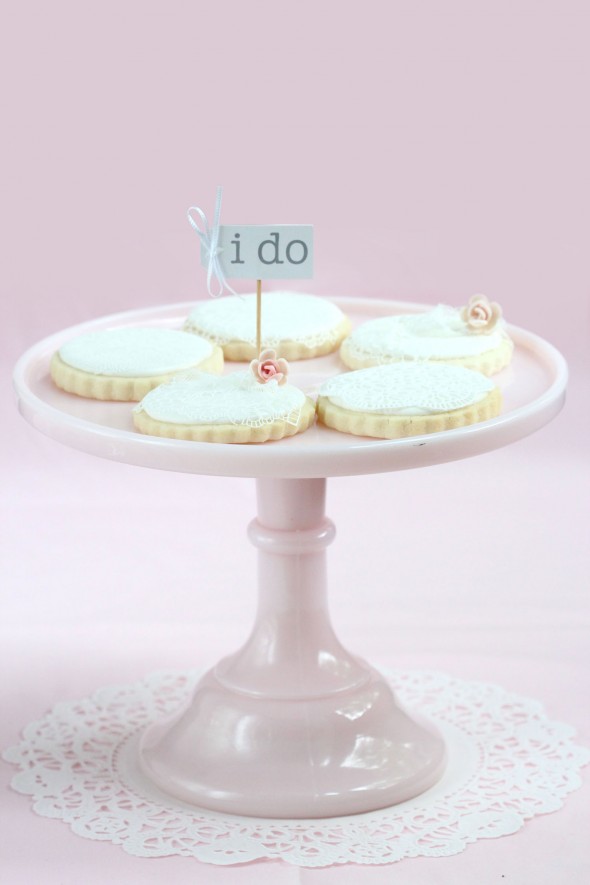
On Cookies …I love these from Sweetopia
Designer Cakes by Deb made a beautiful cake with this same SugarVeil® Icing mat!
So many possibilities, What will you come up with?! I cant wait to see:)!!!
***Don’t forget to check out & tell your friends about our Easy Roller, this is how we keep these tutorials coming for you!

