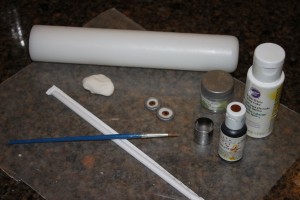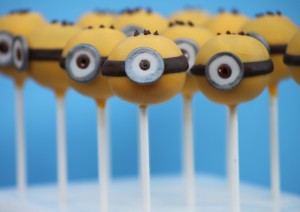
Cake pops can still look like the cute characters we all love without all the work!! I think that as long as your little one can recognize the character you made, then…SUCCESS! I made these Simplified Minion Cake pops and they came out so cute I thought I would share!! I Started with the eye of the goggles! Here is what I had: some fondant (Candy Clay would work too) Silver Pearl Dust, White icing color, Brown Icing color, small circle cutter, Rolling Pin, Straw, & Paint Brush
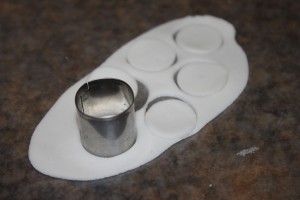
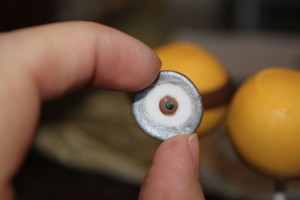
Start by rolling the fondant out flat, and using a circle cutter to cut out as many goggles you need!
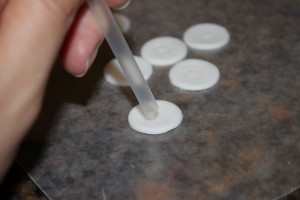
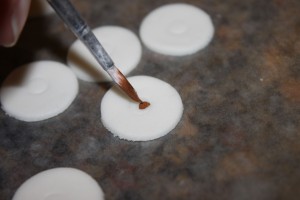
I used a straw as a template for painting the color of the eye.
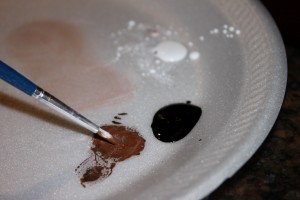
Next mix the white and brown (unless you have a light enough brown)
Then paint with the food color inside the straw mark:)!
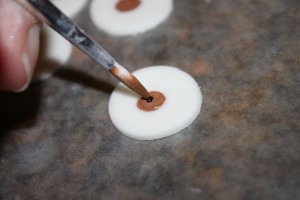
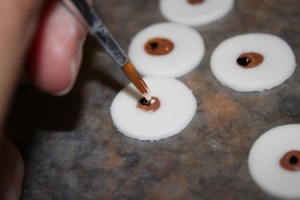
I used the brown straight for the pupil so I didn’t have to look for a bunch of colors…
Next add a small white dot… every Minion needs a little sparkle in their eye;)!
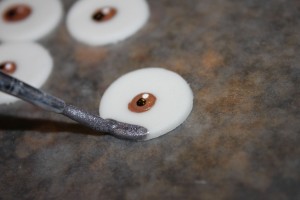
Next mix the Silver shimmer with a little vodka, or lemon juice and paint the rim of the Eye.
Set these aside to dry. All these can be done in advance if you want to break things up!
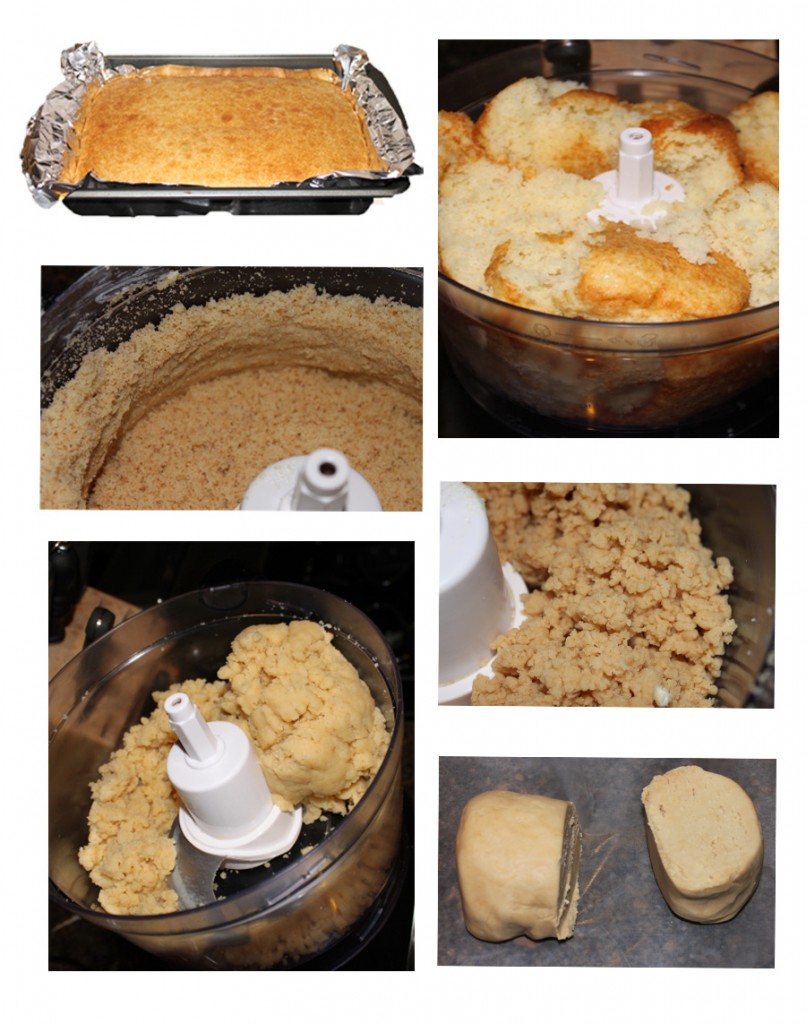
Now that the decoration is complete, it is time to make the cake pops:)! All Cake Pops start off with a baked cake! This can be store bought, a box cake mix, or your best recipe! After the cake is baked you are going to crumble it down and knead those crumbs into a “Play-doh” like consistency. I always use my Food Processor to do this, but a mixer works just as well! It is much faster and you will get more consistent results. Take a look at the steps it goes through in about 1 minute! First it will break down into fine crumbs, then they start to stick to each other and form a bit bigger of a crumb and finally if you leave it in long enough it will turn into a big ball of dough all by itself! Take a look at what that looks like. It doesn’t come across as well in pictures with chocolate cake, so here is a vanilla:)!!
The first step in creating these Easy Minion Cake Pops is to roll the cake rounds. I know Minions are more Oval, but remember these are Easy Minions:)!! I couldn’t make cake pops without my Easy Roller! Have you seen it? It will roll 21 cake pop rounds at a time, which makes this step a snap!
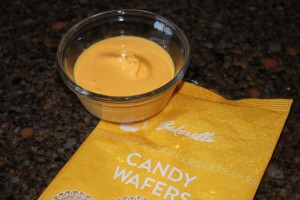
Once you have all your cake rounds it is time to dip them in Yellow Candy Melts! I got these Bakerella Candy Wafers as a sample from Cake Pop Con and they were perfect for this project! Especially since the first Minion Pops I had seen was Bakerella’s amazingly cute ones!! Melt these in the microwave on 50% power for 1 minute and stir. If they haven’t melted completely then put them back in the microwave on 50% power for 30 second increments until they are just about fluid. They will still melt outside the microwave as you stir so if there a few wafers left, just stir till they are melted! You don’t want to over heat them.
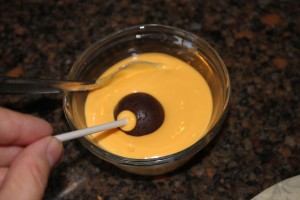
Dip the stick into the melted candy wafers and then into the cake pop. Then dip the entire pop into the candy melts
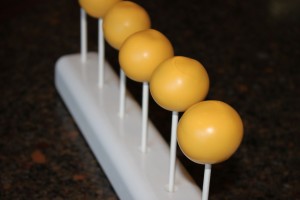
Place them on your favorite cake pop stand to set!
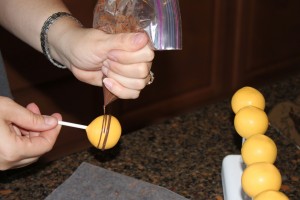
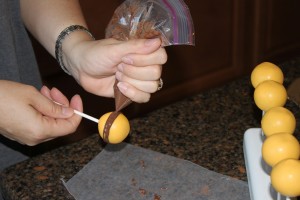
Next melt some milk chocolate melts (Easier and more readily available then black). What we are going to do is slowly turn the cake pop while holding the piping bag still and giving it an even pressured squeeze! Let the turning of the pop in your other hand draw the line around the cake pop. If you try to pipe a line around the pop it’s much harder and may not look as nice. Go around a couple times so its a little thicker.
Then use the tip of the piping bag to merge the chocolate together into a band.
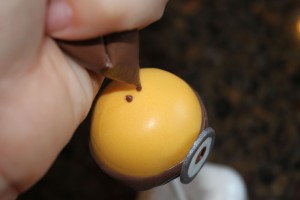
Before that sets, place one of your eye decorations on the band of chocolate and when it sets it will be “glued” on!
Just as a final touch I added a few piped dots for hair!! *Tip* If the candy melts are a little cooler they will stick up a bit better:)!
And there you go! The Completed Simplified Minion Cake Pops!
If you like the tutorial don’t forget to check out and share our Easy Roller (or our new Mini Easy Roller!) with your friends! It is how we keep these tutorials coming:)!

