This Chocolate Tool Box with CakePops for tools is what I made for a carpenter. This is also a fun idea for Father’s Day?! This is almost completely edible! Besides the little cake pop holder insert on the inside and the cake board it sits on;)!
Things I used to make the tool box portion was a wood grain mold, and disposable cake pop stand from BRP Box Shop, 2 cardboard cake Circles, washi tape, a metal straight edge, almond bark and a pretzel rod.

First I measured the cake pop stand against the chocolate mold so I could see how big I wanted to make it. I didn’t worry too much about getting it perfect but I knew bigger was better than smaller. You can always cut away what is too big!
Melt your chocolate almond bark on 50% power in 30 second increments, stirring in between. Then spoon or pour it onto the mat.

I wanted the inside to be smooth, so before it set I put a peice of wax paper over the melted chocolate and gave it a light roll with the rolling pin. This will smooth it out. Be careful not to press too hard and thin out the chocolate. If it is too thin it will be fragile.

Once it is set you can remove the wax paper. Then I heated up a metal straight edge to trim the chocolate panel.

Now it is very easy to trim the panel to size.
Then just repeat this process until you have enough panels to complete the build! I made 6 panels. I made 1 to go up against each side of the disposable cake pop BRP Box (4 total), and then another 2 for the top side portion that the pretzel went through!
Don’t you just hate when you forgot a picture!! But I used a tiny circle cutter to cut the hole out of the top portion for the pretzel to go through!
Next it was time to “glue” the panels together! I used just melted alond bark for this step. I put the melted chocolate into my fancy piping bag (aka sandwich baggy with tip cut off;)) and “glued” each corner.
For the top portion, I wanted it to be at a slight angle. To do this I filled up a tall glass with water and placed it inside the box. This way I had support for the chocolate panel until “the glue” had set. I really “glued” this portion so it was really sturdy!

Next to cover all my seams I used some chocolate buttercream! My favorite buttercream recipe is equal parts butter & Crisco, a tbsp of vanilla, and about 3 cups of powder sugar (or till the consistency is firm enough to hold a shape).
I used a 1B tip.

And piped a zig-zag line over all the seams!
Next to make the cake pops!
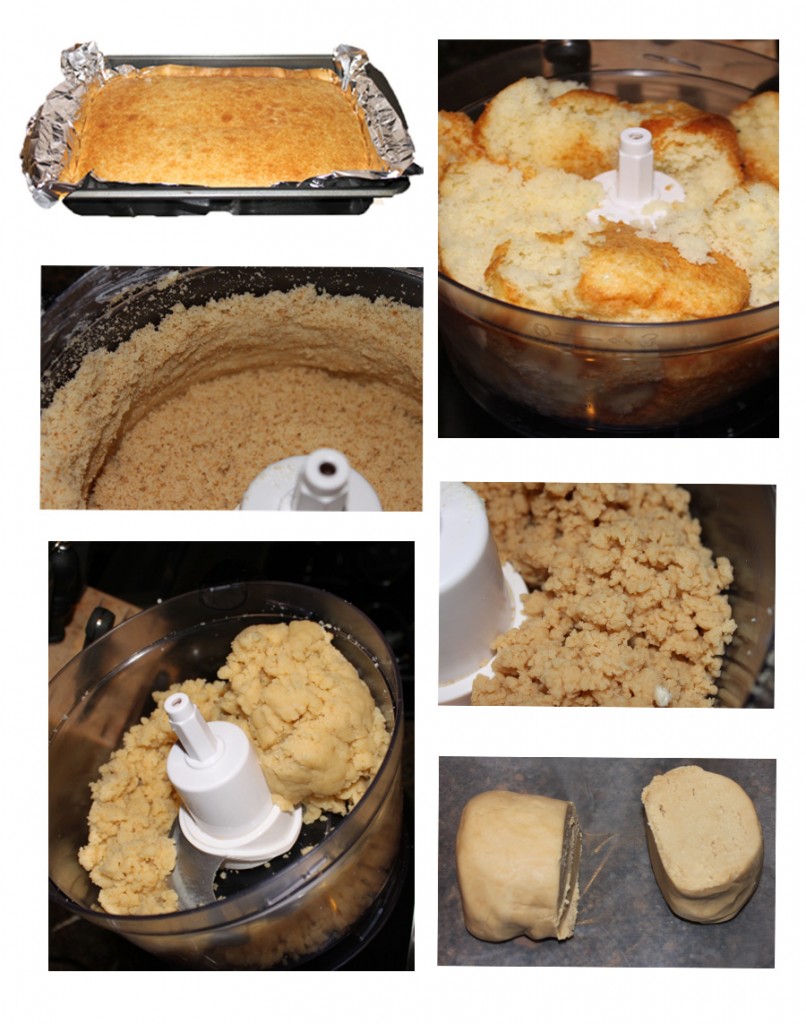
To make these pops you will need to bake a cake. Then let it cool and turn it into dough by either kneading that down to a doughy consistency. The food processor is the fastest, but you can do it by hand too. Just mix it up with some of your favorite binder, like buttercream, jam, pudding, the list is endless;)!! If you do use the food processor, all you need is the cake, check it out:

Then roll them out into little 1.25″ balls. Of course to knock this boring part out in no time flat, may I suggest you take a look at the Easy Roller and roll up to 21 cake balls at a time;)!!
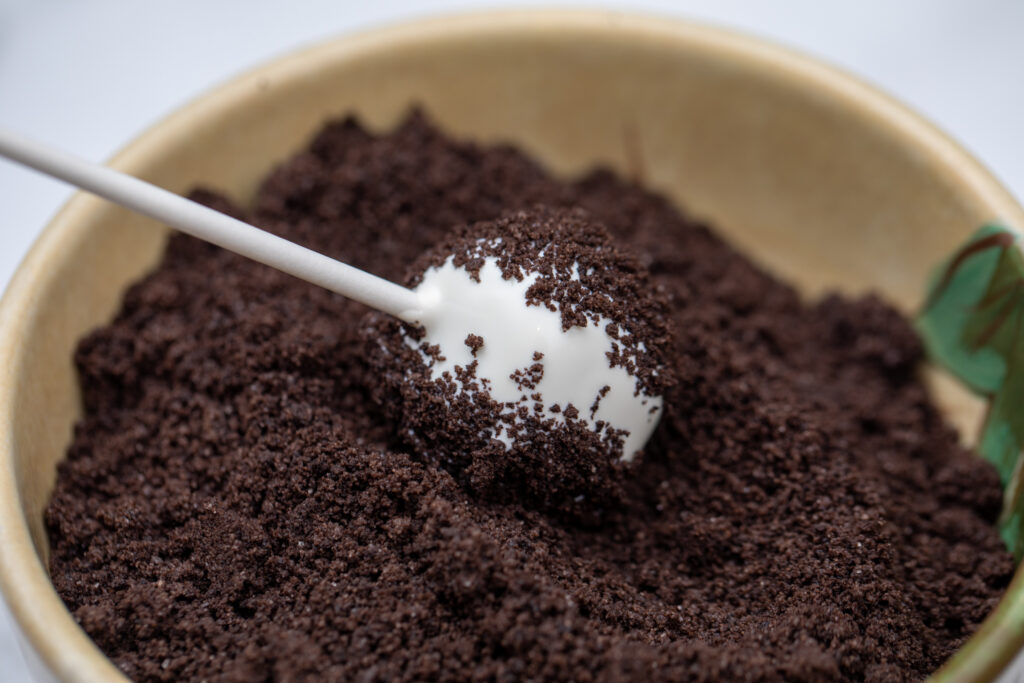
Once you have all your cake balls rolled to 1.25″ in diameter (about the size of a ping-pong ball) dip them into your candy melts or almond bark. Before they set I rolled these cake pops into crushed oreo, coconut flakes and crushed peanuts! Then let them set!
Now it is just time to “glue” 2 cake circles together (for extra support.) I used washi tape around the edge to cover the exposed cardboard. Then the disposable BRP Box Shop cake pop stand to the cake cardboard circle. Fill up the stand with the cake pops and slide a pretzel rod through the top!

If you liked this tutorial please take a look and share with your friends our Easy Roller!! It is how we keep these tutorials coming to you:)!
Sharing is caring!


