
My youngest son LOVES Gummy Bears and frosting, so for his birthday my friend Lizzy’s Sweets N’ Treats recommended I make a “gummy bear pinata cake!” Sure, I said… I can do this!! I started with a doctored cake mix! I added an extra egg and a packet of pudding to each cake and baked three of these 8 inch cakes!
I filled them pretty high and still had enough batter to make 6 cupcakes! (I made 3 boxes of the doctored cake mixes)
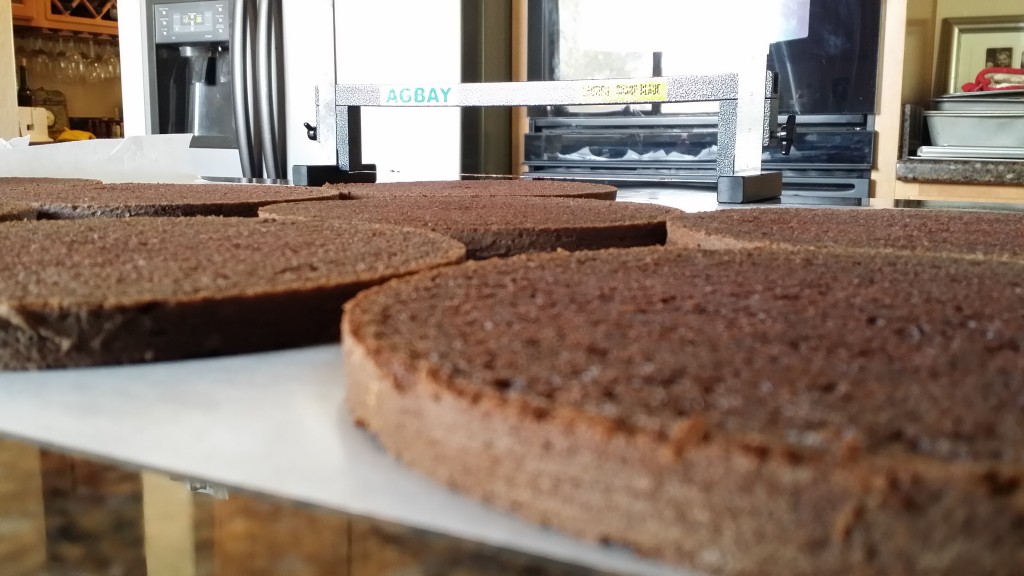
I let them cool a bit and started leveling them so that I could stack them up! I recently got the Agbay Jr so this is the fun part! How many layers do I want??!! I can make one cake a zillion layers with this knife without breaking a sweat! I LOVE IT!!! Since my little guy likes frosting I figured as many layers as possible would be fun!!
Here goes!!
I cut the 3 domes off the tops of the cakes. I cut 1/8 of an inch (That was NOT a typo, really 1/8 inch!!) off the bottoms of the cakes so they were PERFECT!! I ended up with NINE 1/2 inch cake layers!!! Amazing!!! What can I say the Agbay is Amazing!
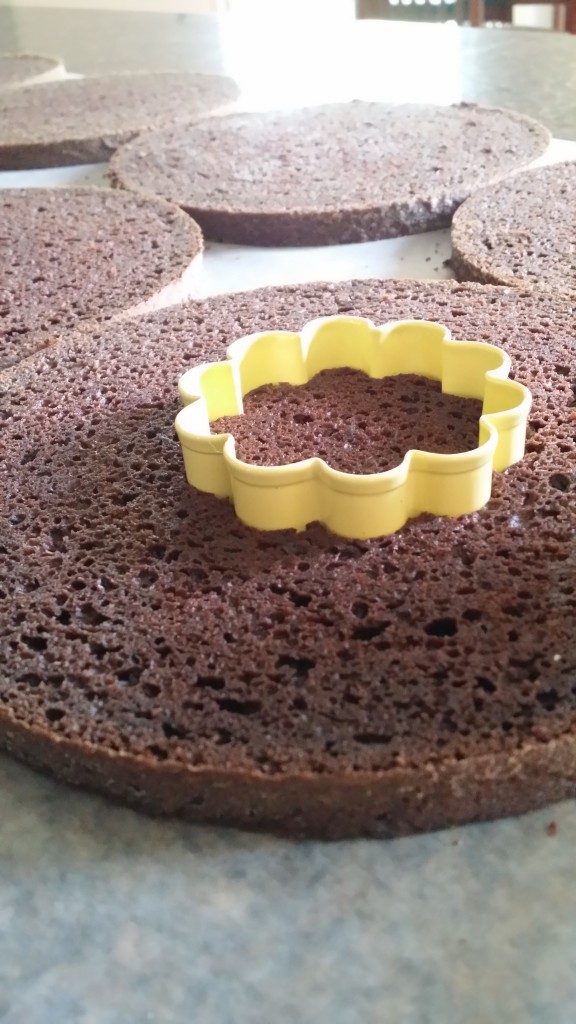
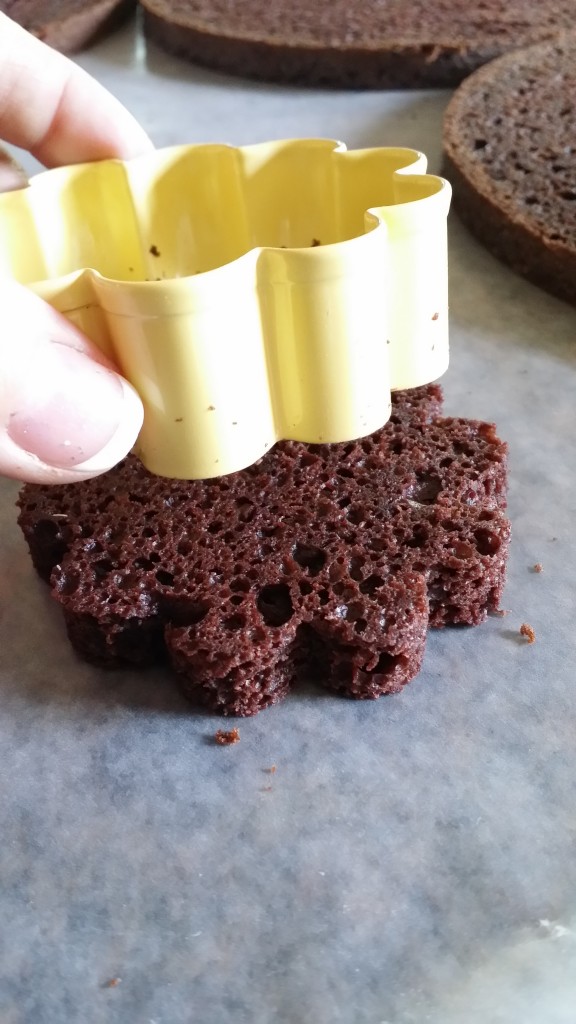
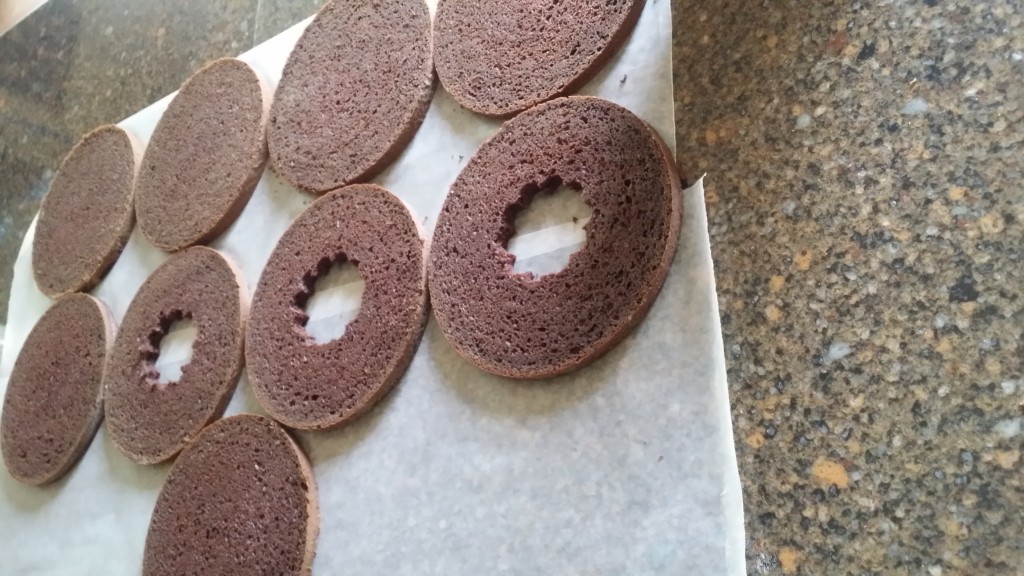
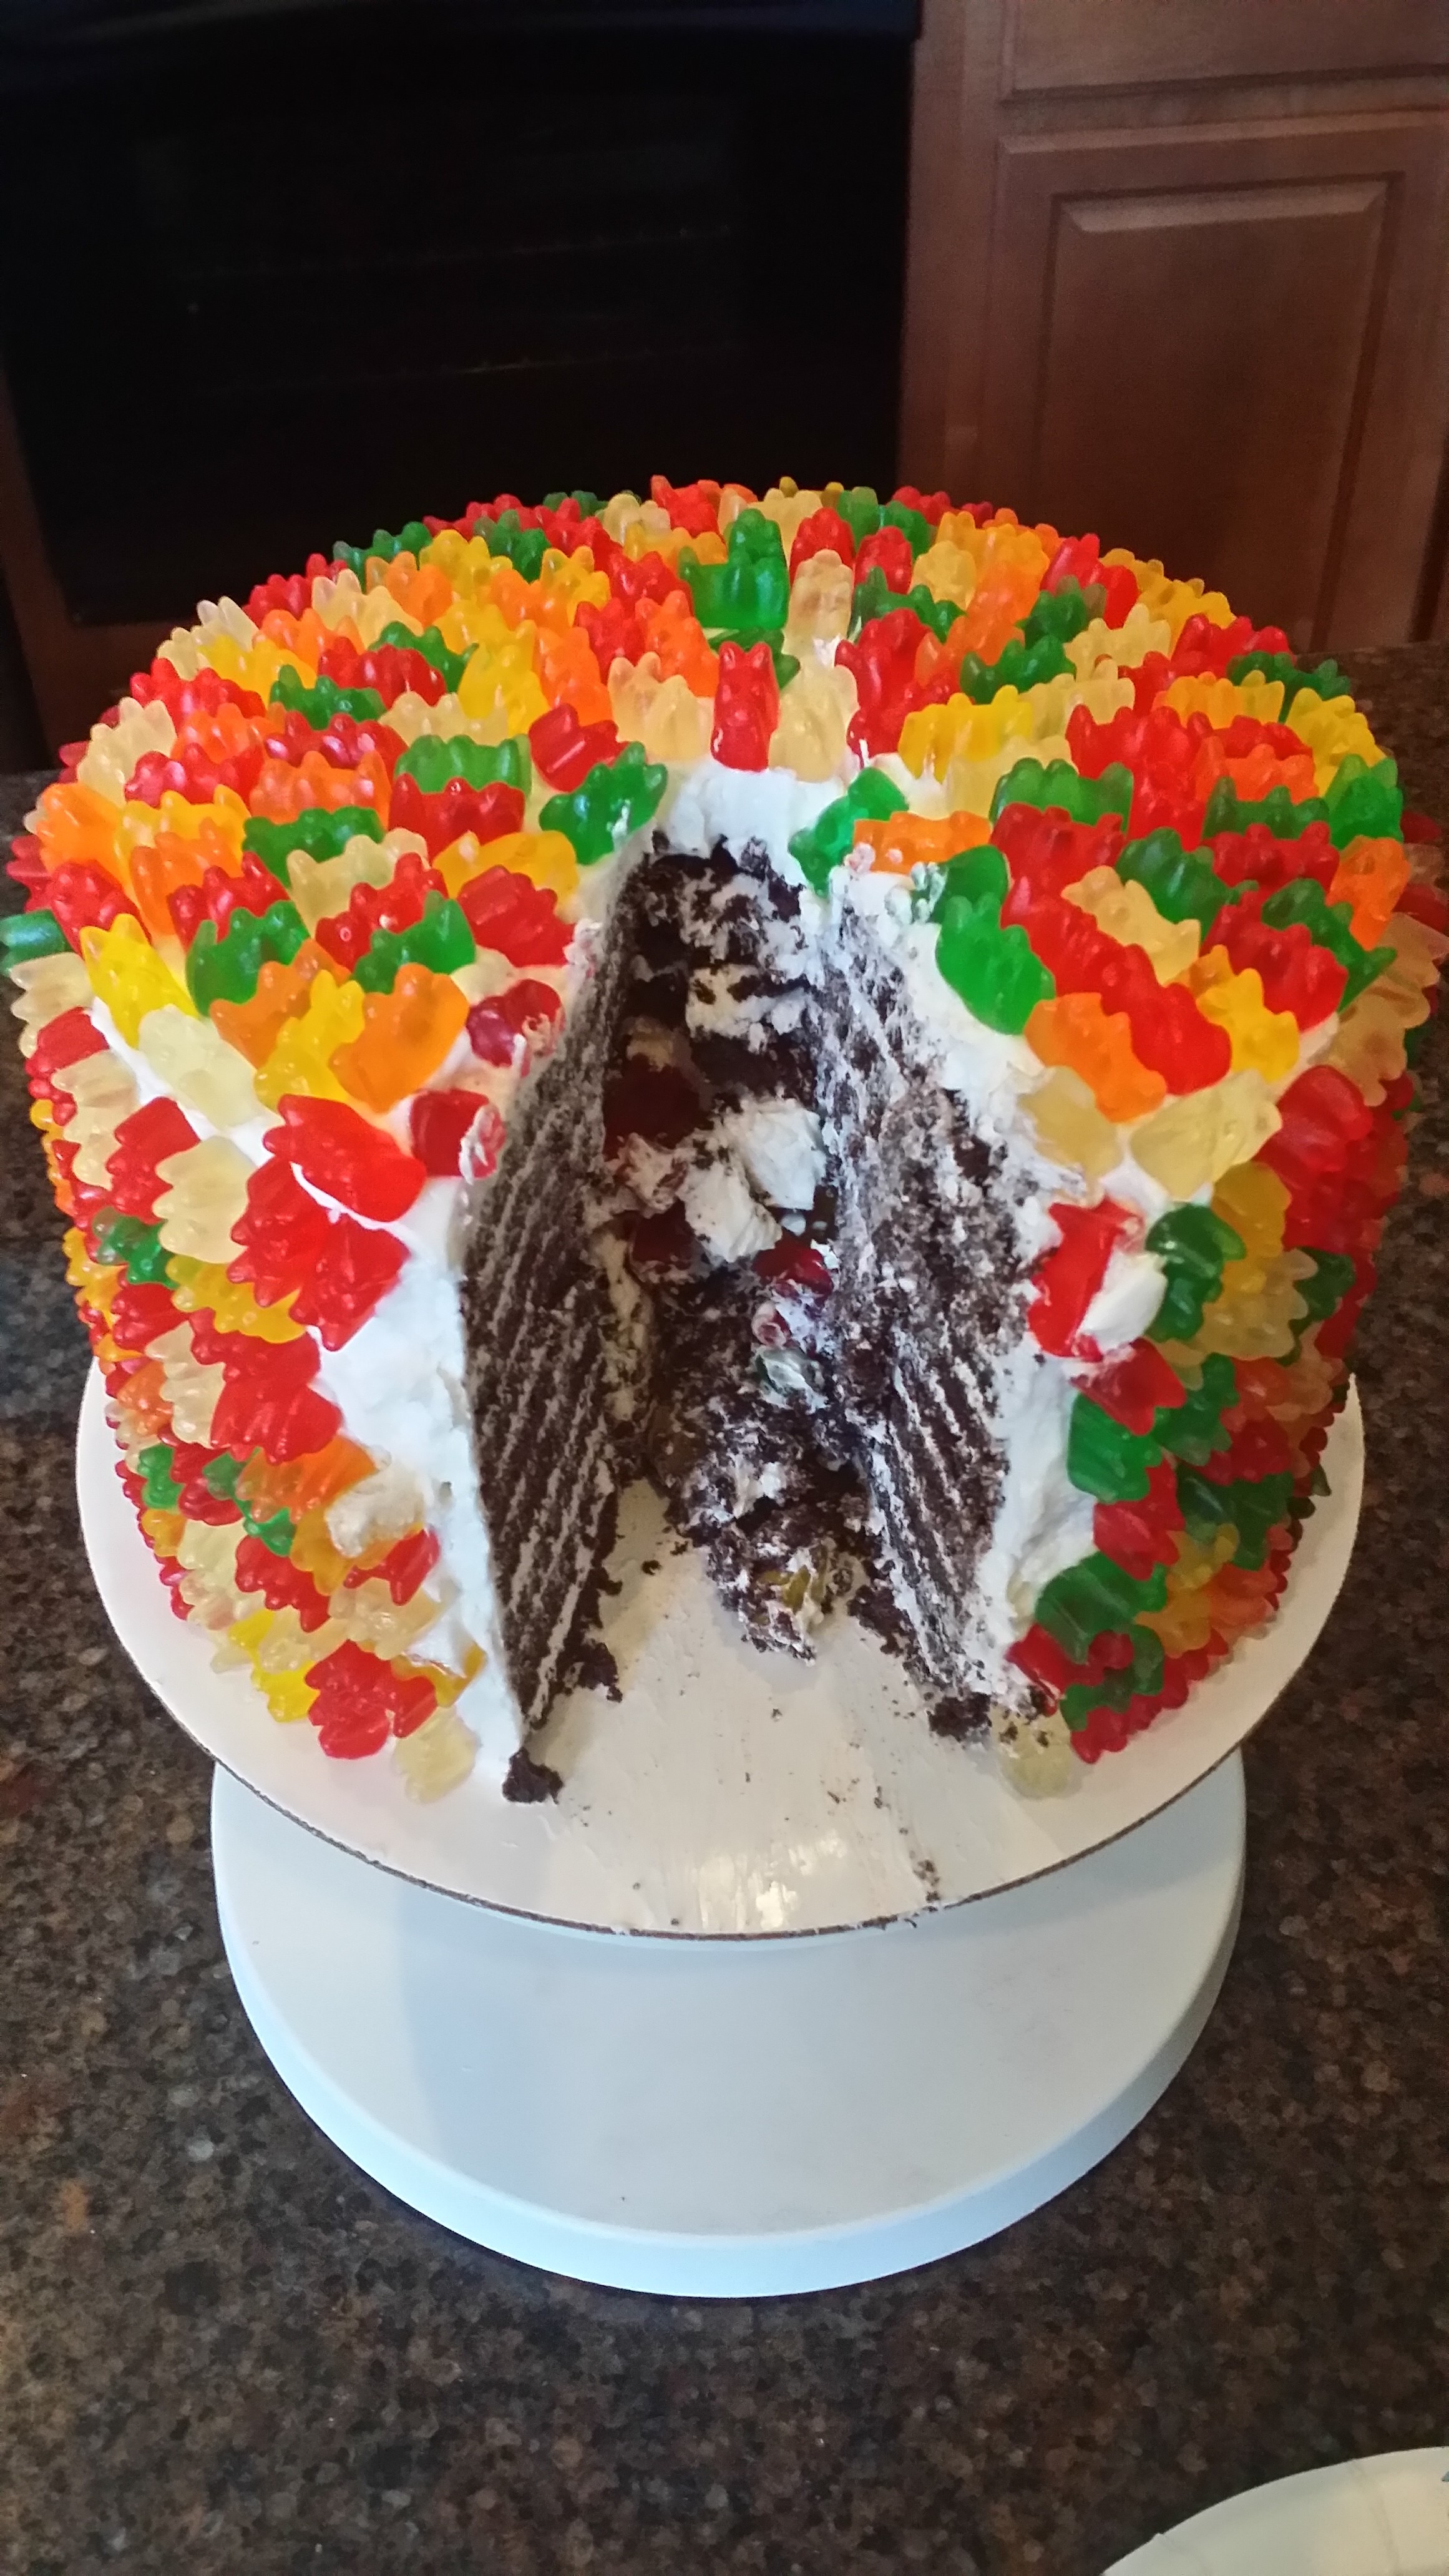
For the “Pinata” part, I thought I would cut the center out of a few of the middle layers and pack them full of gummy bears as well! I grabbed one of my cookie cutters and cut the center out.
Set the cake scraps to the side, or it’s “Snack-Time” 😉
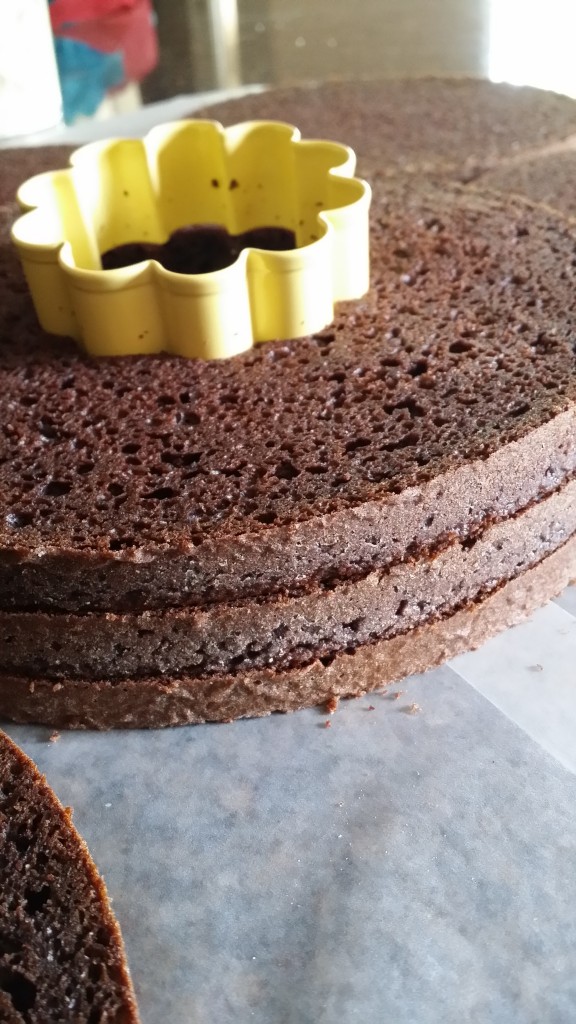
Then when you go to cut the next layer, make sure to stack the layers and cut down the same spot;)!
This way when you are filling it, it all lines up:)!
I only cut 3 of the middles out (I could have done more-but wanted to make sure I had enough candy!!)
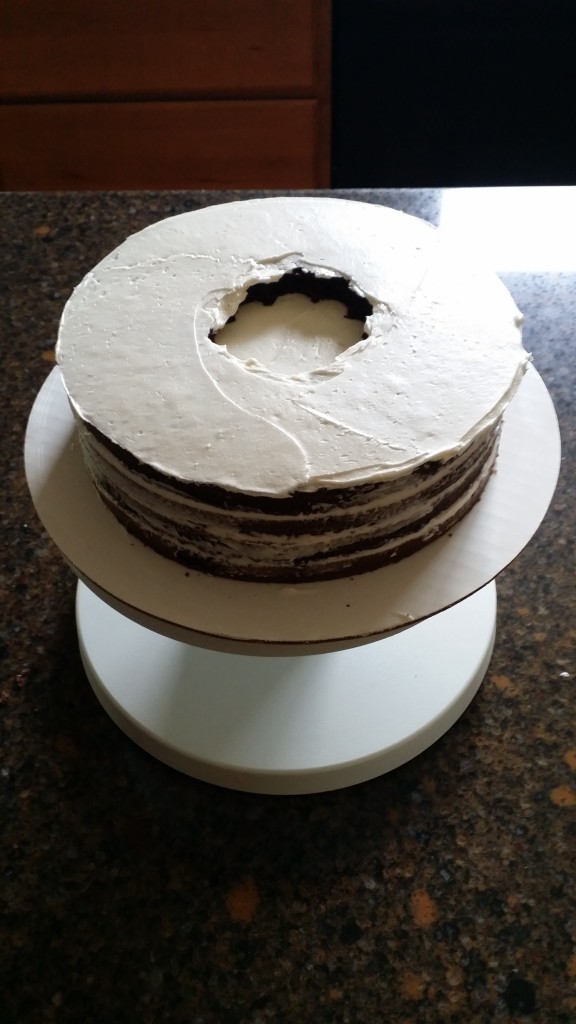
Now for the fun part stacking and frosting (Oh wait, it’s ALL FUN!!) !! I first got a 10 inch board and frosted it, to hold the bottom layer in place. Then I frosted the top and stacked the next layer, frosted that top and then added the third layer! So I have three solid layers and then started in with the hollow ones!
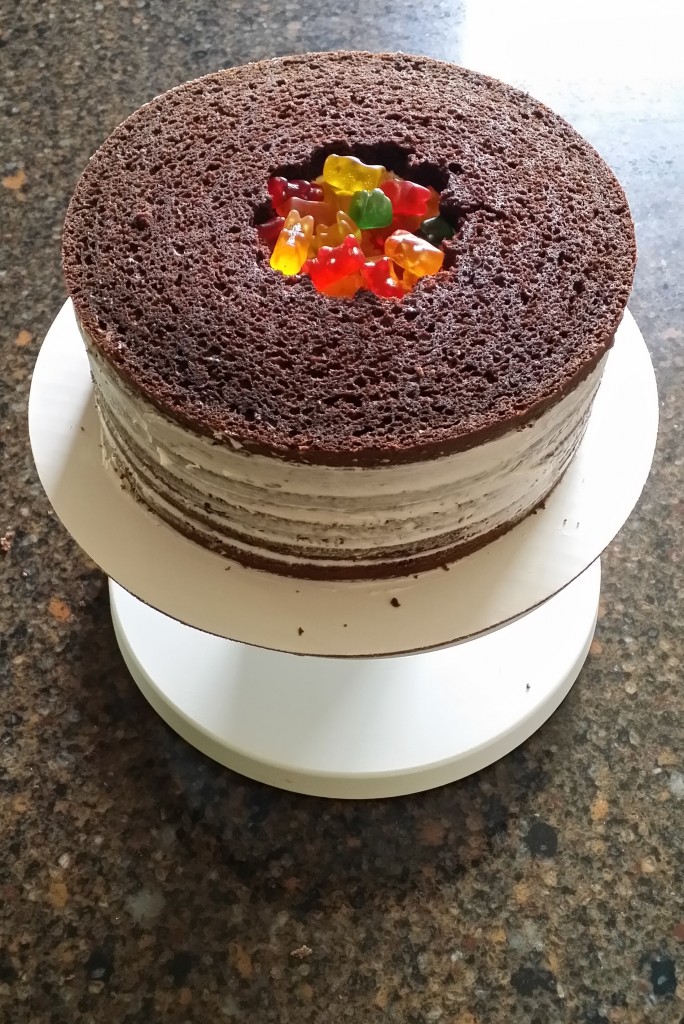
Once I got the 3 hollow layers stacked it was time to fill with gummy bears!! I used about 1/2 of the bag of candy in the center (Just in case you were planning out how many it would take!)
Then it was time to cover then up and finish assembling the layers!!
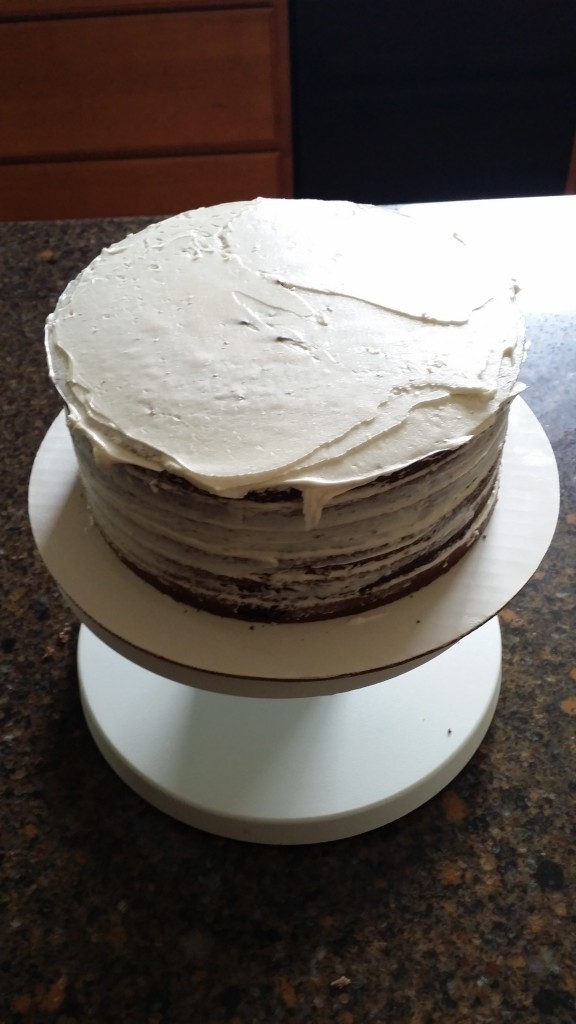
Once I got all 9 layers on it was time to do a quick crumb coat (that is where you lightly frost the cake so all the crumbs that are going to fall off in your icing are all stuck together in this first layer of icing!) and stick it in the fridge to set up for a bit! Till the icing is no longer wet to the touch.
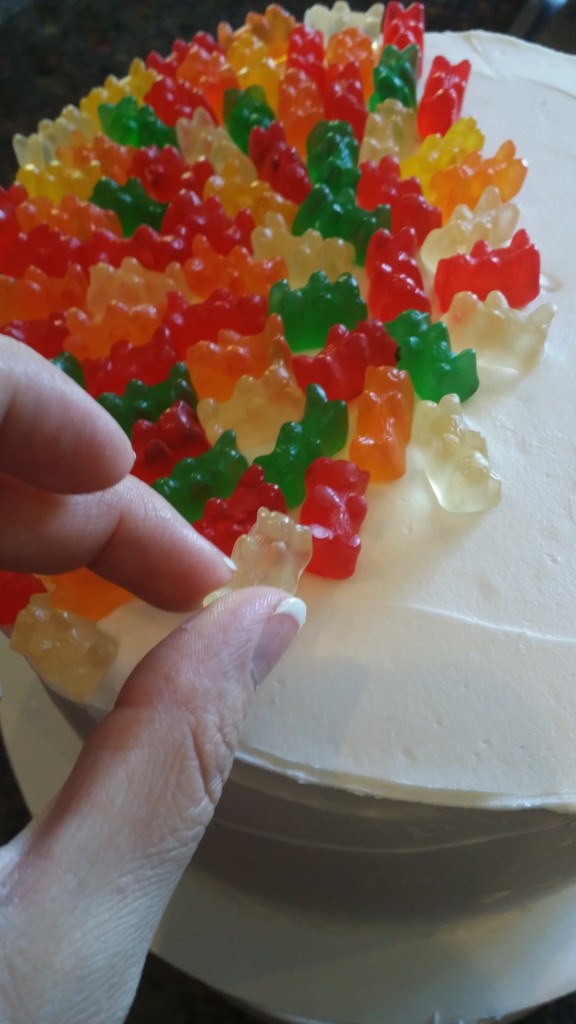
After the crumb coat was set I went over the cake again with frosting. This final coat of icing doesn’t have to look perfect, it is getting coated with candy:)!! After I was done with the frosting I immediately started to place the gummy bears on the top of the cake! I tried to be careful to make sure the same color gummy bear wasn’t toughing but I am not sure that was a completely necessary step;)!!
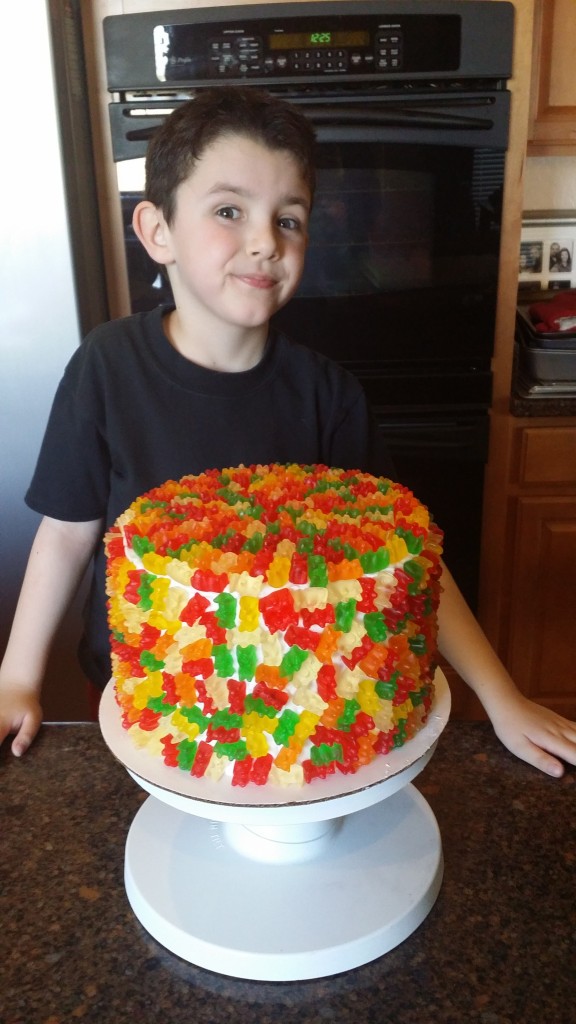
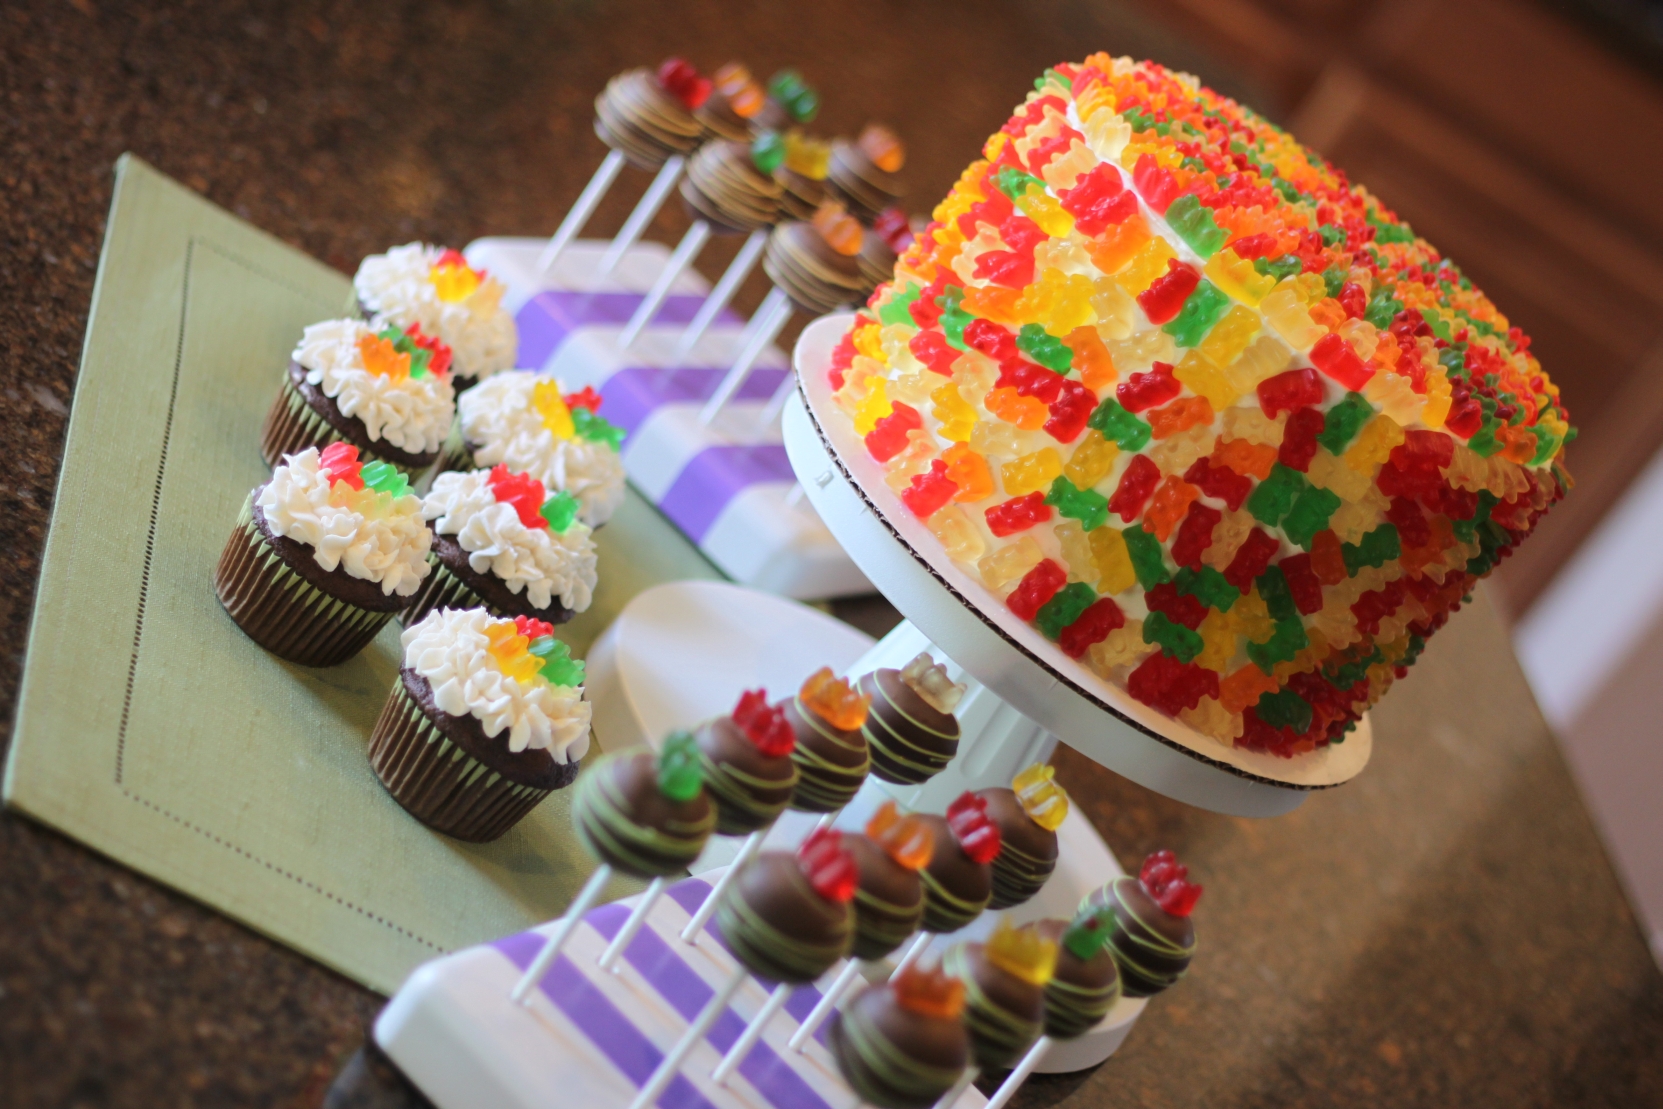
Once the top was done I move along to the sides… Folks, this takes a lot of gummy bears;)!!! In total I used 6 bags and I should have cut more centers out of the cake layers for the inside!! …I think he liked it;)
I can’t believe my little man is 7!!
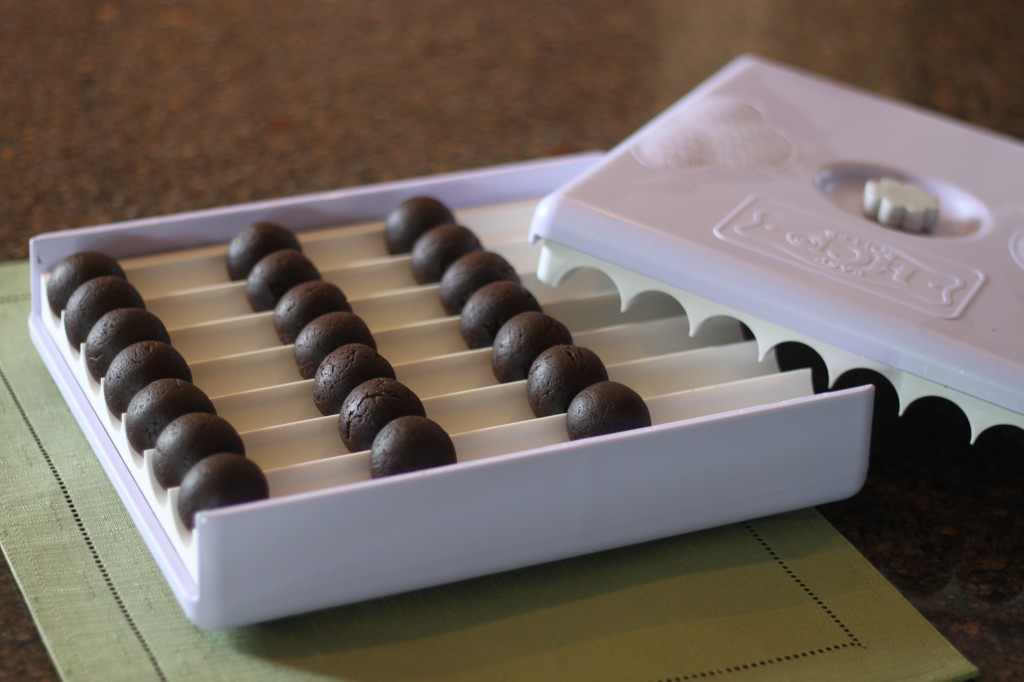
Well like I said earlier I had some cake scraps and 6 cupcakes!! So it was time to make some easy gummy bear cake pops!! I put all my scraps into the food processor, turned it on and waited about 2 minutes for it to become cake pop dough! I rolled it up with the Easy Roller (of course!!)
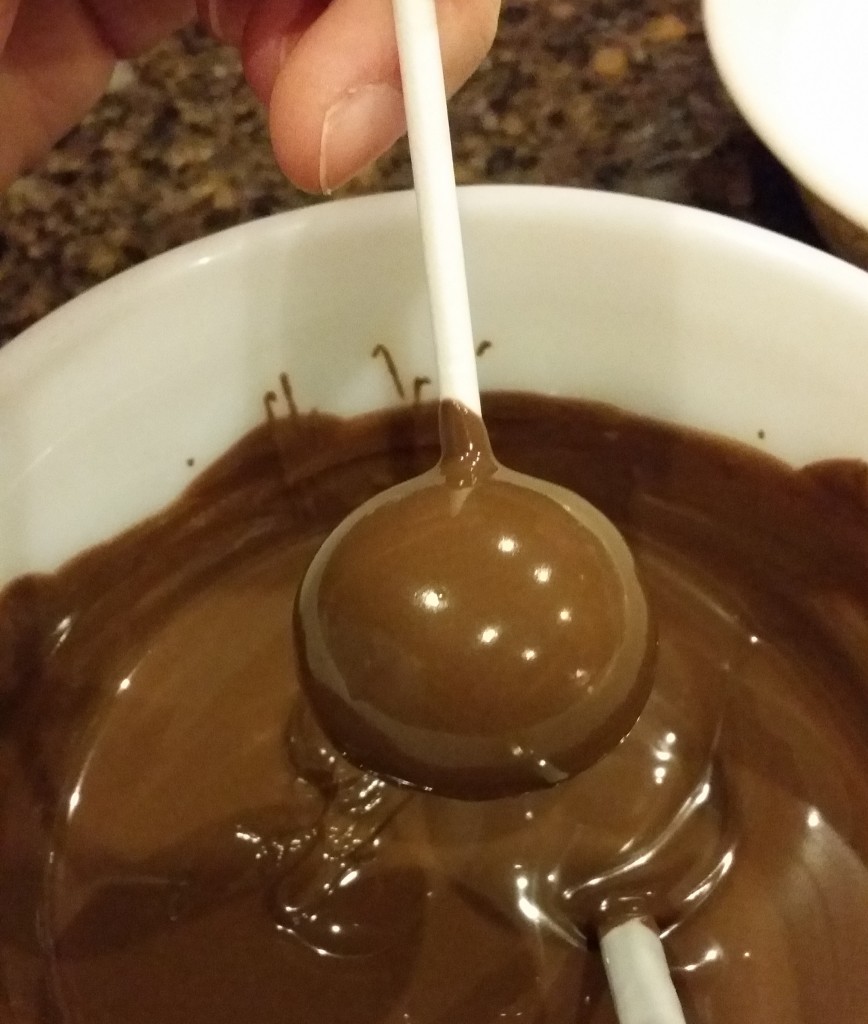
Dipped them into chocolate candy coating…
Placed a gummy bear right on top and placed it in my Cake Pop Stand to let the chocolate coating set! Once it was set I added a swirl of color around the outside just for a bit of color! And those cupcakes?! I used a 1M tip, put my leftover frosting inside a piping bag and just dotted on some icing and put a couple gummy bears on top! Check it out!!
I wish I could have gotten a better picture of the center, but I had quite a few kids clamoring for cake;)!! I love the layers thanks to the Agbay, the only thing I would have done differently is add more hollow layers for more gummy bears on the inside!
Hope you are inspired by the gummy bear cake to make your own wonderful baked creations! If you liked the tutorial, please check out our Easy Roller (or our new Mini Easy Roller!) it is how we are able to keep these coming to you:)!


