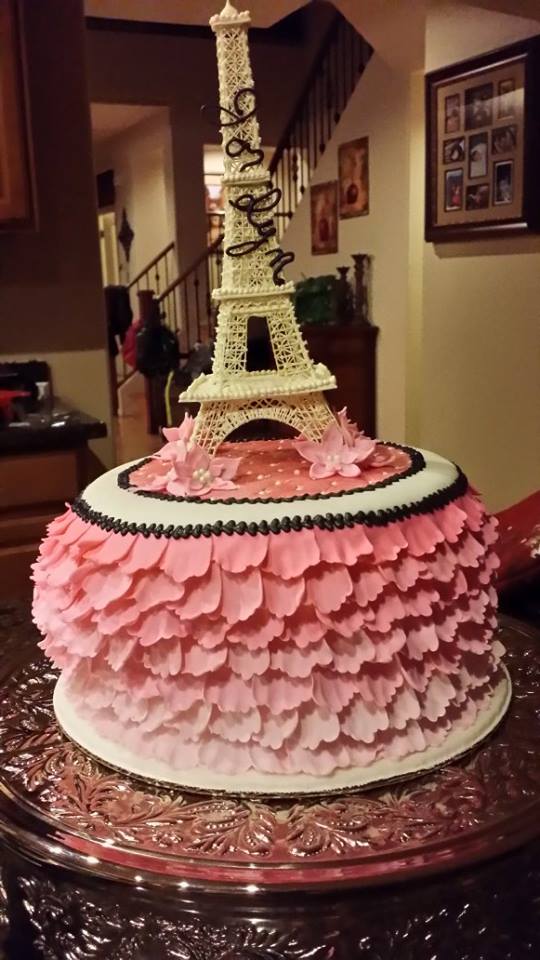
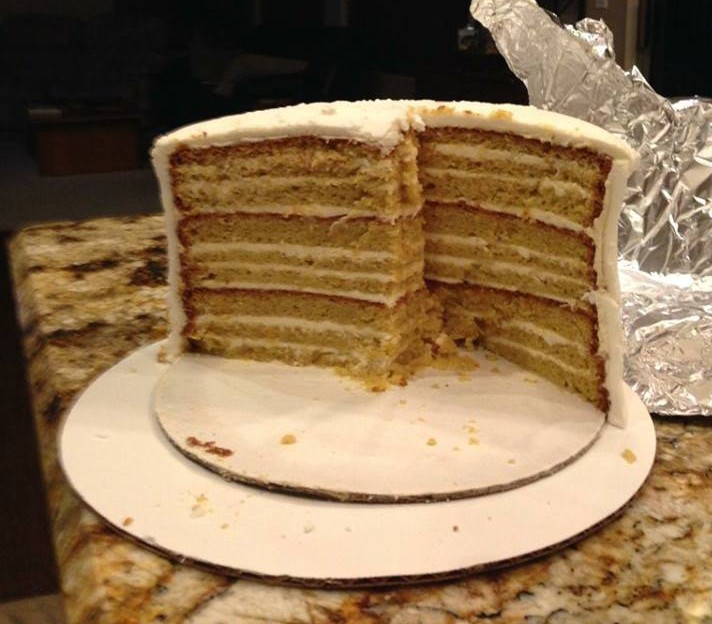
So did you see my first cake ever?! The only thing I wish I could have fixed…it was a little crooked… See it, look on the left side, that is not a shadow, it is leaning and bulging there:( Can you see it?
How about now;)!! Bummer huh! So close!! What I needed was a cake leveler! Torting a cake by hand is obviously not my strong suit! I have a wire cake leveler, but sadly it just doesn’t work…at least not for me. I just end up tearing cake. So I needed a new one, and there is just no time to cut corners! I needed “The Real Thing”! I needed the Agbay! I ordered it HERE shortly after this cake and got it inside the week I ordered!! 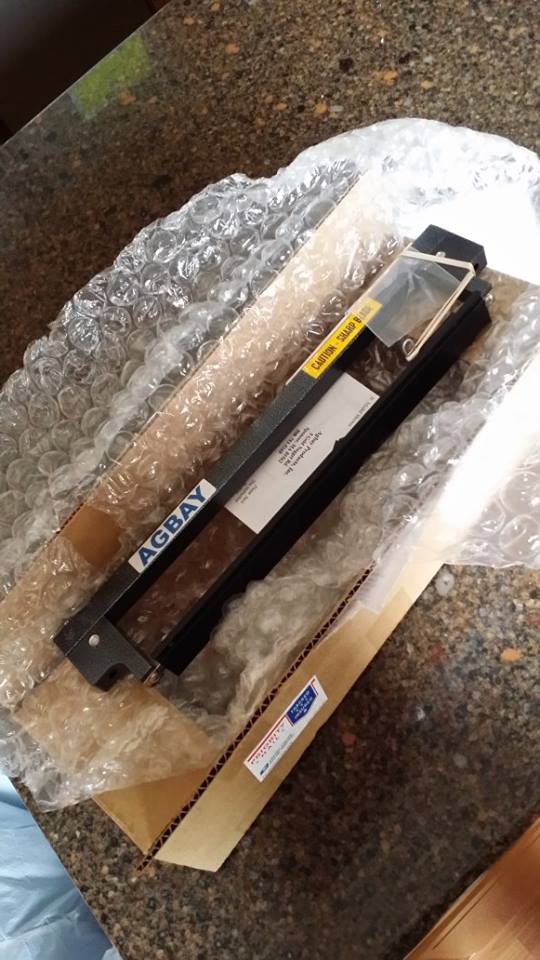
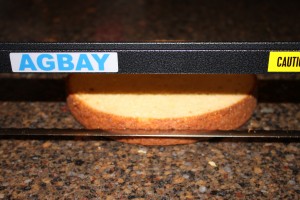
I couldn’t wait to try it out! I baked a “Doctored” Butter Pecan Cake Mix. Added sour cream instead of water, the oil, a vanilla pudding mix and an extra egg. As soon as it cooled off I took out this knife to try it…
This cut like nothing I have ever seen before, it is TRULY AMAZING!!! I absolutely love it!!
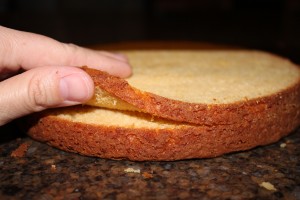
Seriously???? Perfect!! I just love it when you get a product and it is EVEN BETTER then it looks online! I was so so thrilled about it I had to Email Agbay and tell them how much I loved it and Maureen (the creator) emailed me back!! It then made perfect sense, Maureen’s last name is Agbay and she had designed this knife to help her make cakes! No wonder it works so well, it was DESIGNED to WORK not sell knives:)! …Kinda like the Easy Roller😉
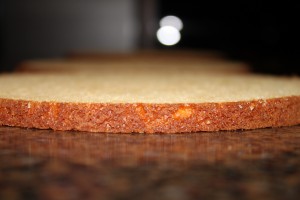
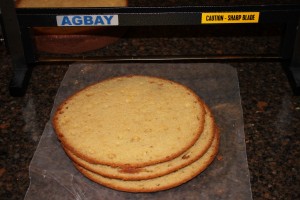
Check it out!! 3 tiny layers!! Which means more yummy frosting in between:)! Take a look at these cake tops… Yep I made some cake pops out of those:)!! There is never wasted cake in this house!
I have come to the realization, all these master cake designers either have years and years of experience or professional tools (…or both-watch out!!) So if you want to make awesome cakes, like anything else it’s best done with the proper tools! All I needed to correct my issue was this awesome Agbay Jr!! Totally worth it!! Who wants to spend all that time on a cake then see it crooked!
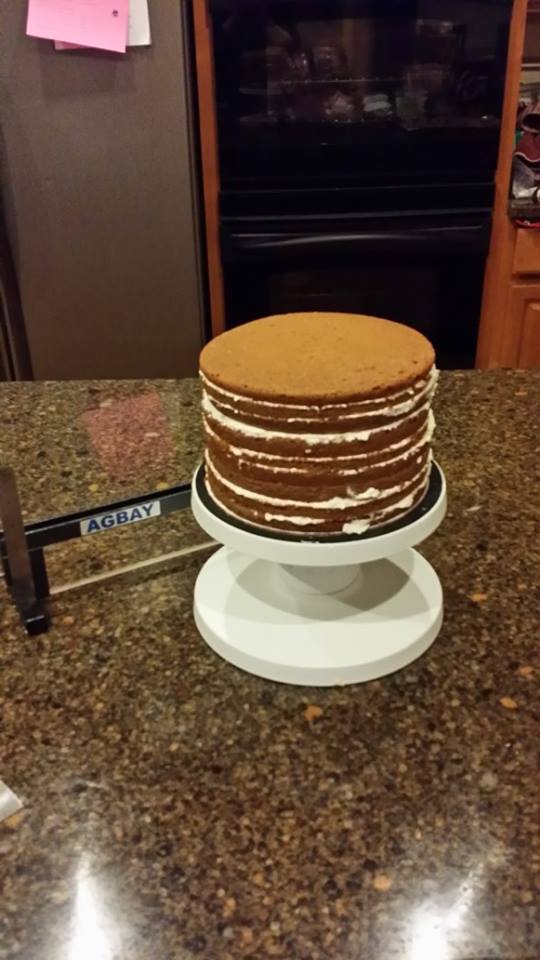
This was so much easier to layer and fill….
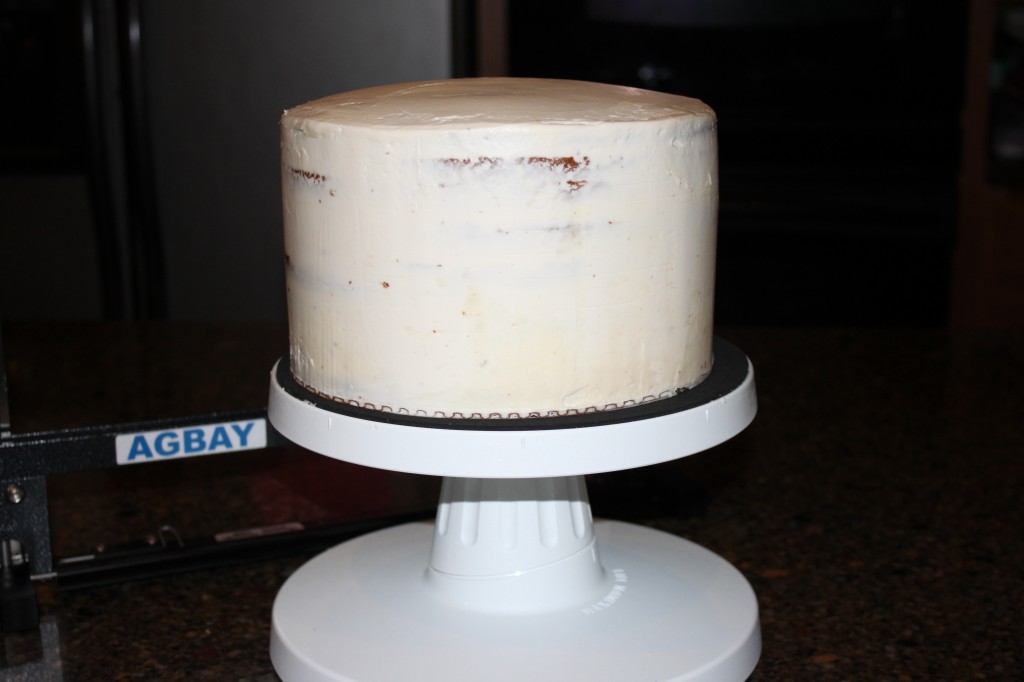
Now to just seal it all in…
Not too bad for a 2nd try!! I am loving how it is coming out:)! I stuck it in the freezer for about a half hour while I prep’d the fondant!
I told you, if you want pretty cakes, get the tools of the trade:)!! So next, it’s time to pull out “The Mat”! Yes, I know It can be quite an investment to purchase all these tools, but what business is free to start up?! And if you charge $5-$8 a slice of cake (which is pretty darn reasonable-maybe even cheap for a professional cake) it’s one wedding cake to cover your up front investment! What other line of work can you break even on the upfront fees with a weeks worth of work?! Stepping down from my soap box now;)!!
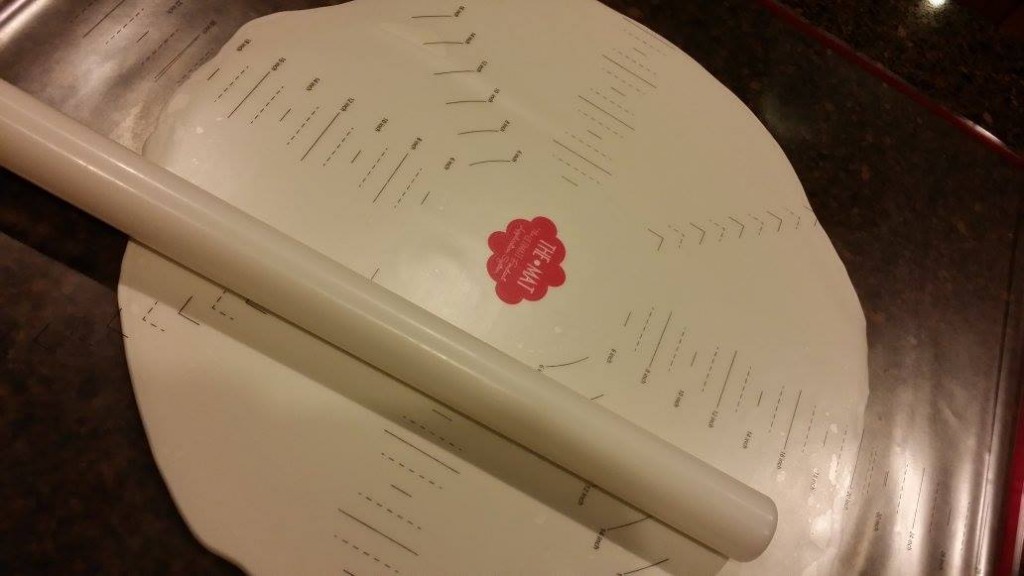
Check out how easy this is with The Mat….This is the Pro Mat by the way:)
The Measurements are right on The Mat! No guessing if you done rolling (My favorite part)! And the rolling pin really does just glides across! My wrists could still use some strengthening, but nothing like rolling it out with out it!! Also keeps it from drying out.. unless you are going for the Elephant skin look on your cakes… Oh wait, that might have worked out on this one;)!! …It’s a zoo wedding cake I am practicing for;)!!
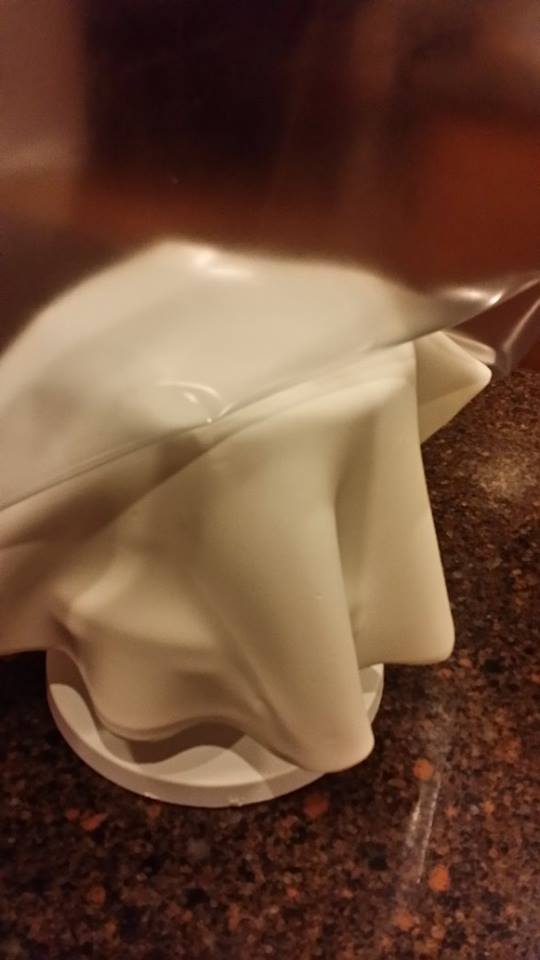
Next you just peel off the top layer of The Mat and transport the fondant to you cake while it is still attached to the other side! It makes it super simple to move around! Not to mention you can see which side of the fondant you like before putting it on your cake! (In Case you were wondering, this is Fondarific Fondant – it smells like butter cream in here!!)
Try to put it on the cake without kinking The Mat… It took some smoothing to correct that kink indent that transferred to the fondant… user error;)!
So after I got it all smoothed out I took out my Zebra Stencil from ABC Cake, they are local, and so amazingly helpful, but they will also ship:)!!
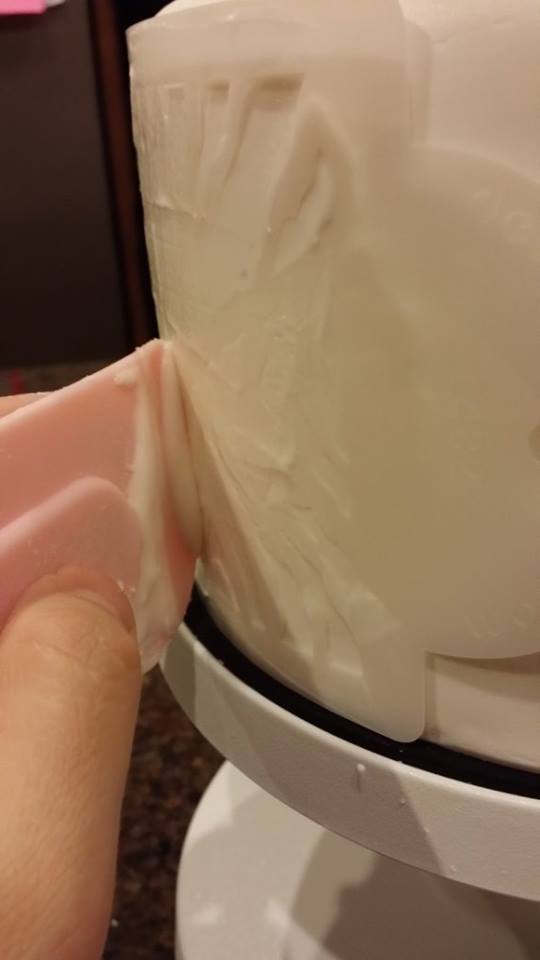
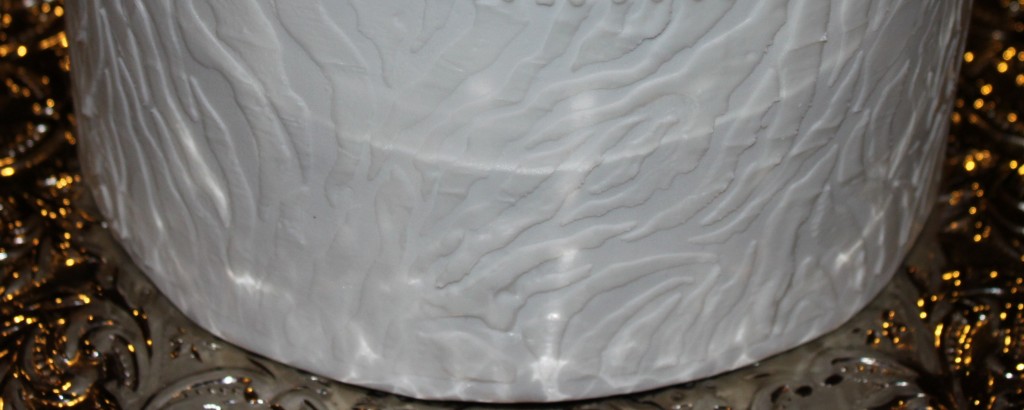
My cheapo spatula head broke off, so it’s a very nice stencil spreader now;)! I took a damp paper towel and wiped it across the fondant where the stencil was going and that little bit of water made the stencil stick to the cake so that I could manage the icing over the stencil! I took a little royal icing (pretty stiff consistency) and wiped it on! Careful to just barely hold down the part I was working on so it wouldn’t go up underneath! After you have it wiped on, just pull it off, wait for it dry and do it again until you have gotten around the cake:)!
Pretty cool effect:)!! I like the color on color, because you can tell if there is any parts that may have messed up;)! Plus it’s wedding cake practice, so that helps it to be more elegant I think!
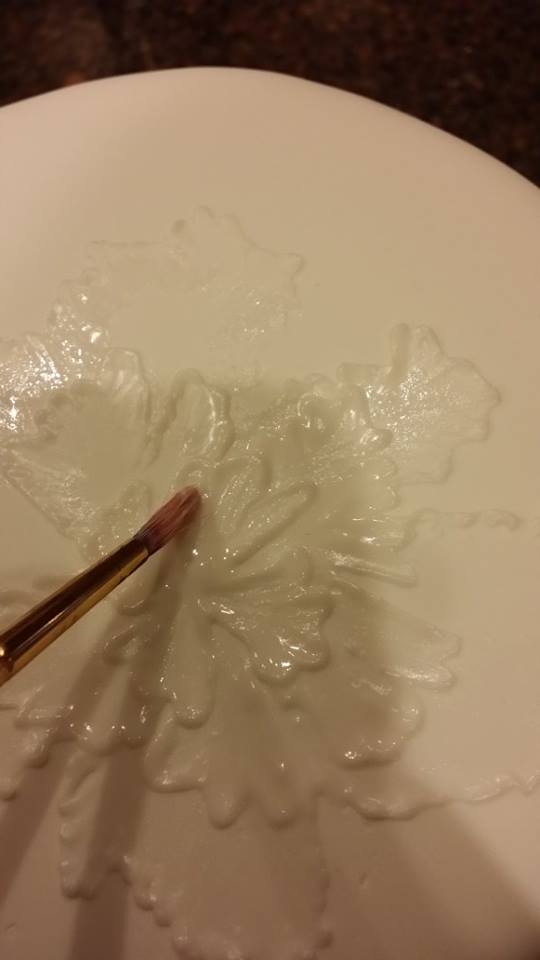
Next I piped the same royal icing onto the top to create a brush embroidery flower, something I have always wanted to try, but never translated well for me on cake pops!
To create the effect, pipe a jagged 5 pedal flower. Then take a pretty stiff clean paint brush (one you buy for just cake is best) wet and blot the brush then start with your brush in the center of piped line and pull down. Continue this until you are all the way around you flower! I like to make each flower with 3 “layers” of flowers, so then pipe inside that flower another smaller 5 pedal flower and repeat with the paint brush. Finally one last 5 pedal flower just a bit smaller then the last! I also added 3 small pearl dragees to the center of the flower! Yep, I love this flower on cakes:)!
Take a look, I finished it off with just a simple piped border of connecting dots …Next time I will use a ruler for this step;)!
What do you think? Not to bad for a practice cake!! I can’t wait to show you and post the “real” wedding cake!! Yes it will be more then just one tier:)!! Look for it in March:)!! Also PLEASE don’t forget to check out our Easy Roller, it is how we keep these tutorials coming:)!!


