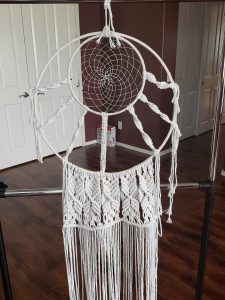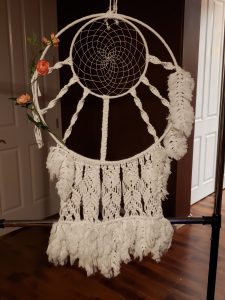
Once I found out my niece was pregnant and saw the theme she chose for her nursery I wanted to make this macrame dream-catcher for her new addition.
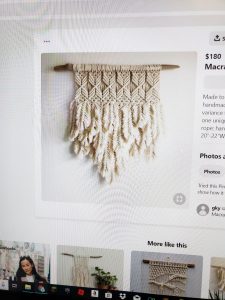
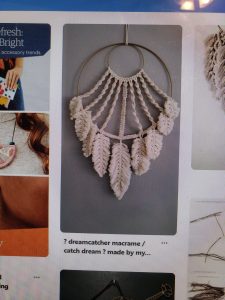
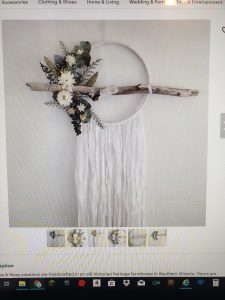
I love the dream-catcher tradition and even more, hand made gifts. My niece also loves the “bohemian style” & I wanted to tie it all together with a Macreme dream-catcher! Of course I started my search for inspiration on Pinterest and came across a few pieces I loved!
After hours spent researching, I came to the realization that I was going to have to learn how to Macrame~ something I have never really done before;)!
With the images I came across as inspiration, it was time to sketch my design! Here is what I came up with!
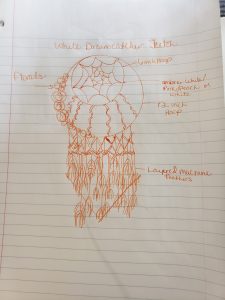
It’s important to lay out an idea of what you want to make before you start shopping for supplies. Even if your final piece doesn’t turn out exactly as planned, it’s good to have an idea of a starting point. Otherwise you could end up spending money on items, that you don’t necessarily need! Something I am guilty of at times!
The first thing I needed was Macrame cord.. and a lot of it! The craft stores near me do not carry anything worthwhile for macrame. I heard you could find rope at Walmart and since that is just about the only store near me I went to check it out. They had some rope in the hardware isle but it was pretty awful looking and I would have had to buy a lot of packages and since it was not the right material would of probably turned out pretty poor. It was really stiff and I just couldn’t tell if it would be worth the money!
I wanted the cord to be soft, easy to work with and last! So I turned to the internet and youtube and found a very talented lady who suggested Ganxxet Cord. I’m so happy with the Premium Soft Ganxxet Cotton Cord I chose! It really is beautiful and worked so well! The right tools make all the difference when taking on a new craft! I had a hard time deciding between the Natural Color, which I feel is more “bohemian style” and the White cord. So I got both, thinking I will save on shipping and have more for another project 🙂
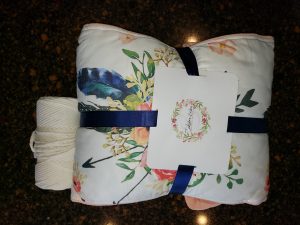
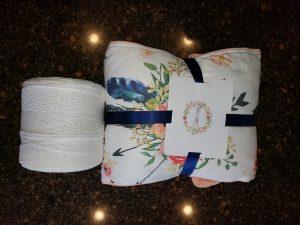
In the end I decided to go with the 4mm white cord, as the nursery bedding was white!
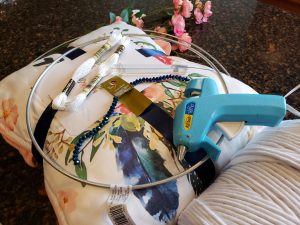
I also needed to head to the store for the hoops, embroidery thread, florals and some beads! I already had a glue gun and glue!
Once I had everything, I was so excited to get started! I absolutely love learning a new craft! To make this Macrame Dreamcatcher I only had to learn 4 knots, from there it was just a lot of repetition!
First the Larks Head, the Square Knot, Spiral Stitch and finally the Double Half Hitch! You can learn all these knots here!
Once I got the hang of all those it was time to get started!! I got everything at the craft store, except the cord.
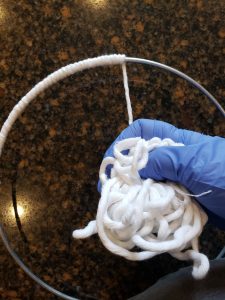
Get started by wrapping the 2 hoops with the Ganxxet Cord. To attach the cord to the hoop, use a little hot glue and wrapped the cord over it. I just kept wrapping and every couple inches I added more hot glue to wrap over to make it really secure.
I also wore gloves so I made sure not to discolor the white cord in any way!
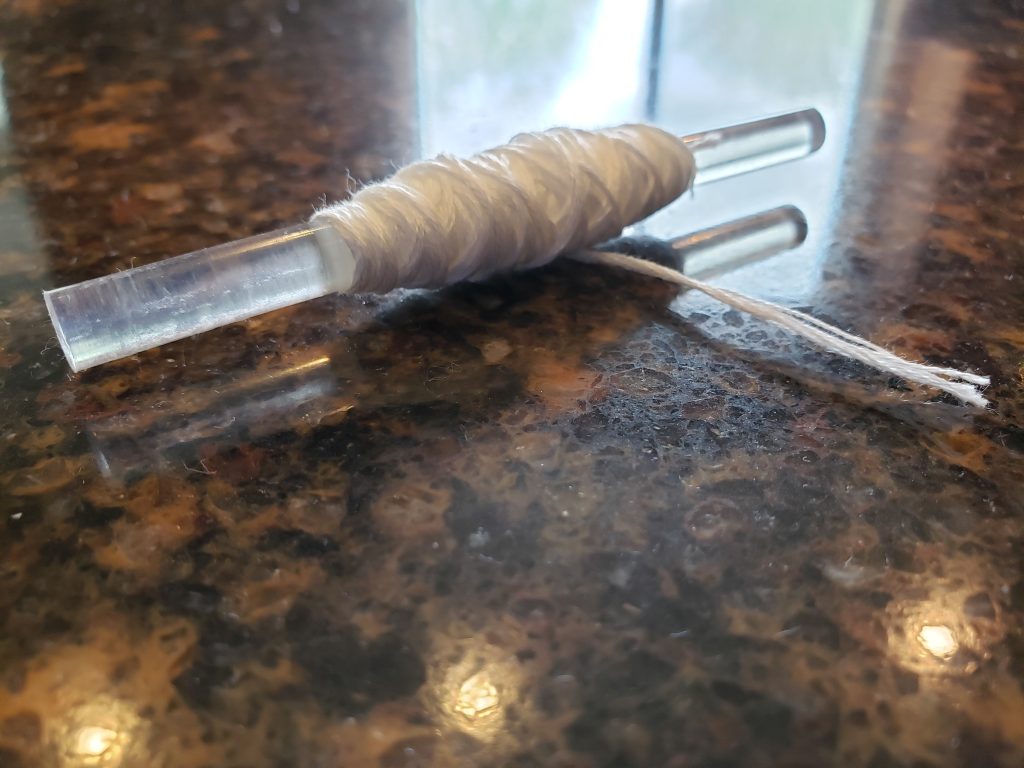
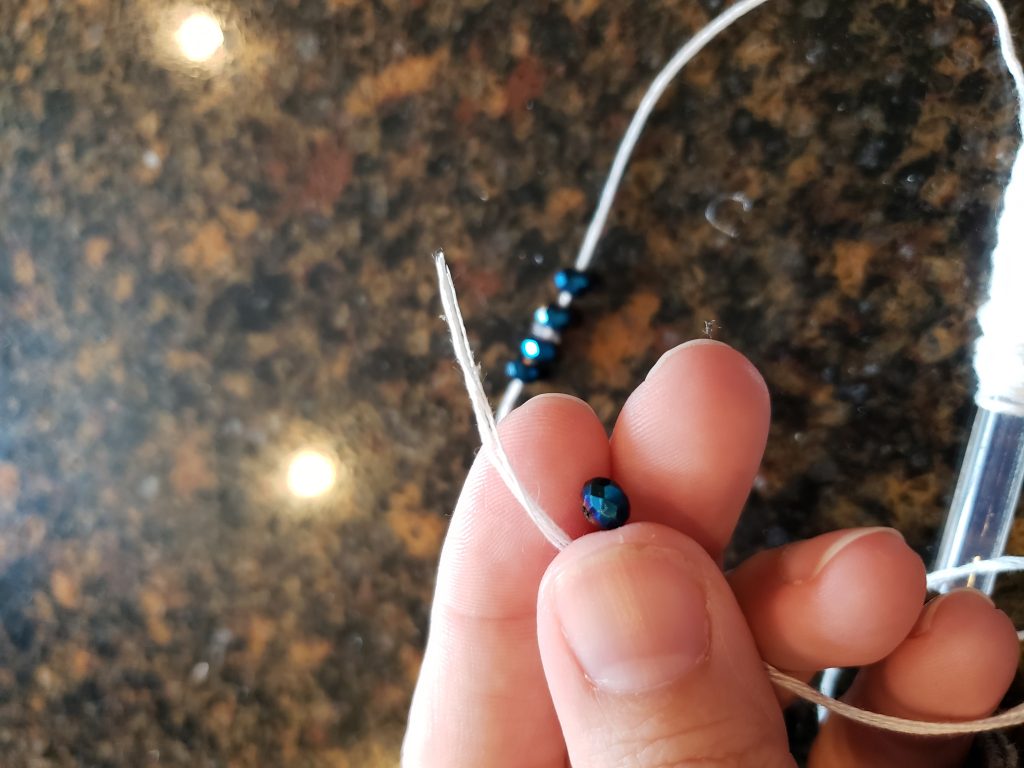
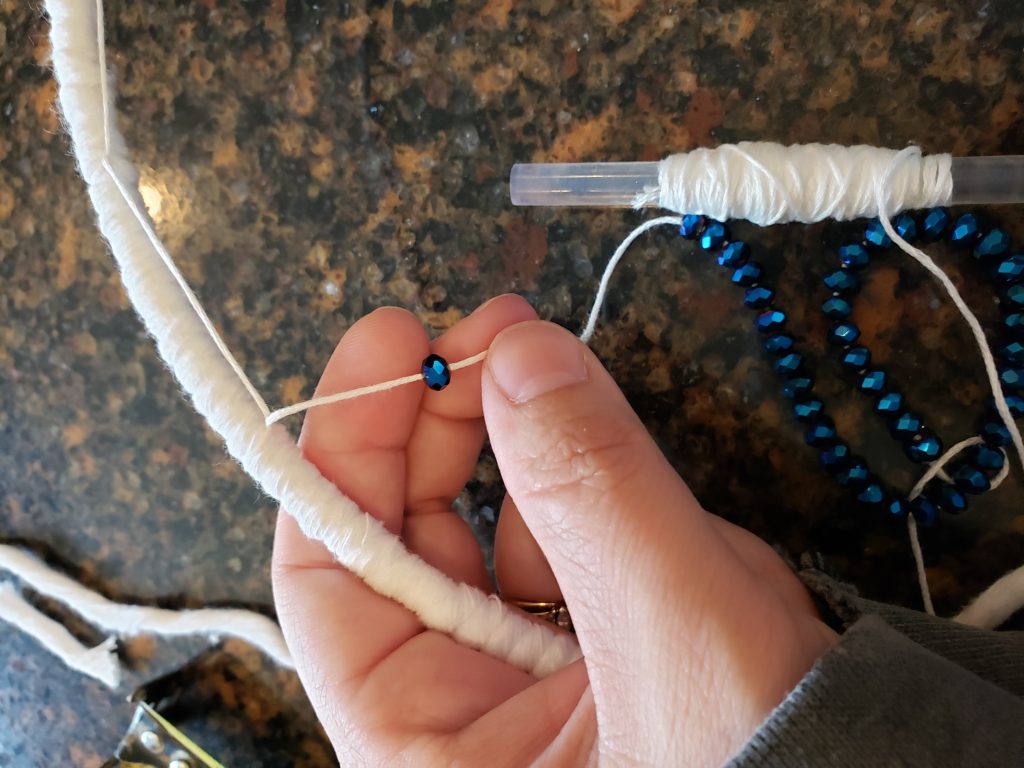
Once I had the hoop covered I wrapped the embroidery thread around a glue stick to make it easier to weave the Macreme dream-catcher web! Then added the beads so I could drop them in as I go.
Take a look at this video to learn how to weave a dream catcher web!
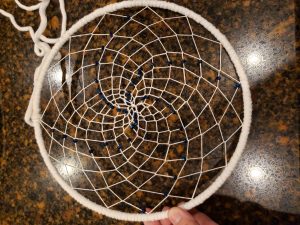
Here is what I ended up with so far! I love the beads!!
Next I attached the Ganxxet Cord to the dream catcher with The Larks Head Knot
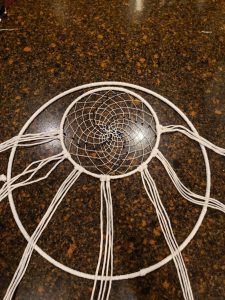
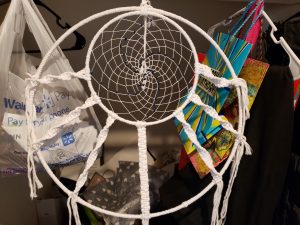
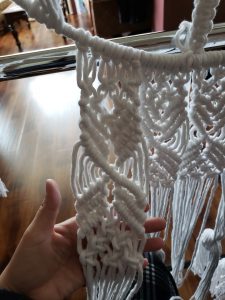
and did the Spiral Stitch all the way down until I reached the larger hoop for the side pieces and a straight square knot in the middle. Sorry for the messy closet pic;)! Yes this is what that space under my stairs looks like;)! I tied it up to the closet rod to work on!
Next I attached all the cord to bottom of the larger hoop to continue the design. I did 5 groups of 6 larks head knots along the base.
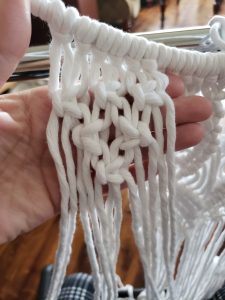
Started with each set containing 3 square knots on the first row, then 2 then 1.
Followed by 3 rows of the double half hitch to complete the “v” of square knots. On the last row of the double half hitch, I continued diagonally across for the reverse angle
ending with the “v” of square knots as 1 knot, then 2 then 3.
I continued this pattern across all 5 groups.
Once the 5 groups were complete I added the double half hitch along the bottom.
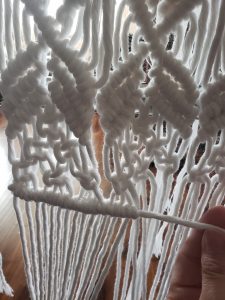
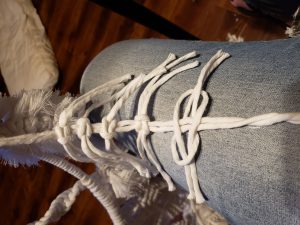
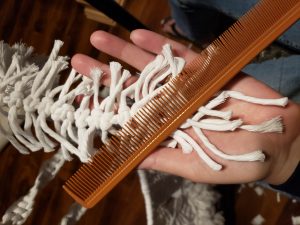
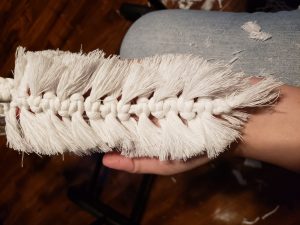
Now to add the feathers. Can’t have a dream catcher without feathers for all the good dreams to trickle down from! Learn to make feathers here!
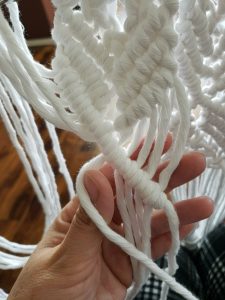
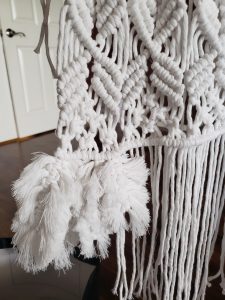
I just took two of these bottom cords at once and used that as my feather center and continued all the way across!
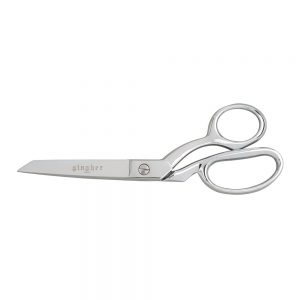
Let me add here, to make macrame feathers, you NEED good sheers! I used these and they were amazing – Gotta love amazon, they were less than $20!!
I went all the way across two center cords at a time… It ended up to be a lot of feathers, I probably could have put 3 together and done a few less;)
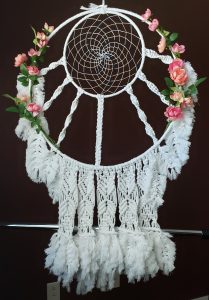
Next I attached the florals with some fishing line I had around the house and made more feathers with the excess cord from the Spiral Stitch off the dream-catcher!
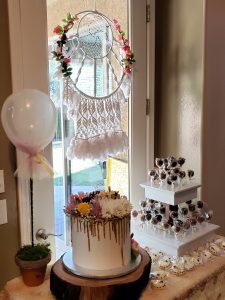
And finally the finished piece! I absolutely love how this macreme dream-catcher turned out<3!
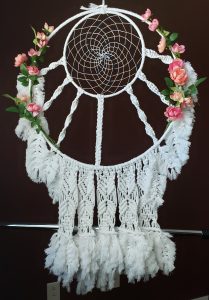
Macrame is a new craft for me, I usually bake and make cake pops with my invention the Easy Roller, so for my niece’s baby shower I had my own little “creation center” complete with cake, cookies, cake pops of course, and this beautiful Macreme dream-catcher all hand made by me:)!
