
The Easiest Rose Cake Pops you will ever make! I am hesitant to say, but these might be the Easiest Cake Pops you will EVER MAKE!! And this fun tutorial is just in time for Valentines Day! All you need is the Easy Roller, some Almond Bark, Cake Pop Sticks, and cake of course!
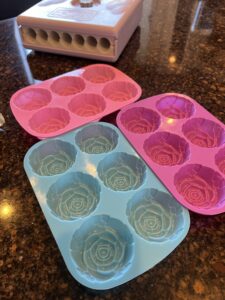
Oh! And THESE Rose Molds,
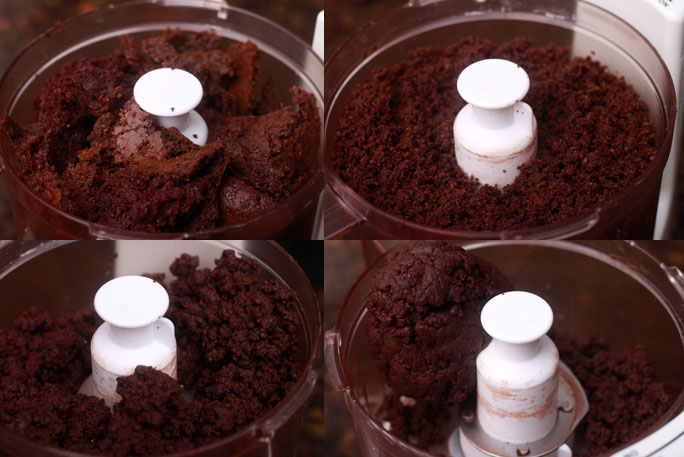
Bake your cake! I made a Betty Crocker, Devils Food Cake, per the directions on the box. Once it’s cool to the touch I put it into the food processor until it looked like dough.
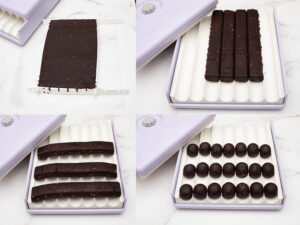
Next, to roll all the 1.25 inch cake pop balls! I start by filling the included white frame with the cake pop dough. Fill it tight! The tighter it is in there the better the balls will come out. Then remove the frame and place the square of dough into the Easy Roller. Use the lid to cut it into 3 strips. Then take those strips and put them the other way across the bottom half of the Easy Roller. Cover those up with the lid and slide back and forth 3-4 times swiftly. You can roll out the whole cake in under 5 minutes 🙂
To melt the candy melts or almond bark, put the candy into a microwave safe bowl and heat it in the microwave on 50% power -or defrost- for 1 minute. Then stir and place the bowl back in the microwave in 30 second increments until melted. I just used Milk Chocolate Almond Bark, because it’s my favorite, but if you want to get fancy, you could definitely use white Almond bark, or even dye your own colors! To do dye your own colors, once your candy melts are melted you can add the “candy color” and stir! *Remember, candy color is a bit different! It is oil based, not water based. Water based colors will seize up your chocolate, so always check the ingredients!* Keep adding the candy color until the desired color is reached. Also if you don’t want to go through the hassle of dying the white chocolate candy melts, you can always buy them pre-colored.
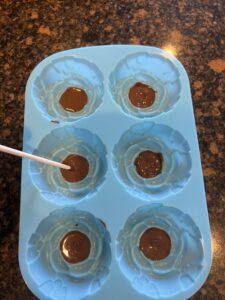
I put just a bit of melted chocolate in the center of the mold so I could minimize the air bubbles. I used the cake pop stick to get the melted chocolate in all the center groves.
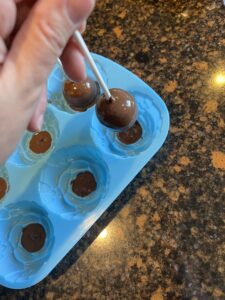
Next, dip the stick into the candy melts. Dip the lollipop stick into the cake pop ball. Then dip the entire cake pop into the milk chocolate candy melts. This is the best part!! You don’t really have to tap off the excess chocolate!! Just place it in the center of the mold and let the chocolate kinda ooze into place as it hardens.
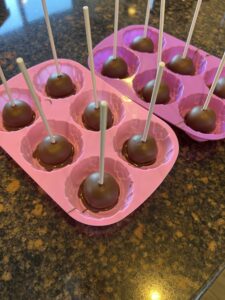
Just waiting for them to set up!!
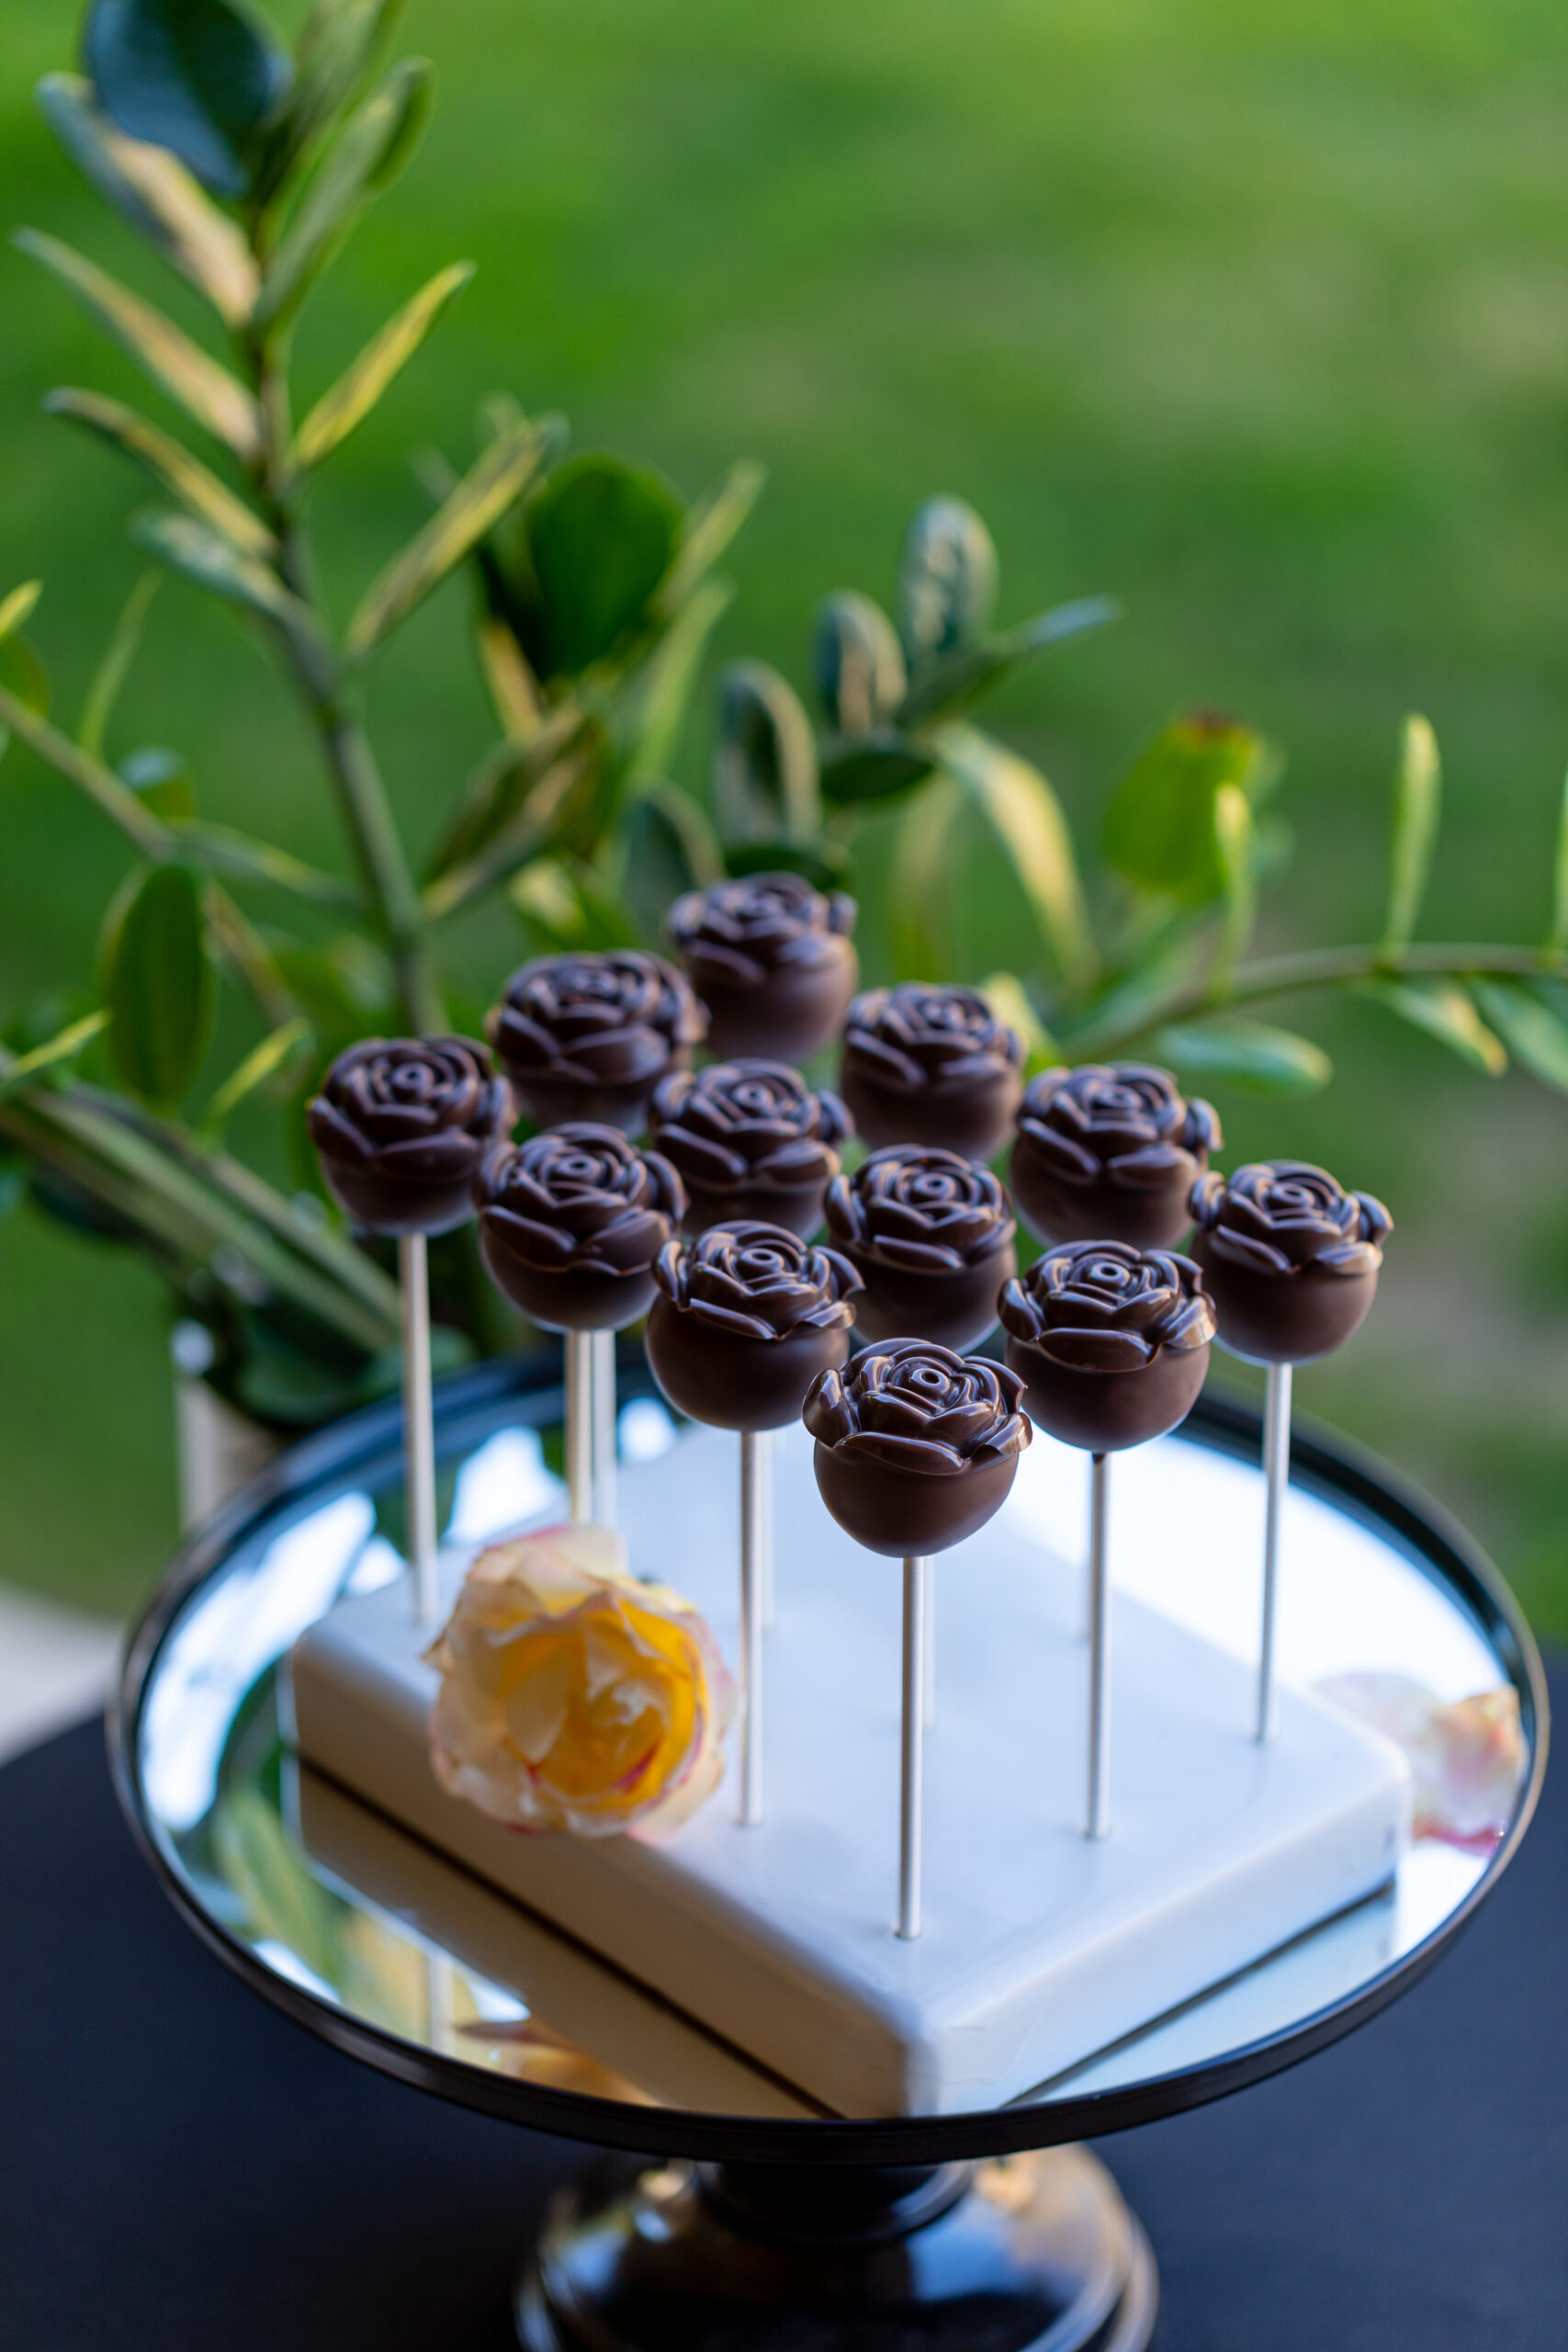
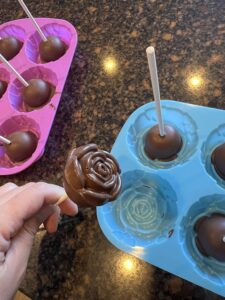
Now the fun part …and satisfying part! Once the cake pops have set, peel pack the mold to reveal the prettiest rose cake pops that were SO Easy to make!!
I have been using KC Bakes Stands for years, the ones I have are great for small batched like this!

Look at that! Easy!! As always if you like these tutorials and want to see more please “like” and “share” our Easy Roller or New Mini Easy Roller with your co-workers, friends and family! It is how we keep them coming, it also means the WORLD to me:)!!