These are pretty easy to make if you know how they are done:)! Get ready to impress your friends this Season with these “cool” cake pops;)!
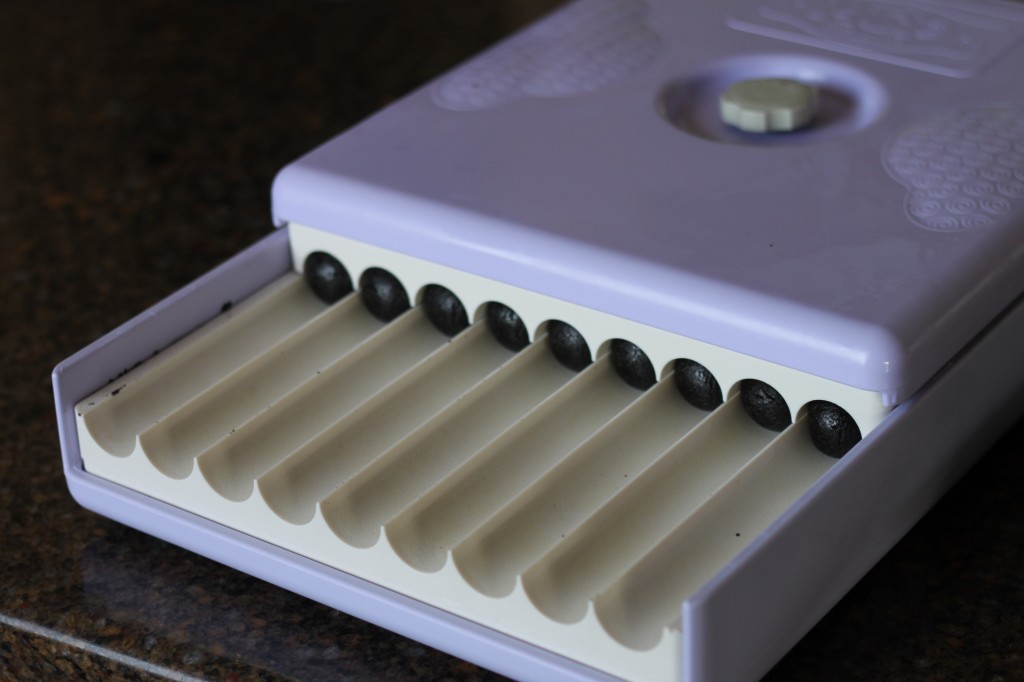
I used the Easy Roller to make 1.25″ balls for the 1st scoop and the optional 1 inch insert for the second scoop:)! I like to mix up the inserts when I can! So first you need to bake and crumble your cake, then roll out all your cake balls! The Food Processor and the Easy Roller make quick work of these steps!
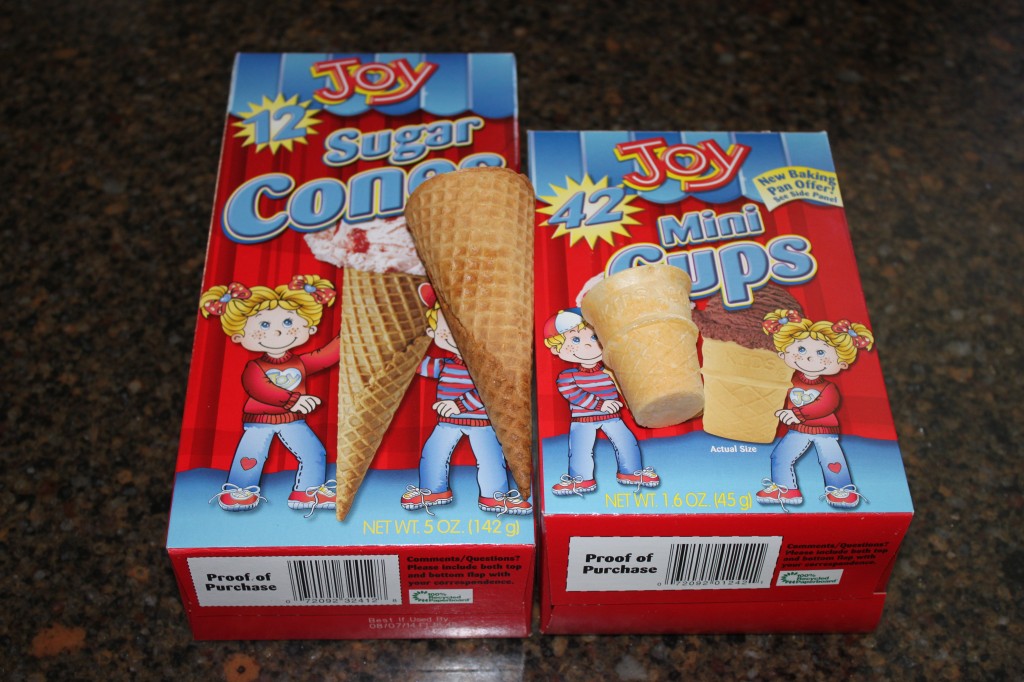
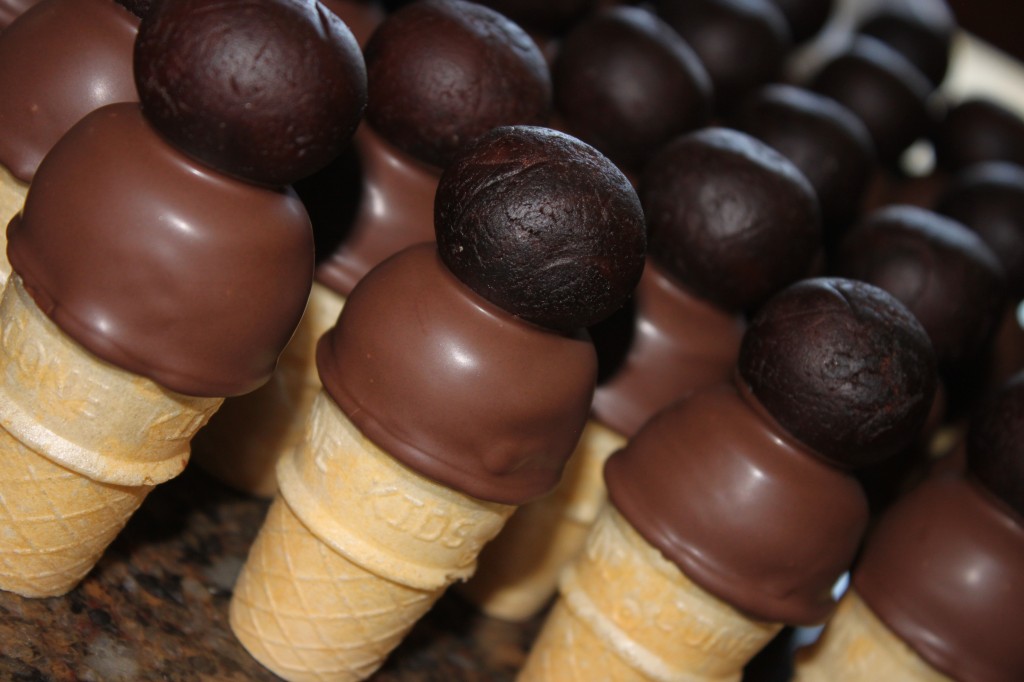
Once you have all your cake balls ready to go, its time to grad your ice cream cones! Choices?! Super cute mini Cones or the regular sized sugar cones. These little ones are like the “kid cones” from Mc’ds:)! Look they really are actual size on the box:)!
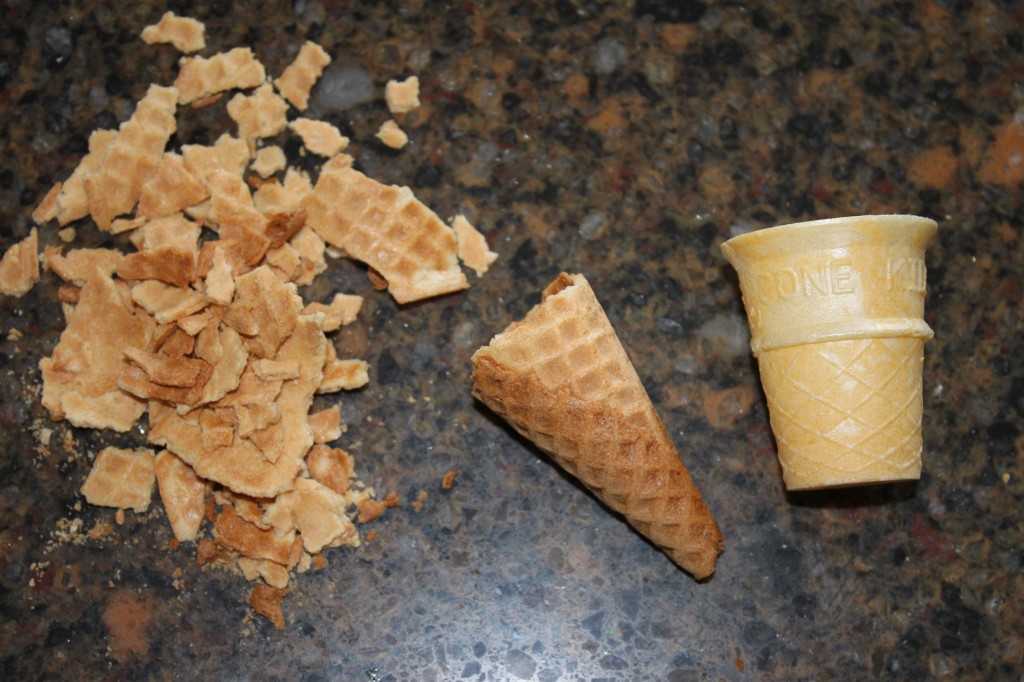
If you are going to use the sugar cones just break them down to the size you like:)!
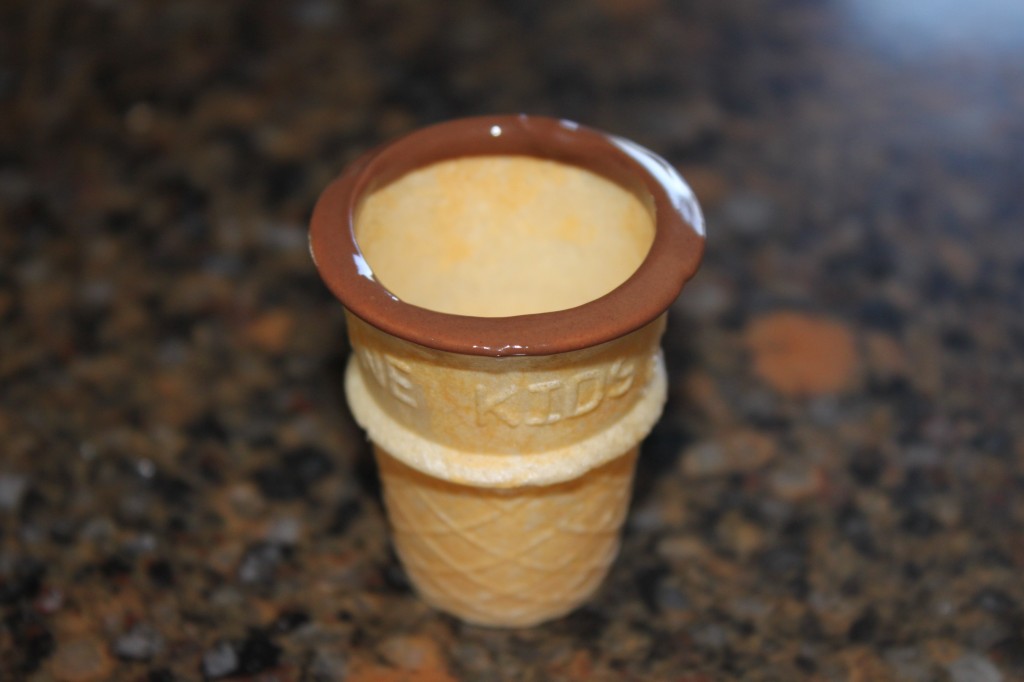
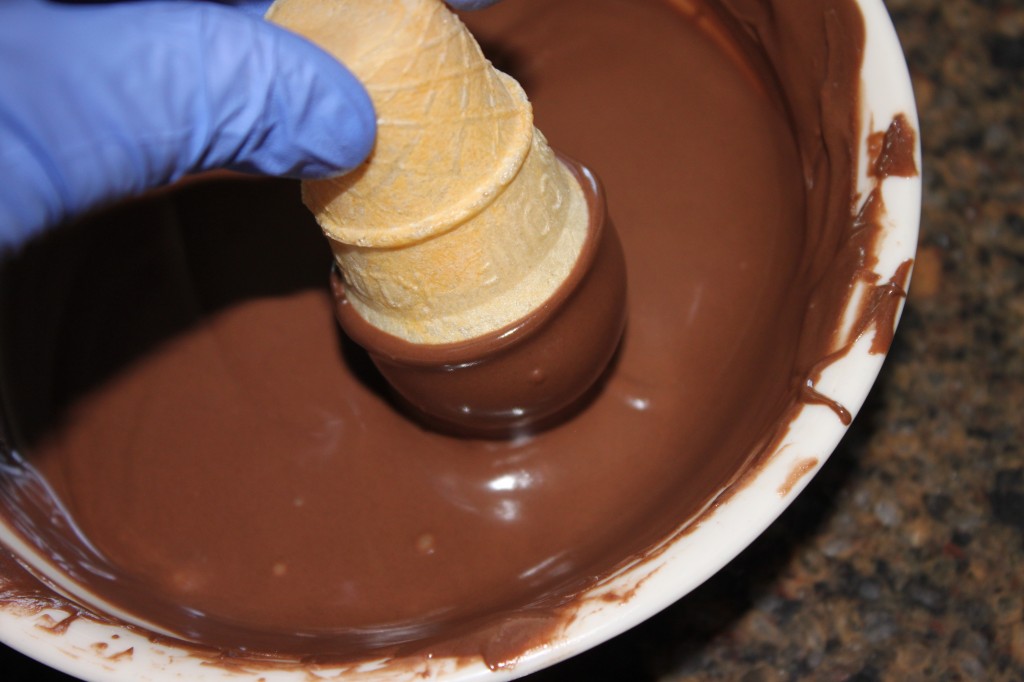
Next melt down the candy melts! I will have my 1st scoop be chocolate, so I will need to melt the chocolate first! Then dip the rim of the ice cream cone into the chocolate
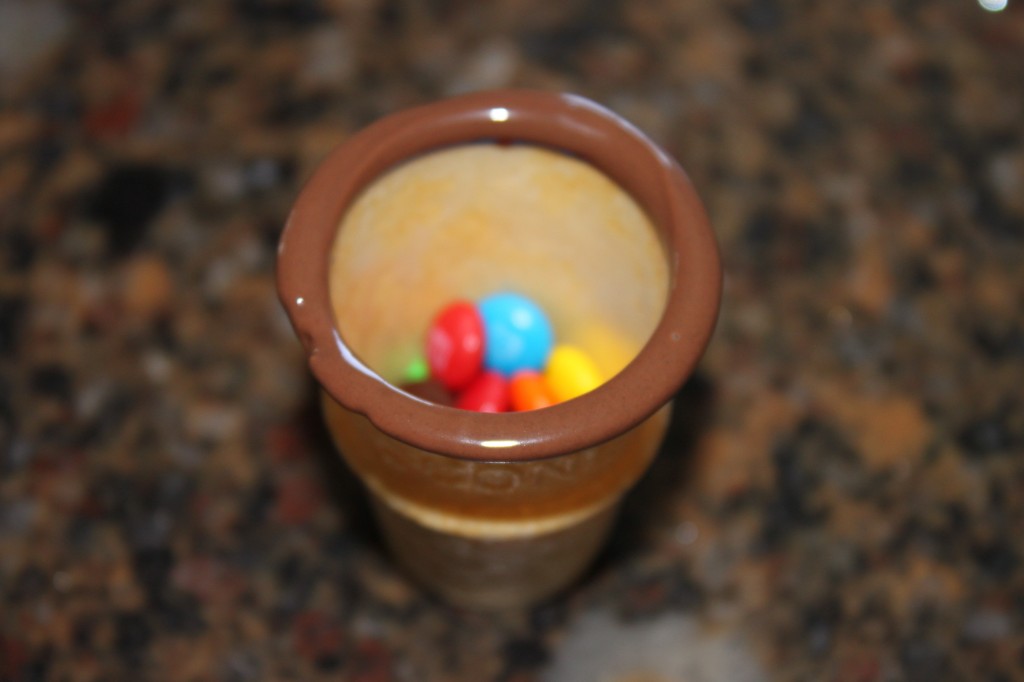
Next get something fun to put down into the cone;)! This step is optional, but for me the best part of a “drumstick” ice cream cone is the hard chocolate bottom of the cone:)!! You could use Nutella, more candy melts, really anything you like that is small enough to fit! This time I am using the mini M&M’s!
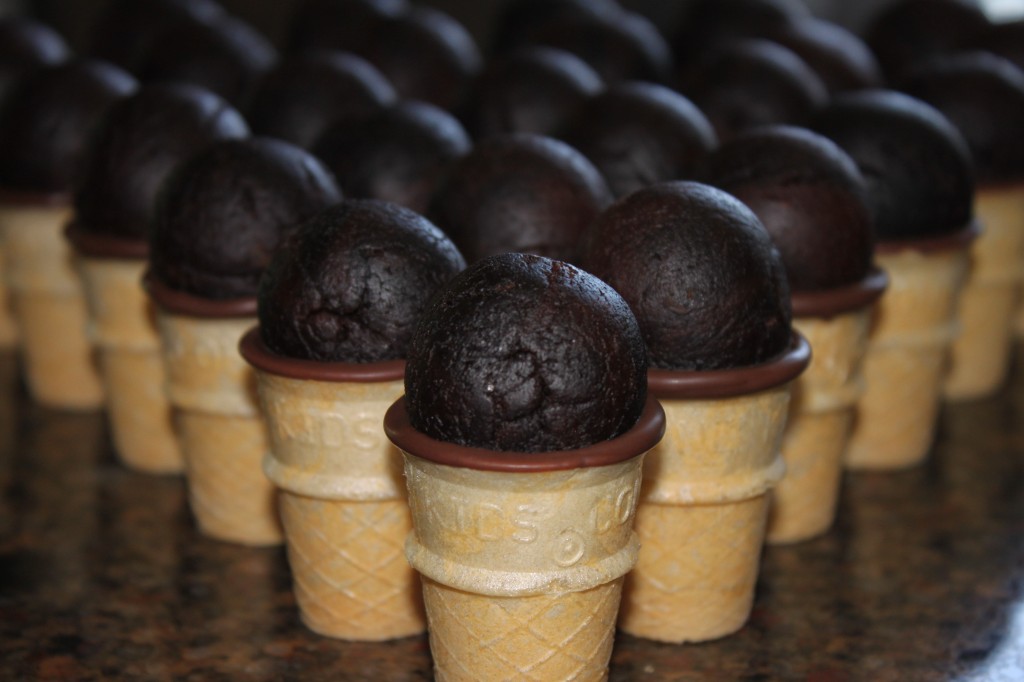
Now, push the larger cake ball, made with the standard insert of the Easy Roller onto the rim of the ice cream cone and wait for it to set.
Once that has set the cake ball will be fairly secure inside the ice cream cone!
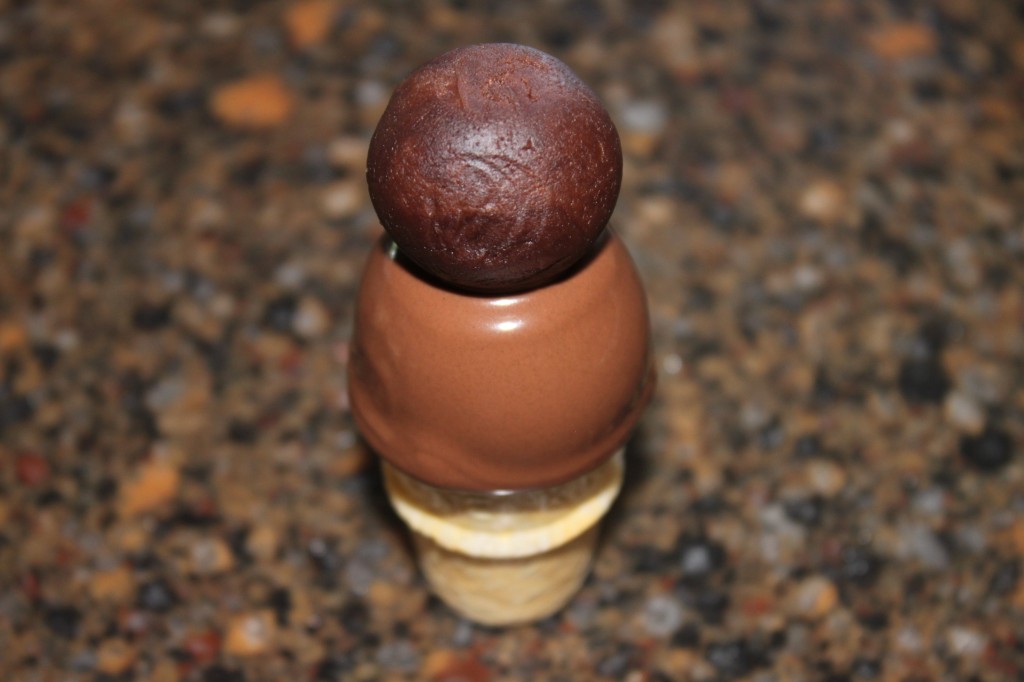
You can now dip the exposed part of the cake ball into the chocolate melts, then lightly move the cone side to side until the excess chocolate has all fallen off. Use caution, but I dipped over 30 of these and not one fell off:)! YAY!! If you leave a little extra chocolate on there, that is OK, you will just have a “melty” cone:)! Just make sure you dipping the cake pop all the way to the cone! I covered the original “rim” of chocolate when I was dipping.
Now, before this chocolate sets up, put the smaller cake ball (made with the optional 1 inch insert to the Easy Roller) onto the top of the 1st scoop of “ice cream!” and wait for that to set.
When this sets up your 2nd scoop of “ice cream” will be secure enough to dip!
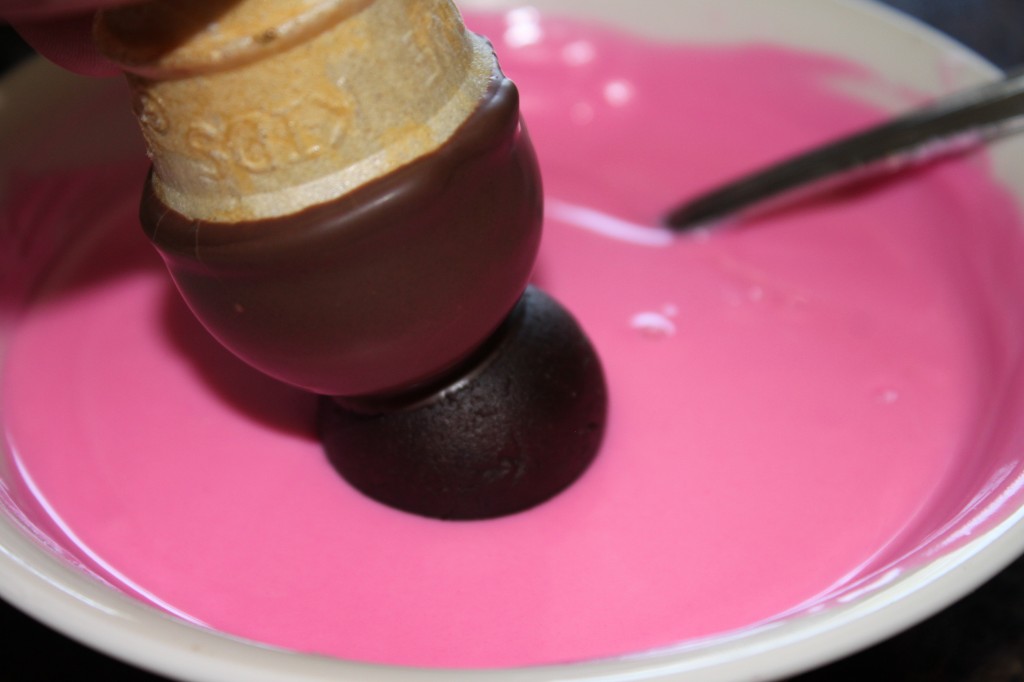
I am going to dip this “scoop” into the Pink Candy Melts! I made the pink I am using with a little Wilton Pink Candy Color and white candy melts, but you can buy it as well:)!
Dip this layer into the pink and make sure your candy melts cover the entire “2nd scoop” and make contact with the “1st scoop!”
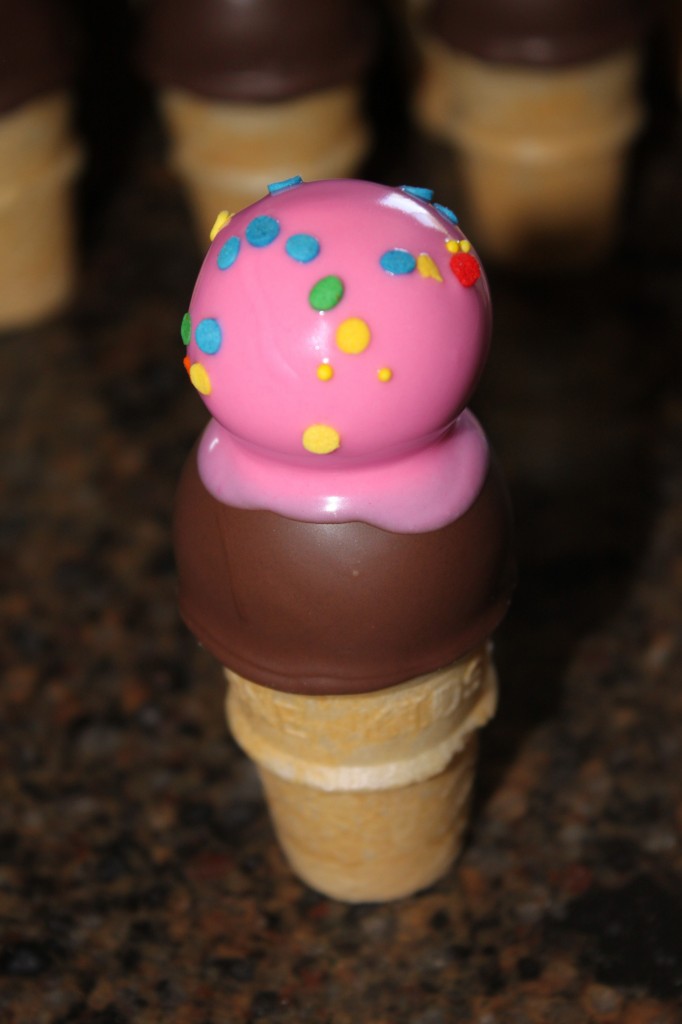
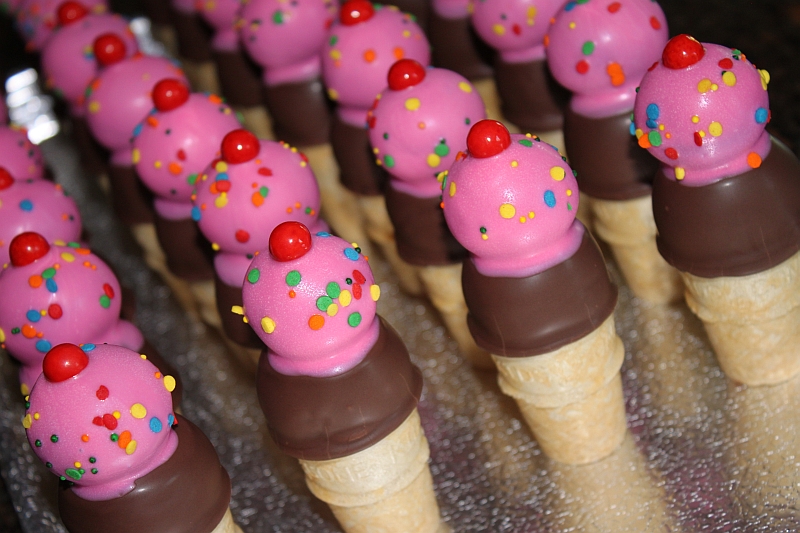
Before this sets, add a few sprinkles and add a little cherry on the top:)! The “cherry” pictured is a red Sixlet, but you can also use an M&M, or skittle, or even just pipe it on with some red candy melts! I know you are going to ask, so I purchased these Sixlets at a party supply store where you could buy each color Sixlet by the pound, but in recent months I have seen smaller packages of Sixlets all over!! The craft store, even my Wal-Mart (I am in a small town) carries them now:)!!
That’s it! You are ready to make these on your own! Can’t wait to see how you do! #bestcakepops or #EasyRoller so I can find them!
If you liked this tutorial, make sure you check out & Share our Easy Roller! It is how we keep these tutorials coming to you:)!


