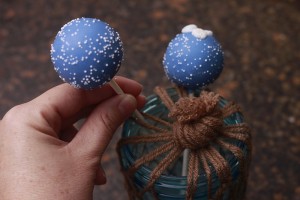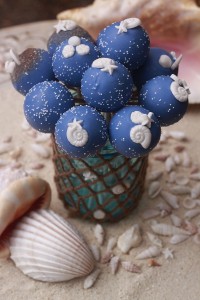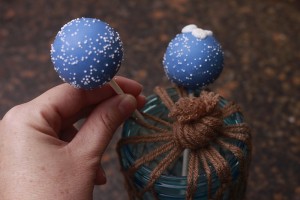
It’s almost Summer!! Let’s make some Nautical Cake Pops and Centerpieces!
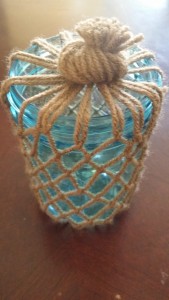
I started with the centerpieces! These were so fun and easy to make! It is the most basic form of Macrame, or just tying a bunch of knots, around blue Mason Jars to give it a more nautical look. Fillmore Container is a great resource for the Blue Mason Jars.
Here is how you do it! First get a length of twine (I only had brown yard handy, but it worked just as well!) You want the length to be a bit bigger than the base of the jar. Then start cutting lengths of twine/yarn about 4 times the height of your jar. I cut 14 of these. The more you make the smaller the design will be, the fewer, the larger the design will be.
Now set the first string horizontally in front of you. Then you will take the other pieces and start attaching them to that horizontal string. To attach these strings fold it in half, making sure the ends are equal. Take the loop end and place it under the horizontal piece. Now take the two ends and pull them through the loop (around the horizontal string). Repeat this step until all the extra cut pieces are attached to the horizontal piece. Once those pieces are all attached to the horizontal string, tie the two ends together to make a circle. (The circle needs to be a bit smaller than the base of the jar.)
I put the jar over the top of the circle to weigh it down a bit for all the knot tying 🙂 Now you will have 14 pairs of string. To make the nautical design, (fish net) you will take one string from one of the pairs and its adjacent string (from the adjacent pair) and tie them in a not, leaving a little slack. Then go all the way around repeating that step.
Keep going around in this same pattern until you have enough netting to go up the side of the jar.
Once you get all the way to the top, pull all the strings together and tie one big knot on the top of the jar.
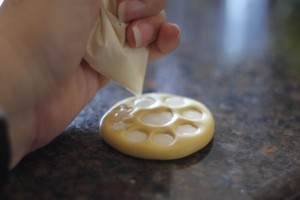
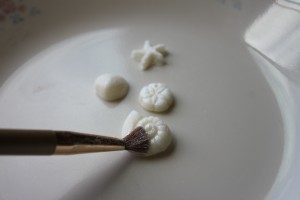
Next it is time to make your seashells! You can make them from Fondant or Candy Melts! I chose candy melts so the flavor blends with the cake pops.
To make the seashells, I used a mold from Lollicakes By Ella. She has the perfect cake pop sized molds 🙂
Once the candy melts set they pop right out! I then dusted them with some pearl dust (optional step)
Now that all the decorations are made, let’s get on with the Cake Pops!!
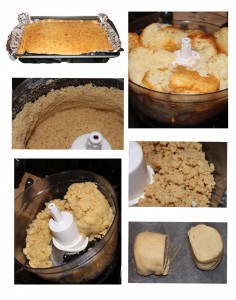
Bake your favorite cake recipe – If you are just making cake pops, one box of cake will make about 30 cake pops (all 1.25 inches in diameter – think ping pong ball size.) You can also take all the tops from a decorated cake, yesterday’s cupcakes, or even a store bought cake! Just crumble and knead it down until it is a pliable dough. (consistency of Play-Doh) You can do it by hand (you also will need a bit of frosting this way), but it is faster if you just put your cake into the mixer or food processor and leave it in there till it turns to dough (if you are mixing the cake this way, you only need frosting if you want to add some extra sweetness).
Next take that dough and roll them into balls. We do this step with the help of the Easy Roller! It can roll an entire cake in no time at all, since it rolls 21 cake balls at one time & they are all the same size! Here is how it works if you haven’t seen or heard of it yet!
…if you don’t make cake pops often but you still would like to make them faster our newest “mini” Easy Roller is now available – it rolls 9 at a time! Once all your cake is rolled into balls dip them into blue candy melts (melt candy melts on 50% power for 1 minute, stir and then 30 second increments until fluid)! Then add your Lollicakes Sea Shell Molded Shell and some white non-pareils and set them in styrofoam or your favorite cake pop stand. Now that that have all set, arrange them in your blue, decorated Mason Jar. I placed each cake pop between the strings on top! These were perfect to help hold them in place.
Aren’t these just perfect?!
HELPFUL RESOURCES
- Fillmore Container – Blue Mason Jars
- Lollicakes by Ella – Seashell molds
- HCP Easy Roller – Cake ball roller (meatballs & cookies too)
- KC Bakes – Cake Pop Stands


