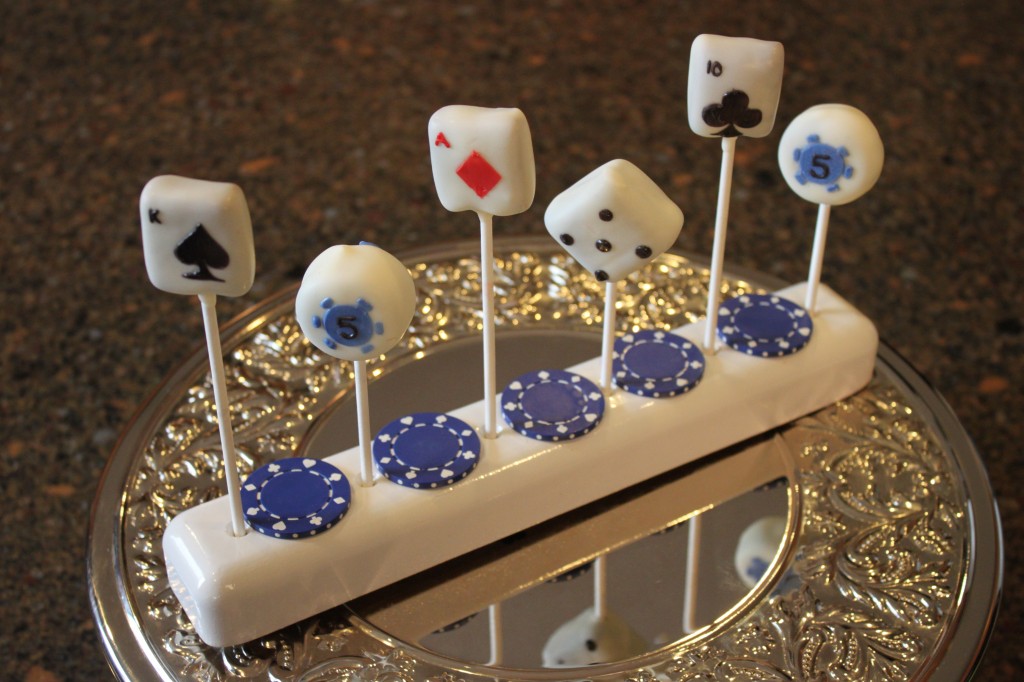
I love Easy Cake Pops!! Its fun if you have tons of time to sit and create really elaborate designs and really put all your artistic ability into it! However, what if you don’t have tons of time or you are not all that artistic?! That doesn’t mean you can’t make cake pops!! I did all the hard artwork for these casino themed cake pops with Cricut Explore™!!
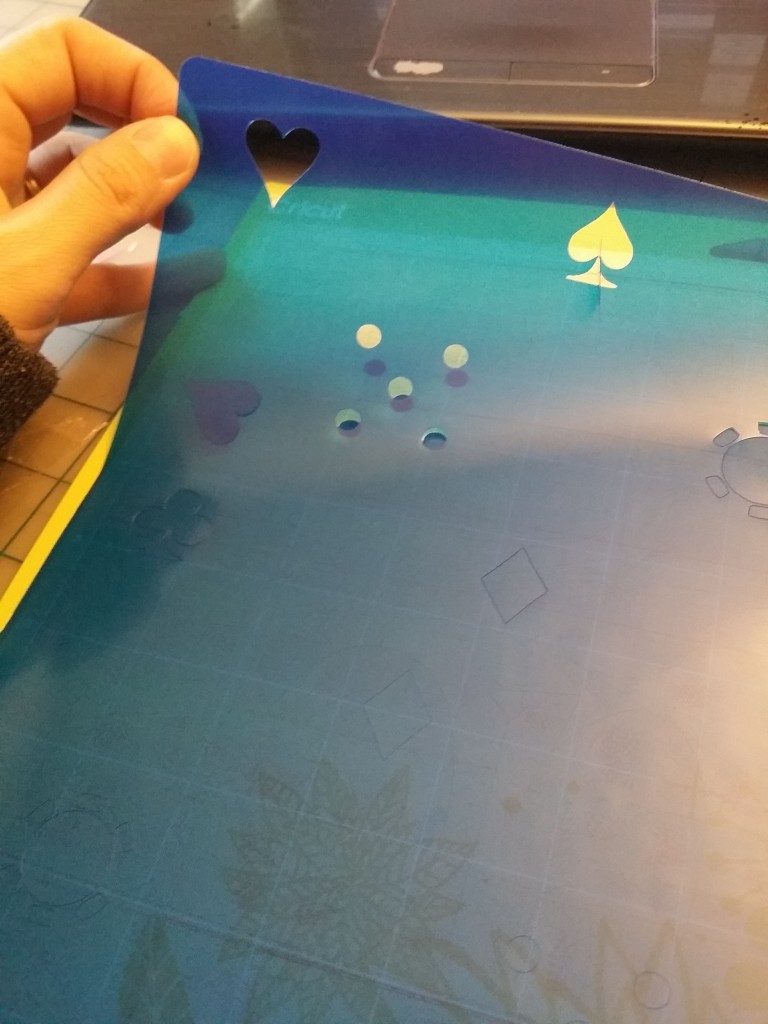
If you can print it, you can cut it with the Cricut Explore machine. And believe me I did!! I made these Casino Themed cake pops with Stencils I cut out on the Cricut Explore™! I love stencils! You make them once and then you have them in your decorating arsenal forever:)! I think my biggest hold up when I first got my Cricut Explore is where I find the plastic sheets to use! I planned on using the transparency sheets (like for a projector) but they were out… What I found was in the school supplies section of the store! I got plastic subject dividers!! They were much less expensive and I didn’t need a whole box, cake pops are small, so the stencils are pretty small:)! The New Cricut Explore, it is an all web based program, so just type in the Design URL and Create a New File. Then select “Upload Image” I always just use the basic upload, Find the file on your desktop and import it! You can import all kinds of files, I just uploaded Jpegs of the Poker shapes! Once you have the images uploaded go back to the main screen and select Insert Image. You will see a box come up and use the drop down arrow to select My Images. The Images you uploaded will be there, click on each image and and then select Insert. Now you should have all your images in the Cricut Design Space and you should see a box off to the right with a small thumbnail of each of your images. 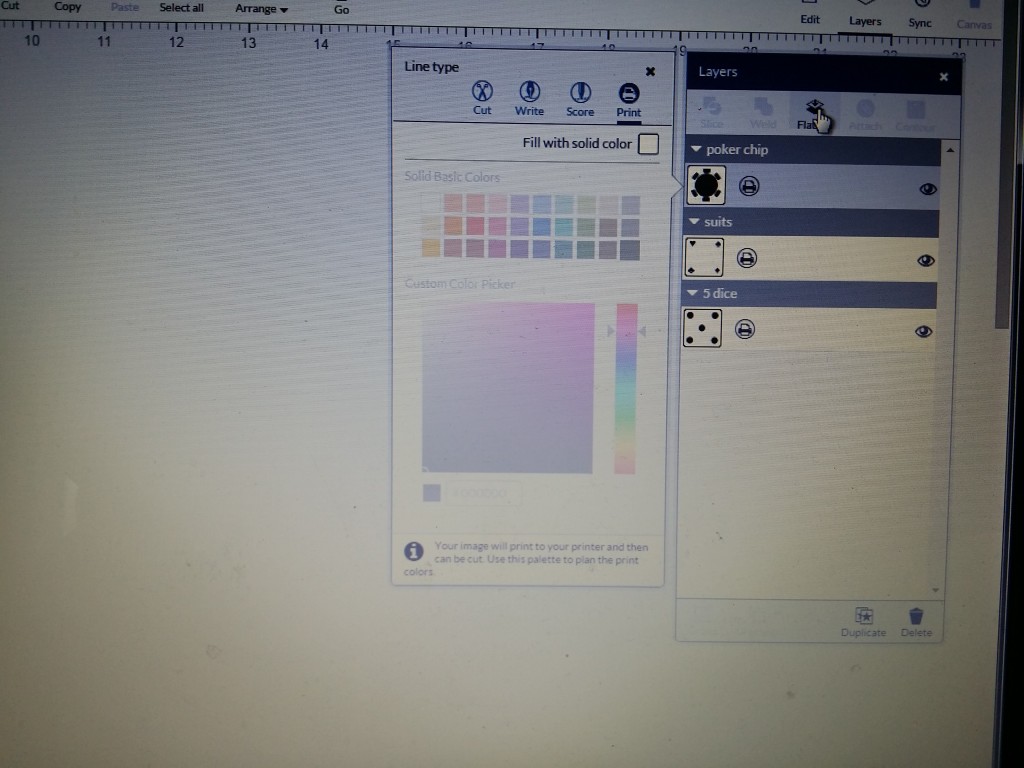 You want to make sure the “Line Type” Cut! If it says that already Great!! If not, Click the UnFlatten button, then the picture then select cut. Once you have all your pictures set to “Cut” in the Line Type Click GO!! At this time, put your plastic sheet onto the mat and click the load button on the Cricut. You will see the Mat Preview where you can re-arrange your cutouts or if they look perfect on the mat preview, select GO again! Cricut Explore™ buttons will light up as you need to press them! I think it’s pretty user friendly! However the customer service over at Cricut is AMAZING and they will walk you through it and make sure you understand exactly what you are doing:)! Oh, for this material I chose “Cardstock” on the dial.
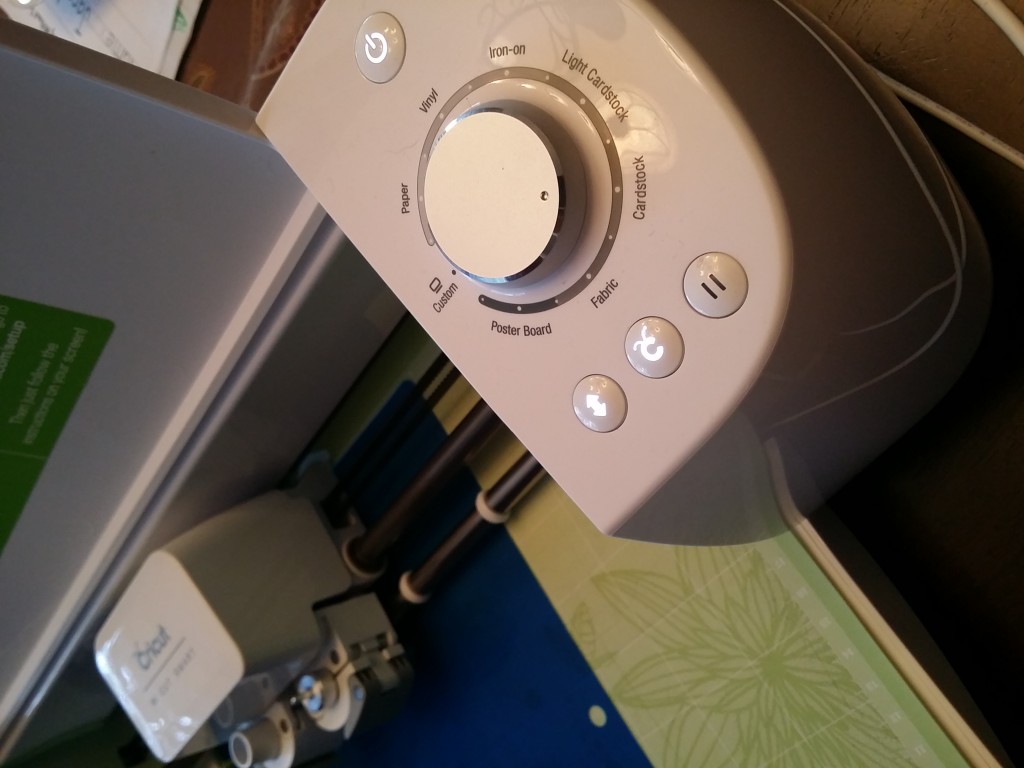
Here is a quick snippet of the Cricut Explore™ doing it’s thing:)
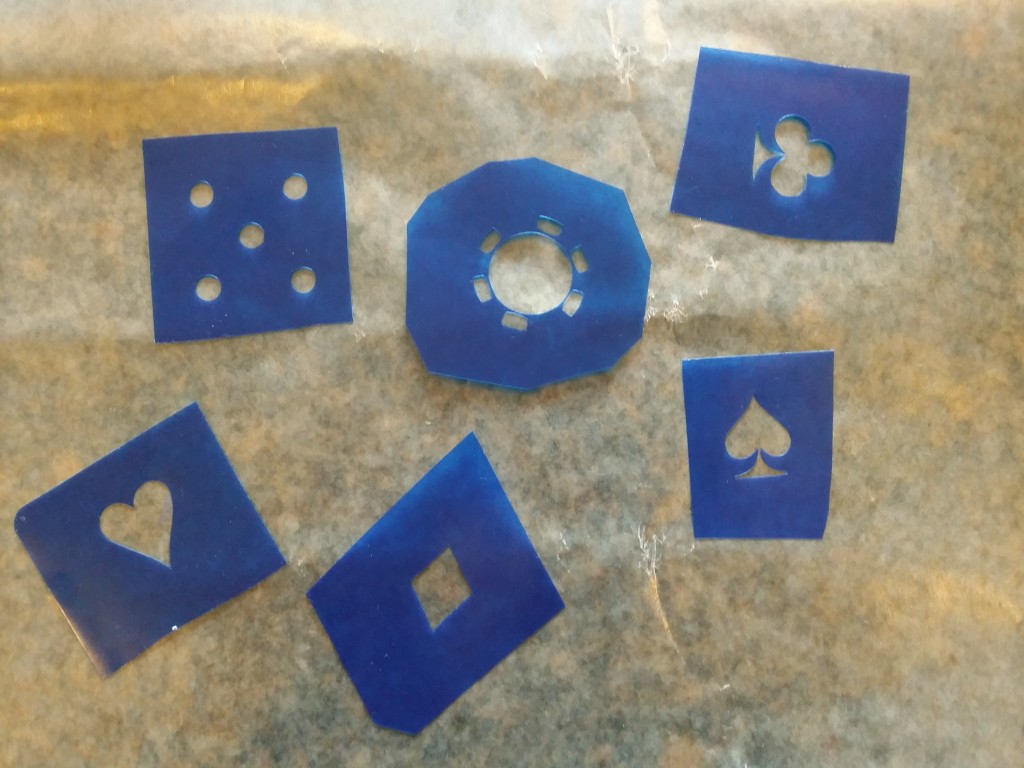
Here are my exact cut outs!
Next I just cut them out so I could use them as stencils!
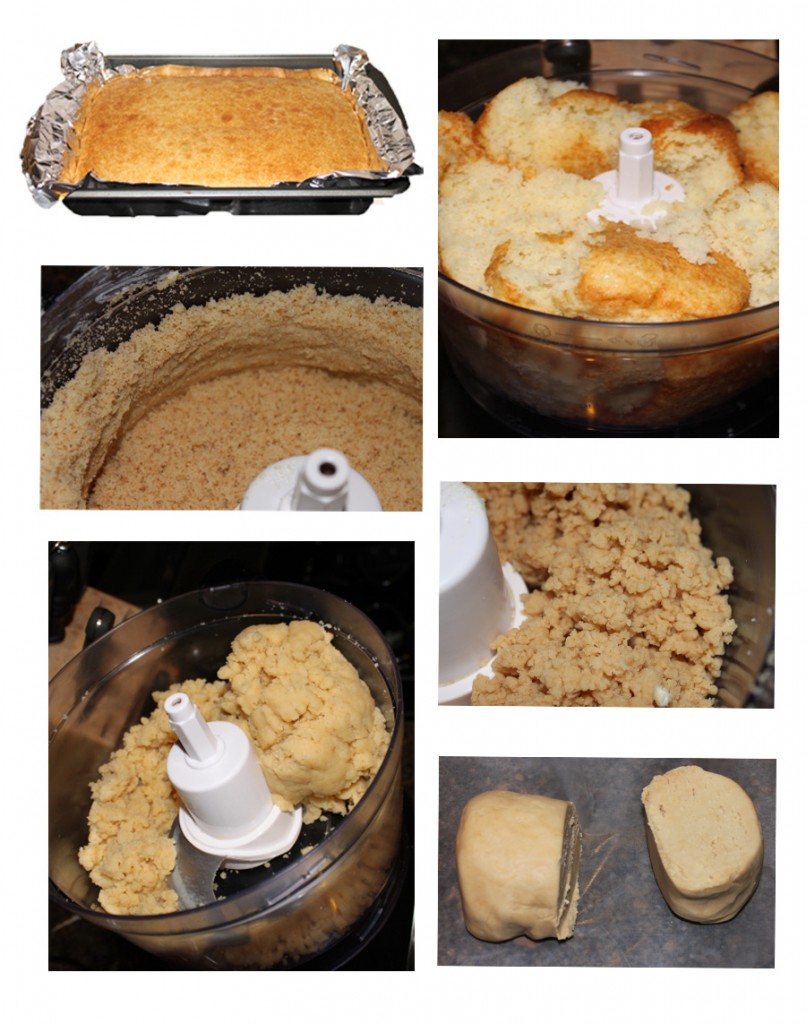
Now that I have all my stencils cut out and ready to go, it’s time to make the Cake Pops!! Bake a cake, use your cake tops, or some day old cupcakes (Or you could buy one if you aren’t in the mood for baking!) and knead it down to a dough. I use a food processor or stand mixer with the paddle attachment but you can do it by hand as well:)! Here is what that looks like:
Next it is time to shape these into the casino shapes!! I couldn’t live without my Easy Roller (or our new Mini Easy Roller!) so take a look at how I used it for these cake pops!!
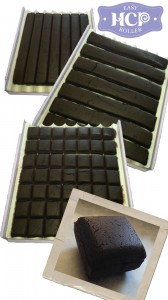
The Easy Roller comes with a measuring guide (frame) and you fill the frame with the dough and it is sort of a measuring cup for the Easy Roller! Take a look at how it works here:
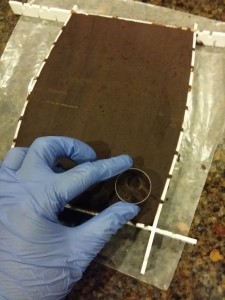
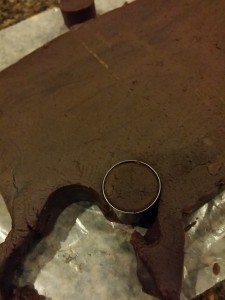
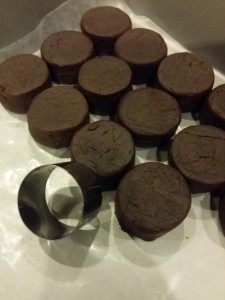
See, you fill the frame first! But since these shapes are not round, I started with the poker chips! I filled the frame and then took my small circle cutters and pushed it into the dough in the frame!
Next I did the dice and cards! I used the Easy Roller to portion these pieces! You can portion 49 pieces with the Easy Roller! That is like having a cookie scoop X’s 48 all at once;)!!
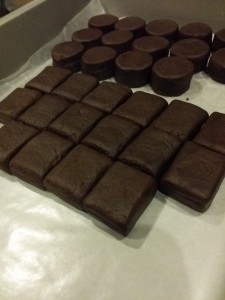
I left the dice just like this and with the Cards it was a simple modification to make them rectangular rather then square!
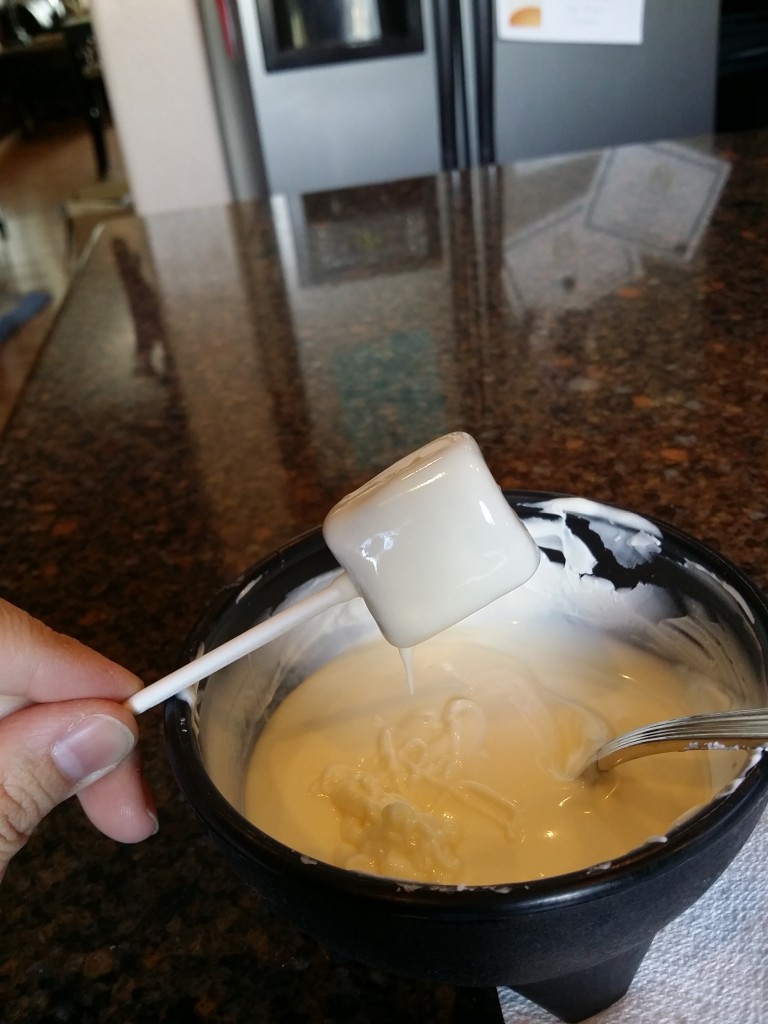
Next dip them all in White candy melts!! I use almond bark or candy wafers and to melt them, just stick them in the microwave for 1 to 2 minutes on defrost (or 50% power), taking breaks in between to stir them.
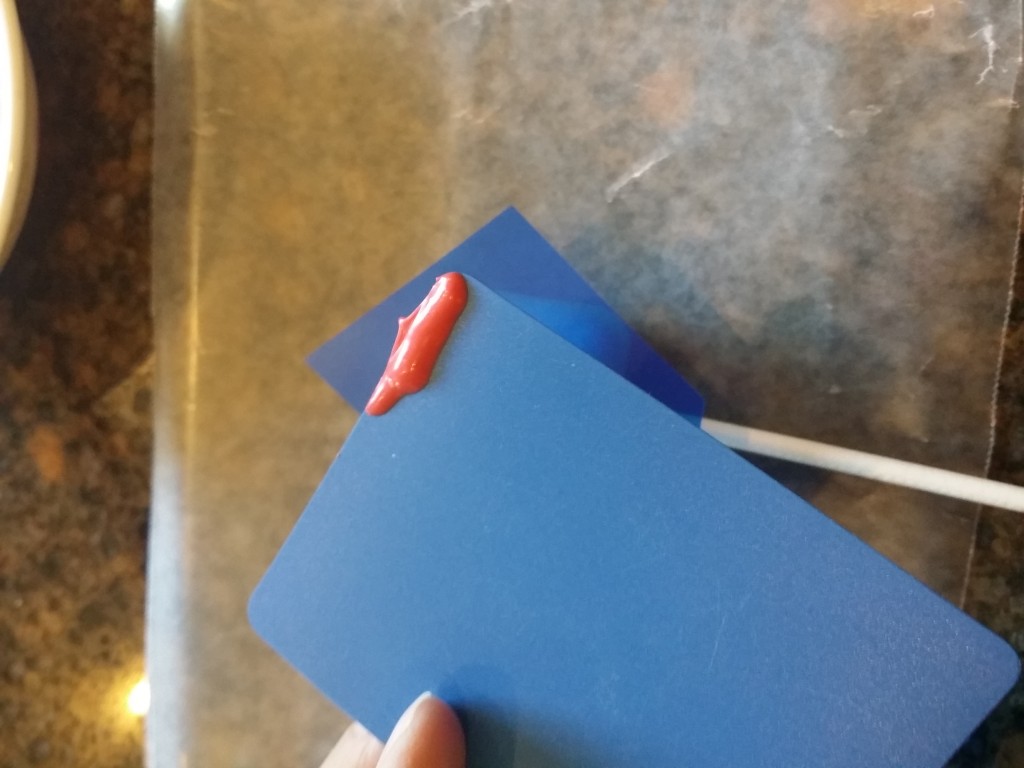
Set them to dry and once they are dry it is time to get those stencils and a thin plastic card, an off set spatula – or if you have a cheap rubber spatula that the top comes off, take it off the stick and that works perfect too:)!! Just something you can spread the candy melts over the stencil with!
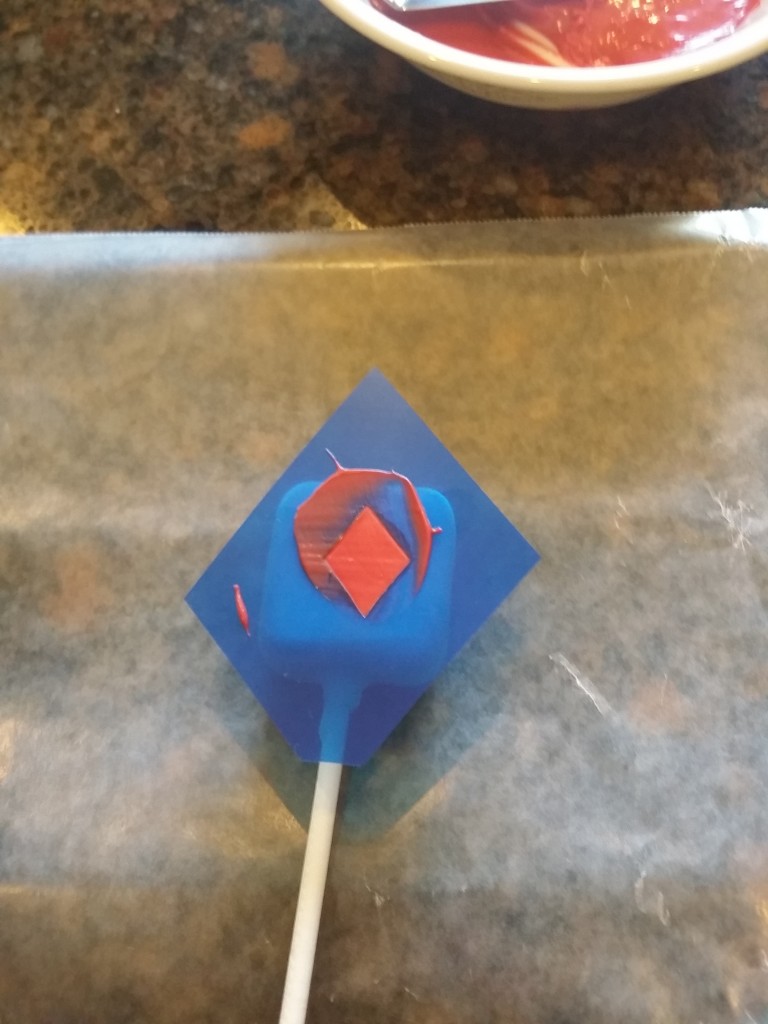
I put just a bit of the candy melts on the plastic card. Took the stencil and placed it over the cake pop and then swiped the candy melts over the cake pop. I found it helpful to have the candy melts thicker, or a bit on the cooler side so that it didn’t creep under the stencil!
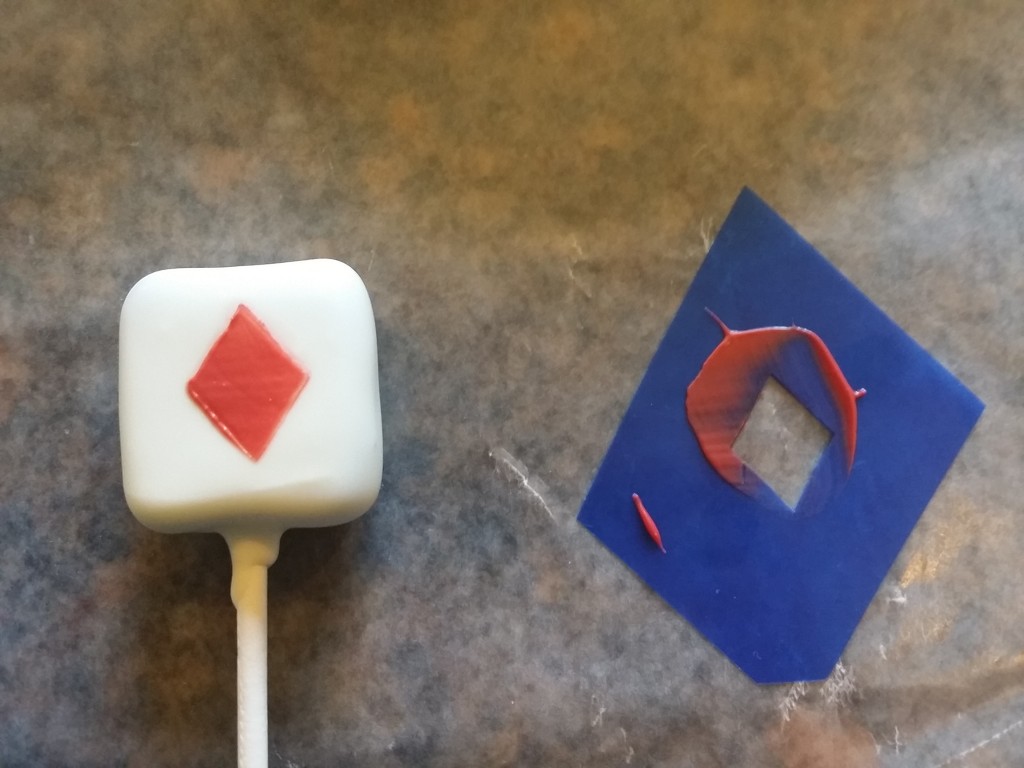
Then carefully left the stencil straight off!
I didn’t take pictures of the stencils in action, but I did them all the same way:)!! Once I had them all stenciled I added a few piped details (just the A,K,Q,J,10 and the #5 on the Poker chips!) I think they turned out great:)! What else could you stencil on cake pops, or cake…:)??! Ohh! Cakes!! I think this Cricut Explore™ is going to get a workout over here:)!!!
If you like these tutorials don’t forget to check out and share our Easy Roller (or our new Mini Easy Roller!) with your friends! It is how we keep these tutorials coming:)!


