
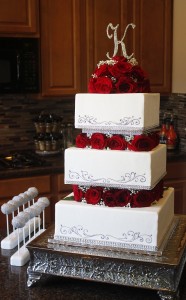

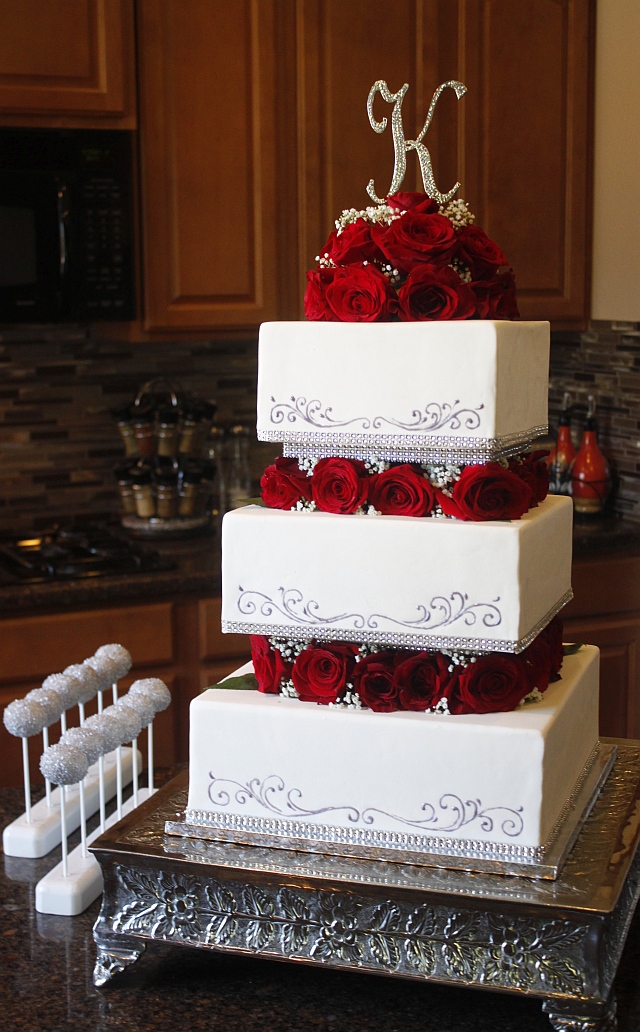
Three Tiered Square Wedding Cake! This was my first Square Wedding Cake, So I will walk you through the steps I took to make this cake and also a few tips I would do if I did it again 🙂
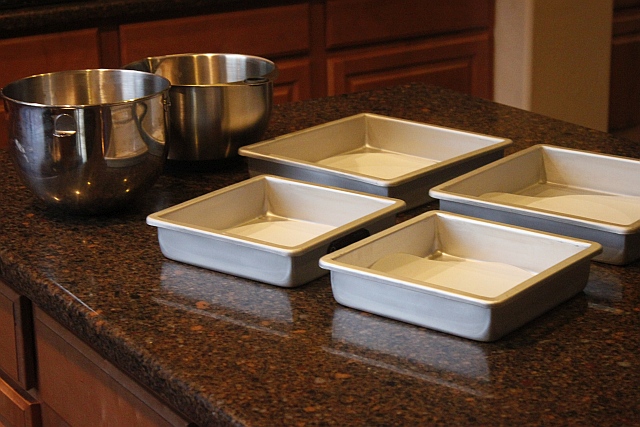
Started with my Fat Daddio’s Square Pans, I used an 8 inch, 10 inch and 12 inch pan all 2 inches deep (I like to have 2 of each size so I can bake them faster)! Two bowls for cake batter since I was making marble cake, and parchment circles for the bottom of the pans.
For the Cake Batter, I start with a Box Cake Mix and just Doctor it up a bit – forget the directions on the back! Here is how I make it:
- 1 box of cake
- 1 box of corresponding instant pudding mix
- 4 eggs
- 1/2 cup Sour Cream
- 1/2 cup milk (or butter milk)
- 1/3 cup vegetable oil
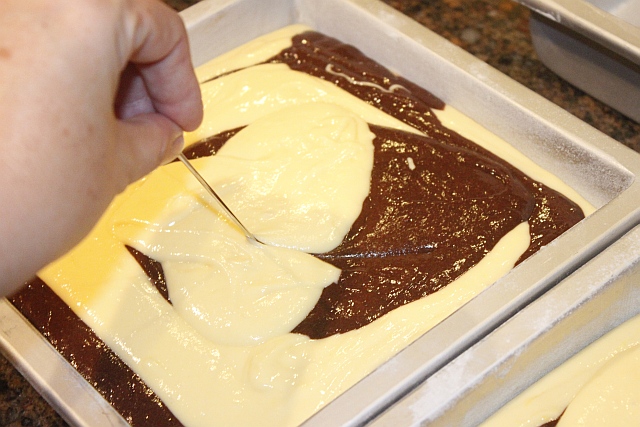
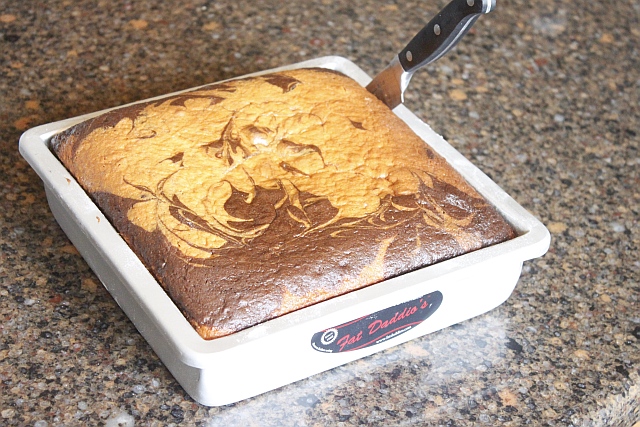
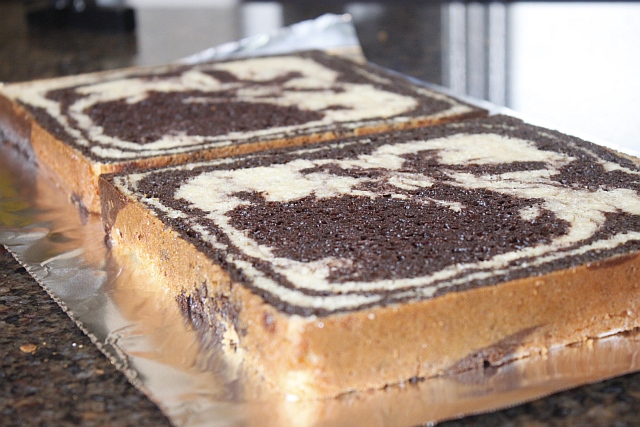
I did this in a vanilla cake and a chocolate cake! I prepared the cake pans with a little crisco and flour on the sides and the parchment circle on the bottom. Then took a 1 cup measuring cup and layered the vanilla and chocolate batters right in the pan.

Next I took a skewer and dragged the chocolate batter into the vanilla and vice versa.
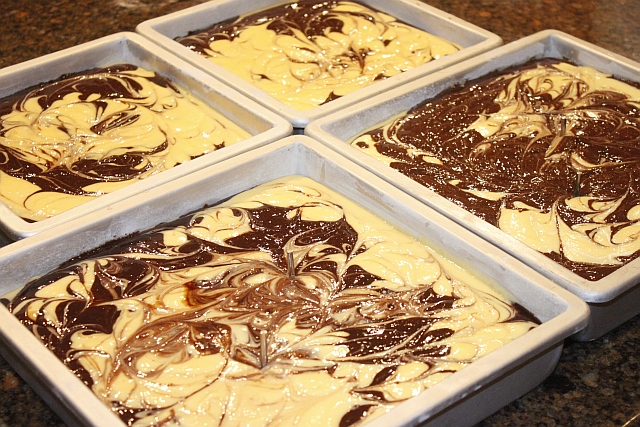
Until it looked like marble cake 🙂 In the 10″ and 12″ cake pans I added a couple cake nails in the center to help with even baking.
When they come out of the oven, set to cool for a few hours!
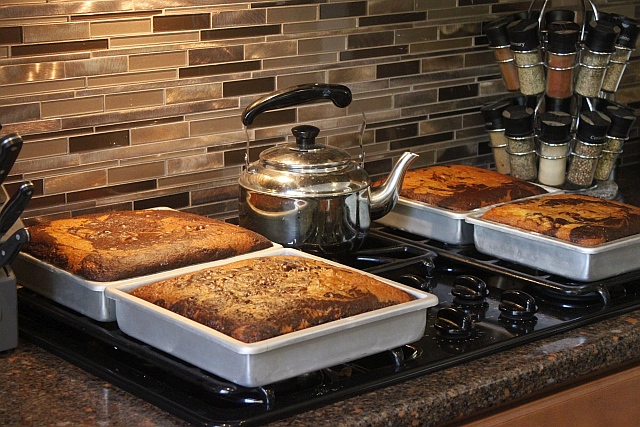
If your cake hasn’t already come loose from the edge of the pan, use a knife just to loosen it up a bit and then flip it onto a wire rack until it is completely cool.
Next level all your cakes. I use the Agbay Jr. because it is nothing less than fabulous and well worth the investment! For a beginner like me it is a complete sanity saver;)! Just set the dial on each side for the height of the cake and slide the knife across the cake. Of course I save those cake tops for matching cake pops!
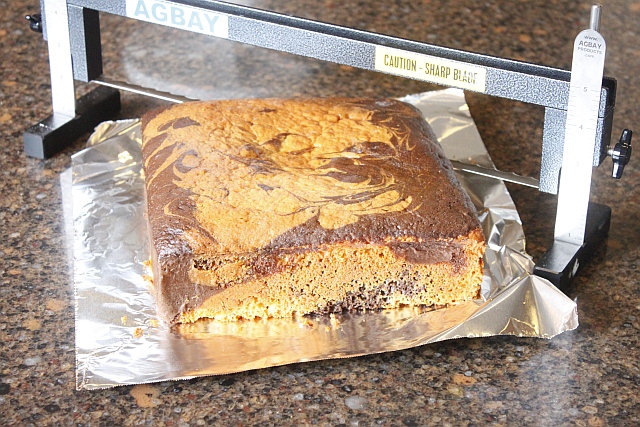
I like to take the bottom 1/8″ off… this is a completely optional step, I just think it’s prettier when they cut into the cake 🙂 I put the bottoms with the tops and will make cake pops with it.
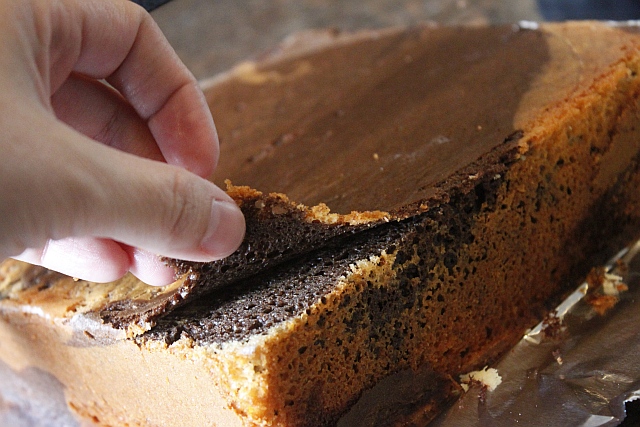
Perfectly torted and level cake! …and again, I am a beginner – tools like the Agbay Jr. make me look like a pro 🙂
Next I made some vanilla and chocolate buttercream and filled and stacked the cake. Start with your first layer of cake on top of a heavy duty cardboard piece the same size of the cake.
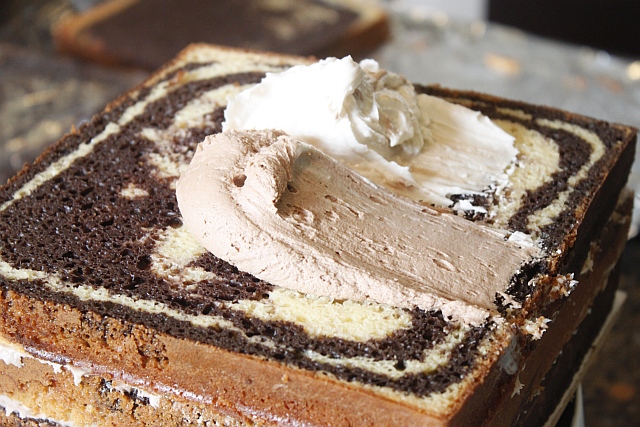
Then a quick crumb coat!

You don’t want the layer of cake above it to squish the cake below, so you need supports. To add some support to the cakes I measure the post up against the side of the cake and then cut them to size. Square cakes are MUCH heavier than round cakes, so if I were to do this again I would have added a couple more of these support posts and a thicker cardboard bottom piece.
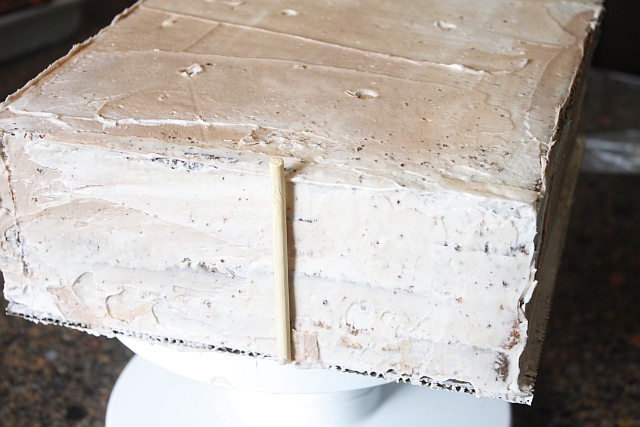
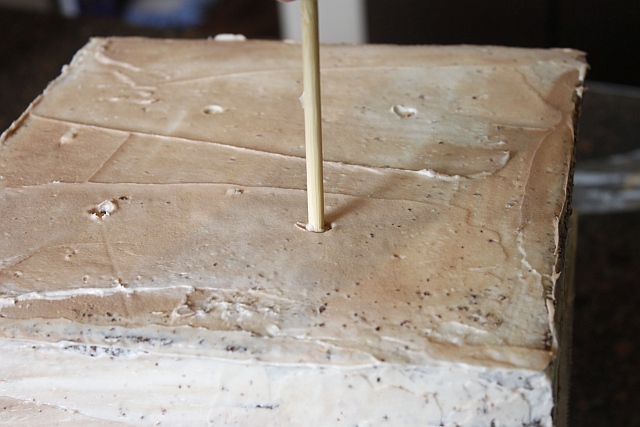
Push each support post through the center of the cake.
Next I made some white chocolate ganache. Ganache is easy, delicious, and holds up well in the hotter months (in my opinion) All you need to make ganache is white chocolate chips and heavy cream. You will need 3 times the white chocolate chips in oz as you have heavy cream. Put your chocolate chips in a bowl and the cream into a pot and wait for it to come to a boil. Once it boils remove it quickly (it boils over fast!) and pour it over the bowl of chocolate chips. Wait about 3 minutes and stir it briskly for a few minutes until all the chocolate lumps smooth out. Then set it aside till it firms up to peanut butter consistency.
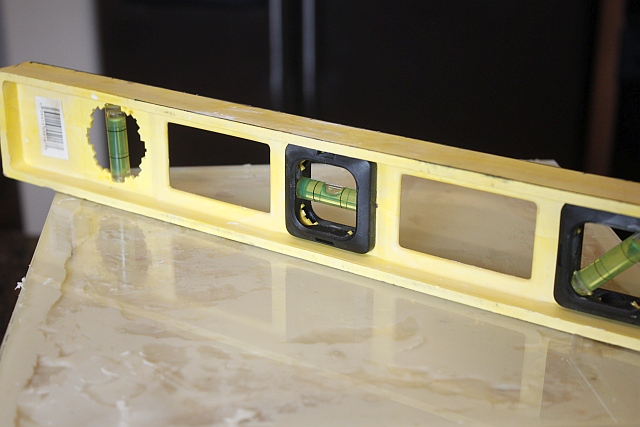
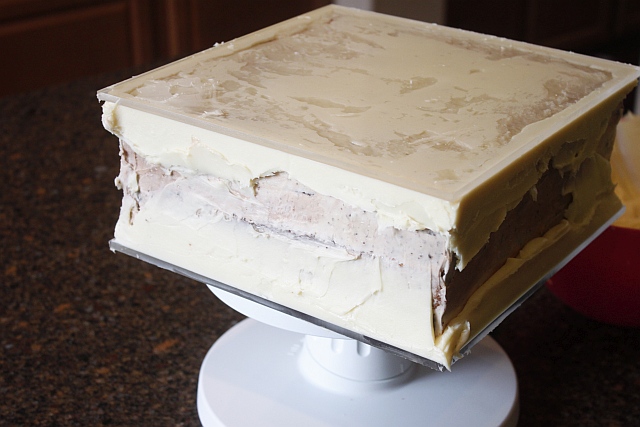
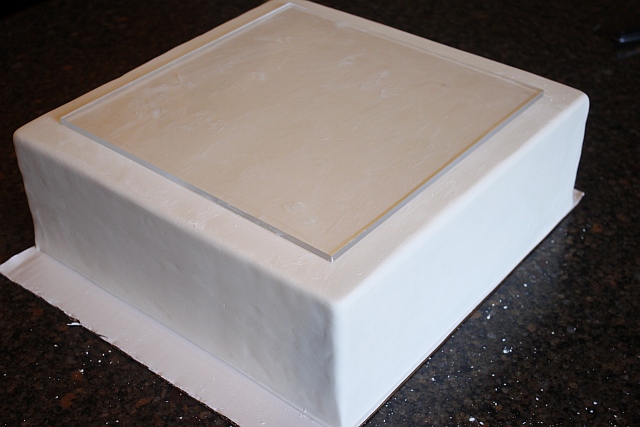
I use CakeSafe acrylic disks to get perfect edges. These too are sanity savers for me;)! Take a dollup of the chocolate ganache and smooth a bit over the top of the cake and put the acrylic disc on the top. Smooshing the acrylic disc around till it is level and the ganache has firmed up so it doesn’t become un level as I work to ice the cake.
Then I pack the top and bottom with ganache and then go back for the centers.
Once you get to the corners, it is easiest to put your offset spatula off to one side of the cake making sure it is level and the outside edge of the spatula meets up with the corner of the square acrylic and then use the other one to fill in the side.

Once the corners have firmed up a bit you can go over the rest of the cake with your bench scraper.

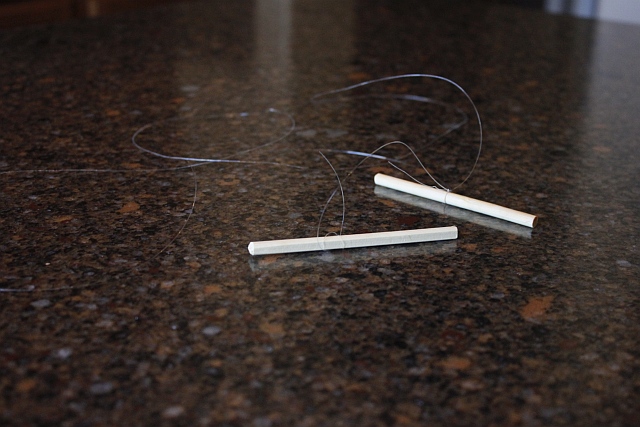
Here is the fun part!! Getting the acrylic disks off the cake 😉 To do so, here is a trick I came up with…get some heavy gauge fishing string and a few of the short leftover pieces from your support posts. Now take a long length of string and tie either end to the short posts. The string stays in place best if you score a litttle line in the post where the string will sit.

Like this:
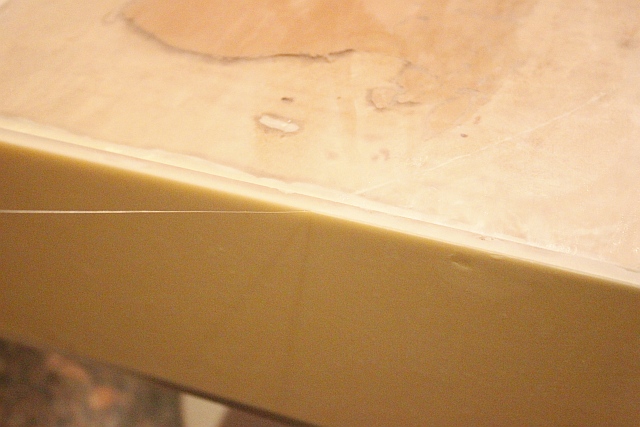
Now take your string and handles and put it just under the acrylic and pull the string around to the other side. The Acrylic will just pop off with minimal damage to your level top!
Take a small off set spatula and some warmed up ganache and fill in any holes left behind. Easy 🙂 These almost look perfect just ganached 🙂

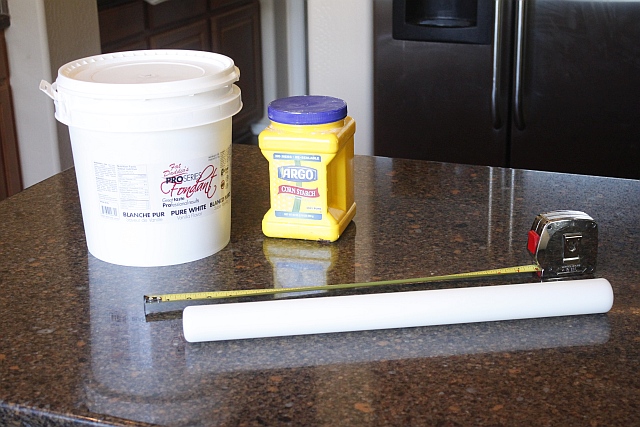
To roll out the fondant for this cake I needed measuring tape and some cornstarch for the counter. Measure the top and sides of the cake. So a 10 inch cake with 4 inch sides, I will need to roll out a piece of fondant at least 18 inches square. 19 – 20 inches square just to be safe!
I like to pop any bubbles as I go and smooth out the fondant as much as I can before putting it on to the cake. The cake will be kinda cold so the fondant firms up pretty fast when it goes on and gives you less time to make it perfect. When I am ready to roll it over the cake I dust the top with corn starch, roll it up on to my long rolling pin and roll it over the cake! The smaller the cakes are easier, or the longest rolling pin possible is helpful in this step;)

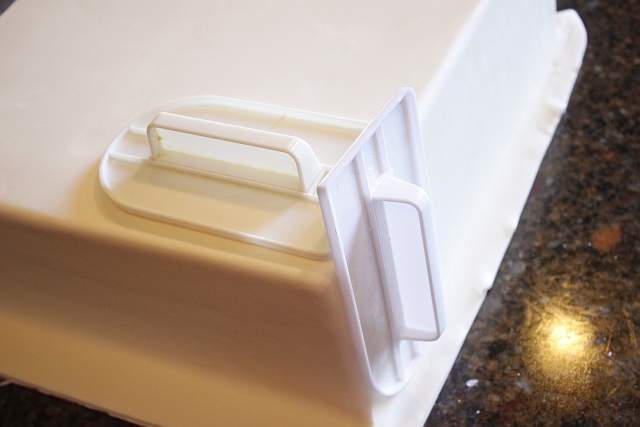
I use 2 smoothers to smooth out the top and get a more square corner.
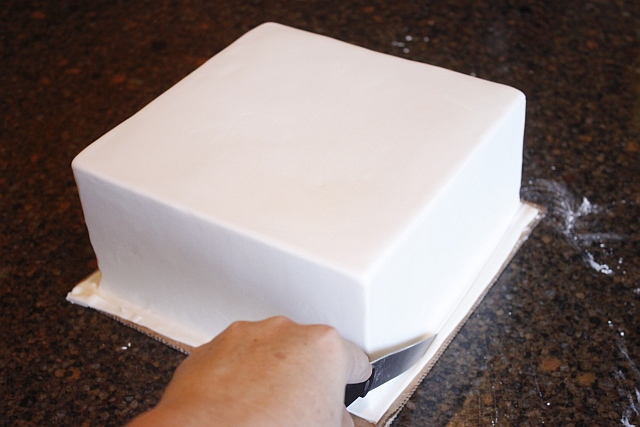
Then with a sharp knife cut the excess fondant along the edge of the cake.
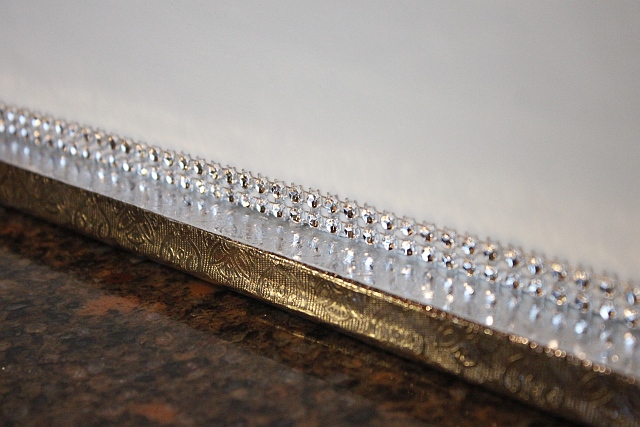
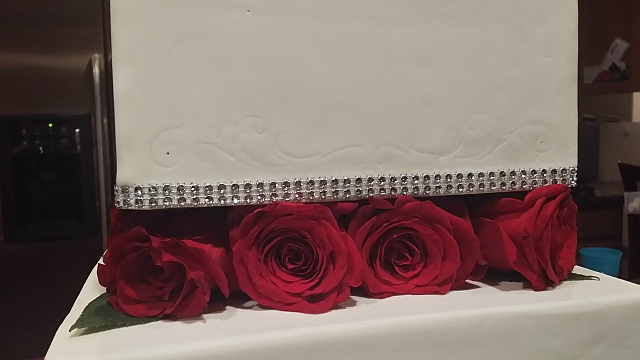
Transfer the large cake to the thick cake base and added some “Bling border” this ribbon is not edible, but it is small enough and easy to pull off when serving.
I wanted to add some scrolls But I was paranoid about making them off center, or just “off” so I printed out a pretty scroll I found by just googling. Sized it to match the tiers. Just a little shorter then 1/2 the length of the cake and printed 2 of each for each tier. I kept the one half and then just turned the other over and traced it through so I could see it and it would be the perfect inverse. Then I taped the two papers together and pinned each side to the cake. With my pencil I went over the lines of the scrolls.

What I got was a perfect indent of my symmetrical scrolls 🙂 Now I will just trace over these indented lines with some silver piping gel.
I used this new “mirror glaze” and some Sugar Art Sterling Silver Pearl dust. Mixed them up and put it into a piping bag with a 1.5 tip.

And this is how it turned out.

Next for the Roses! She wanted real roses so I just cut some floral foam to size (I used the acrylic disc as a guide so I knew where the roses would come to) and sandwiched the foam in between two cardboard pieces, cut the stems down on the roses and stuck the flowers into the foam.
So this is my bottom tier, and the acrylic disc represents the size of the next tier. I wanted to cake to look like it was sitting right on top of a tier of flowers. So I made a faint guide line and removed the acrylic disk. Now when I put in my roses I knew I wanted to roses to come to the faint line I drew. Then I repeated these steps for the next tier. For the topper I cut a 3 inch foam sphere in half and stuck roses to the half sphere.
Now remember all those cake tops and bottoms!! It is time to make matching cake pops!! I made about 55 cake pops with the scraps to this cake! Not bad for waste material;)!
I took all those scraps and put it into the food processor and watched it turn to dough! These cake tops/bottoms are a little drier than a whole cake, so I added just a couple TBS of the left over ganache to the processor before I turned it on.
*This is not my marble cake scraps – I missed that picture! This is a regular cake mix cake and how it looks in the food processor!
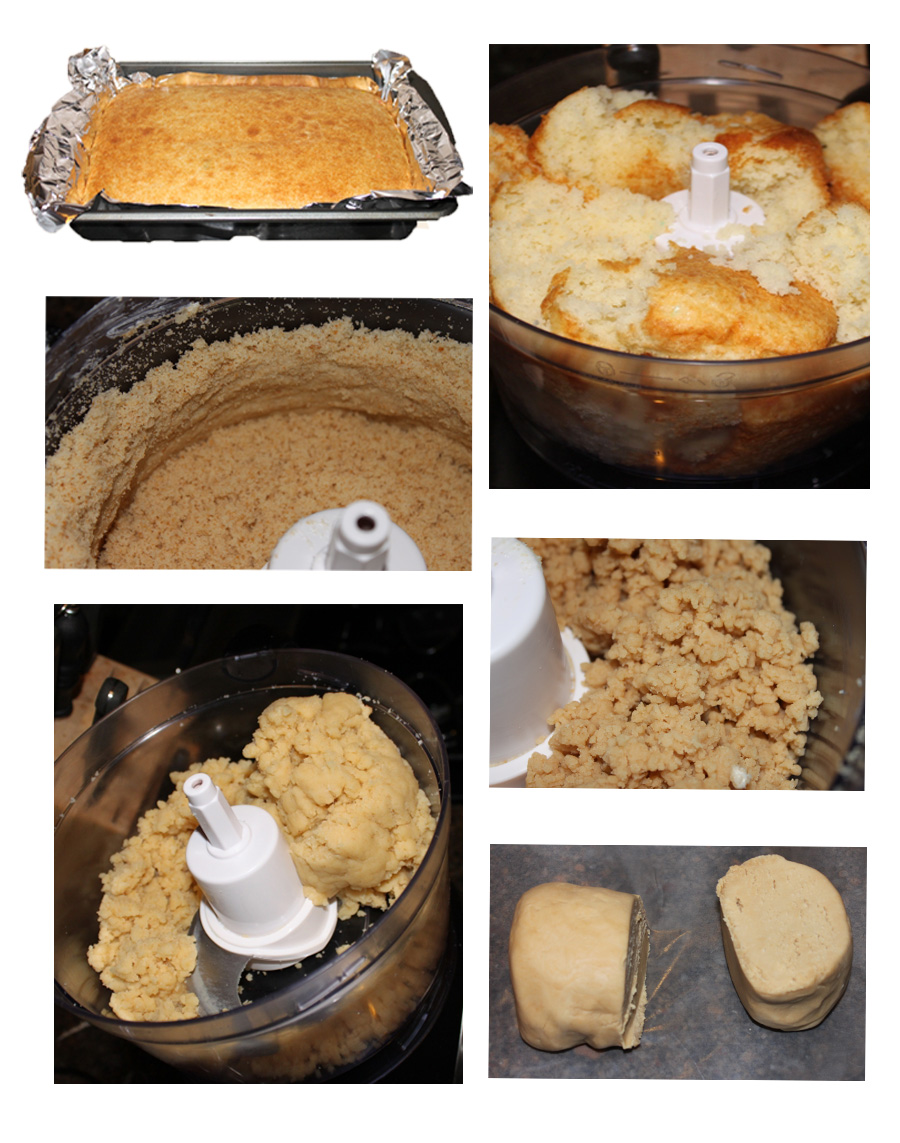
Next with the Easy Roller, roll all your cake dough into balls like this:
If you like that idea, just on a smaller scale, the New Mini Easy Roller is for you 🙂
Next Melt your white chocolate almond bark or candy melts on 50% power in 30 second increments until melted. Dip your cake pop stick into white candy melts and then into your cake ball. Now dip the entire pop into the white melts and tap off the excess. Before they set I sprinkled some silver sprinkles over them in order to match the cake! Fast and Easy! Take a look:

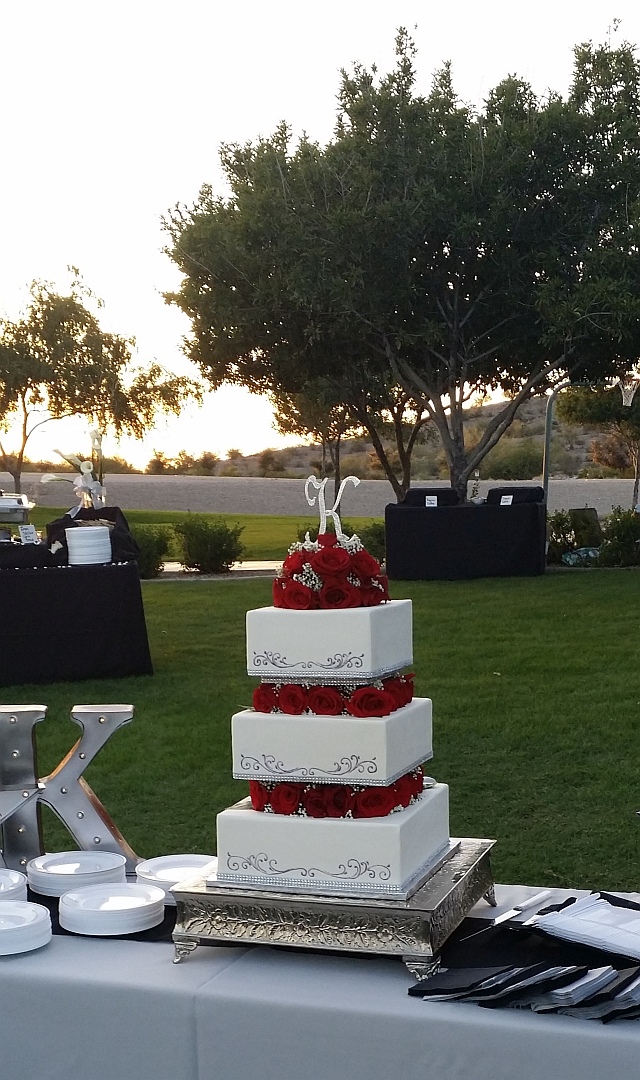
At the venue just before sunset!

If you like the tutorial don’t forget to check out and share our Easy Roller or New Mini Easy Roller with your friends! It is how we keep these tutorials coming:)!