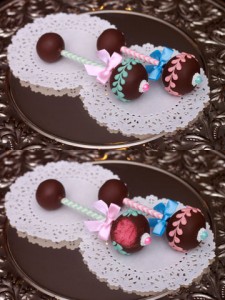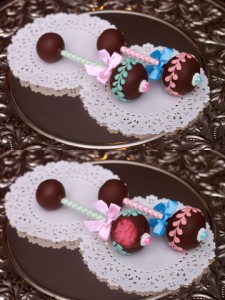
Thanks to Kim from Cake Pop Stands by KCBakes, I love making Baby Rattle Cake Pops! This time I thought I would make Gender Reveal Baby Rattle Cake Pops. Want to see how it’s done?!
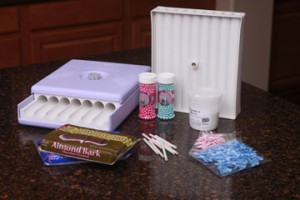
I used the standard Easy Roller ball size. However since the other side of the “rattle” is smaller, I also use the optional 1 inch insert! To Decorate them, some SweetWorks Candy Pearls for the top, Candy Melts, ribbon bows, white nonpareils, and paper straws.
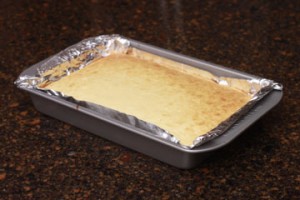
Next, bake a white/vanilla cake! This is a Betty Crocker French Vanilla, but any white cake will do 🙂
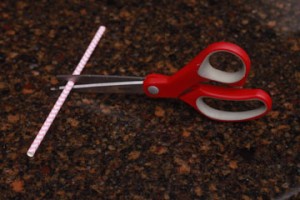
I have 8 inch paper straws so I cut them in half to make 4 inch, much bigger than that and the “rattles” just don’t look right.
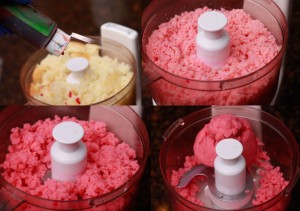
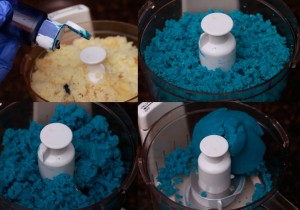
Now here is the fun part! Put your cake into the food processor and add in a little Pink.
..Or Blue Food Coloring and turn it on! It mixes it all right in without having to get food color all over you;)! I leave the cake in the food processor until it looks like the dough in the far bottom right corner!
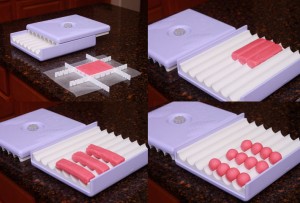
Now take your cake dough (in the color you want – I used pink) and roll half into 1.25 inch balls and the other half into 1 inch balls. I use the Easy Roller to get this part done in no time! 🙂 Here is the standard 1.25″ round insert.
Then I take the white roller board middle piece out and switch it it to the 1″ round insert and do it again for the smaller balls. If you have to do this part by hand, just make the smaller balls half the size of the bigger ones.
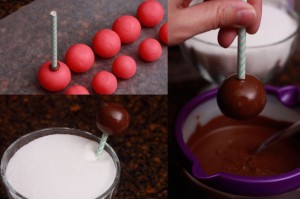
Next, dip the stick into the Chocolate Almond Bark or candy melts. To melt the candy melts or almond bark, just put the candy into a microwave safe bowl and heat it in the microwave on 50% power -or defrost- for 1 minute. Take it out and stir. Then back in the microwave for 30 second increments until melted. Then dip the stick in the melted candy and into the cake pop ball. I set them in a bowl of sugar to set 🙂 Then repeat with the smaller ball on the other side!
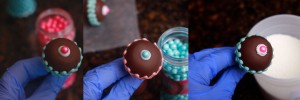
Then you can go back and make this border and keep it even all the way around.
I made both pink and blue borders to not give away the centers till they are eaten! 😉
Then put a dot of candy melts in the center (as your glue) and add the pink and blue candies to the top. I used the nonpareils to cover the excess candy melt “glue.” Just sprinkle the nonpareils over the top before that center dot sets.
Then I added a little bow to each one, just as a final touch 🙂
As always if you like these tutorials and want to see more please “like” and “share!” Sharing our Easy Roller or New Mini Easy Roller with your co-workers, friends and family is how we keep these posts coming. It also means the WORLD to me:)!!

