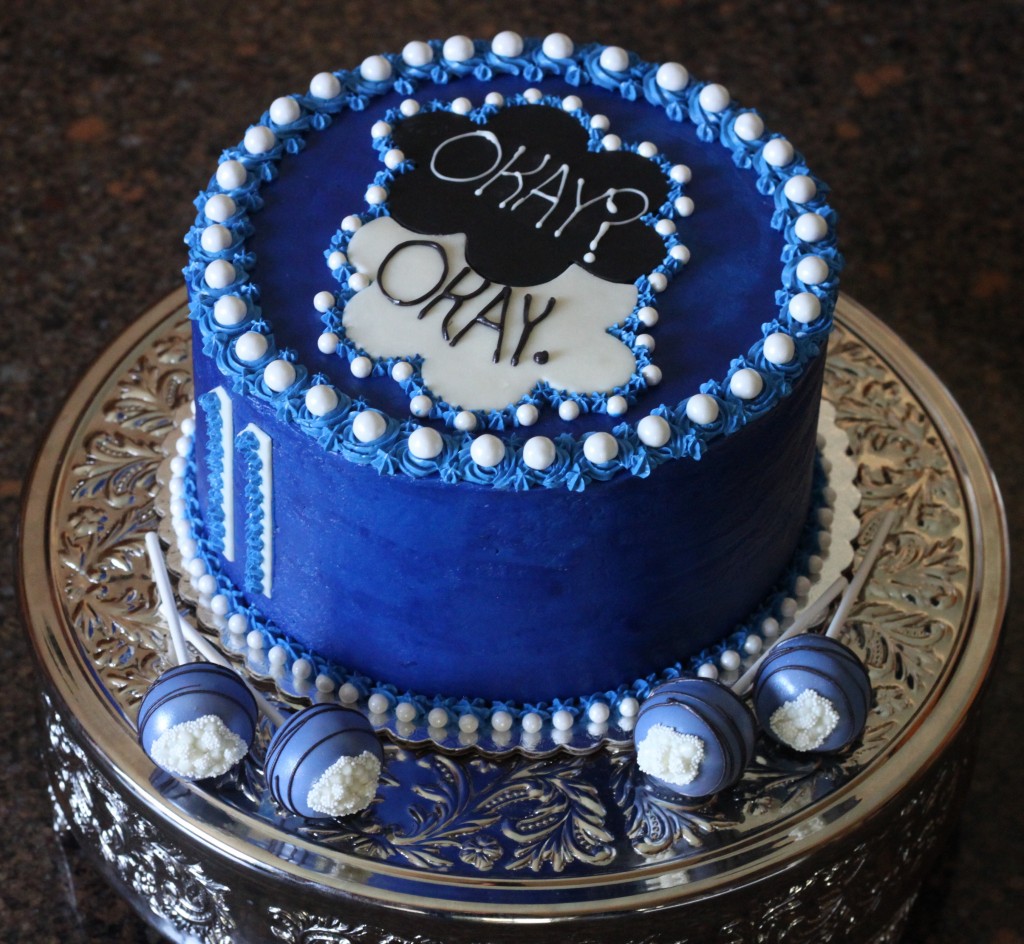
Here is how I made this “Fault in Our Stars” cakeI am a cake pop expert, but by no means does that mean I make cakes very often (like ever!!) So I get nervous when I am asked to make cakes!! My friend showed me this cake and asked if I could make something like it… here goes! 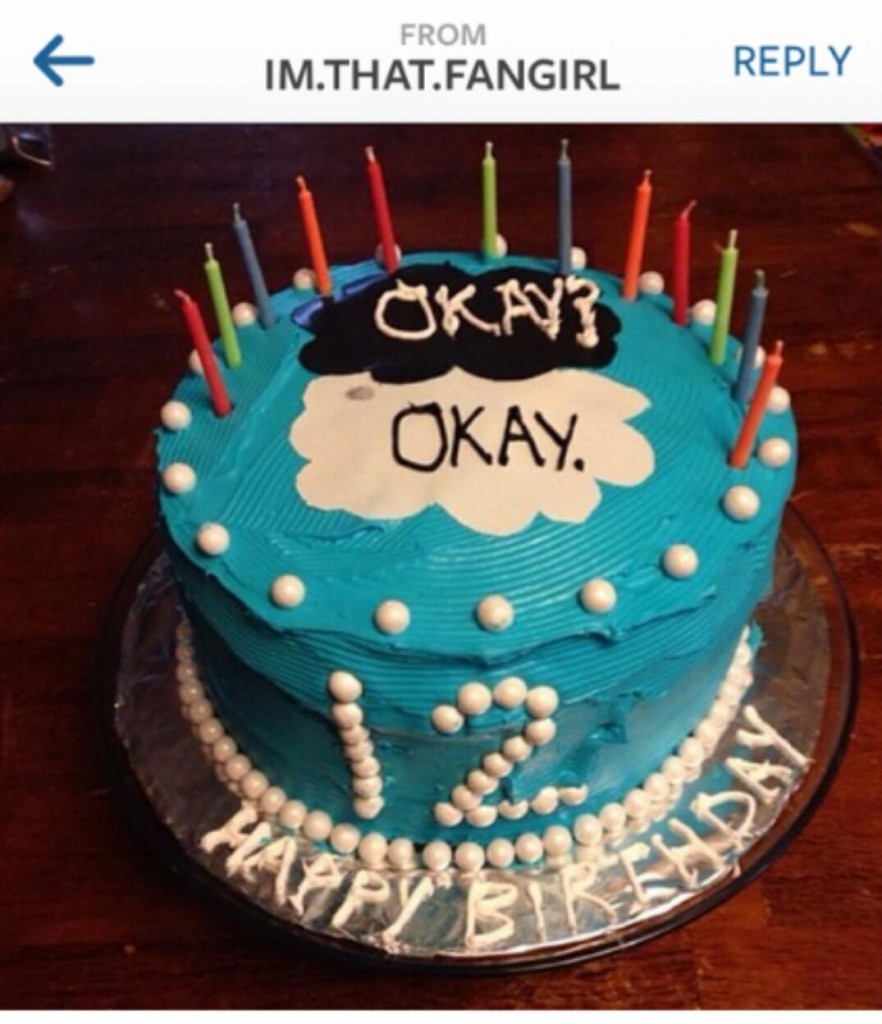
I always bake a box cake for cake pops, so I never really got into the whole scratch cakes. So this cake just a doctored cake mix.
- One box of cake (your preference)
- one box of instant pudding
- 1/3 cup oil
- 1/2 cup sour cream
- 1 cup of milk
- 4 eggs
The batter will be really thick. I poured the batter into 2 8 inch round pans and baked until a toothpick comes out clean.
Next I mixed up a blue swiss meringue buttercream! I always use Elisa Strauss’ recipe, she has a great video tutorial:
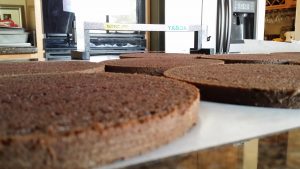
When the cakes were cool I cut the tops of the cakes (sometimes I get fancy and cut the bottom parts off too, just because I can take the smallest sliver off with my Agbay!)
For the filling, I used a container of Cool Whip mixed it with some thick instant pudding! Yum! Instead of adding 2 cups of milk I make the pudding much thicker (so it stays put) and only use 1 cup of milk.
Use the Swiss meringue buttercream to make a dam around the edge of the cake layers and then put the mousse filling inside. That will keep the mousse from leaking out the sides. Then repeat until your cake tier is assembled.
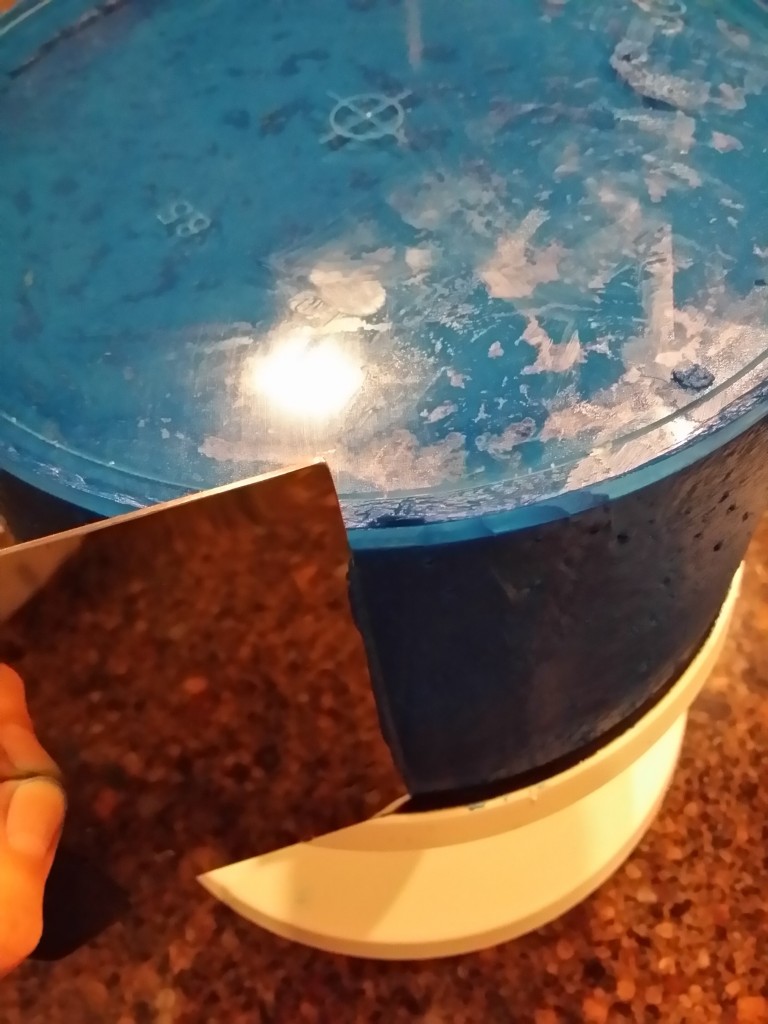
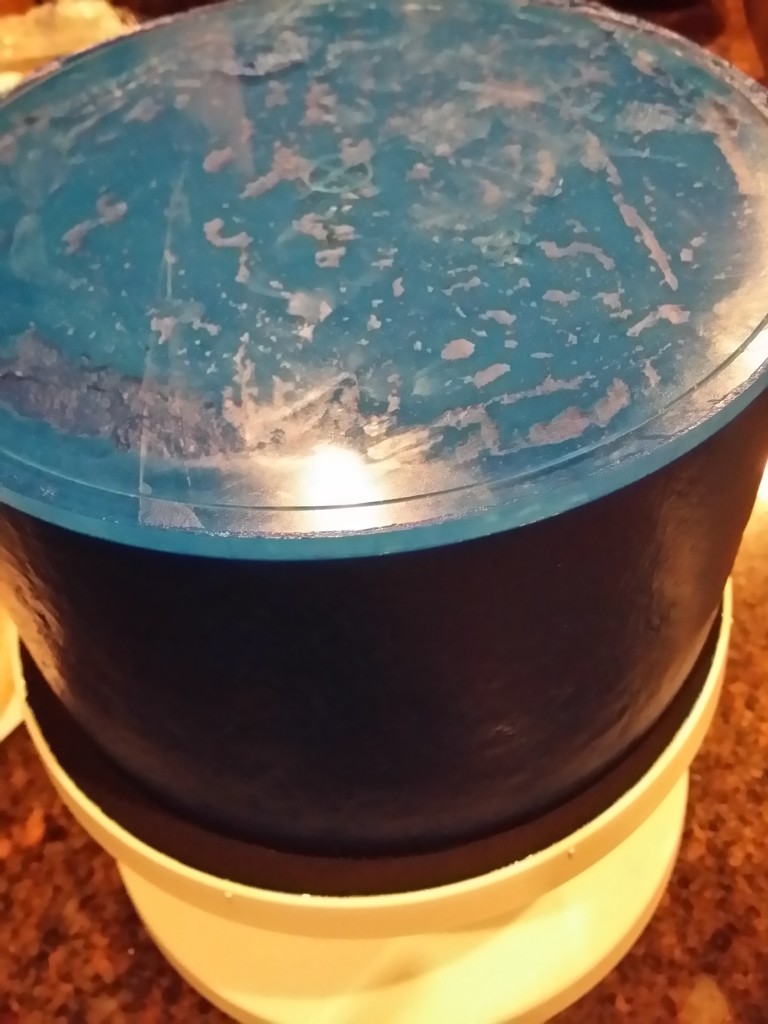
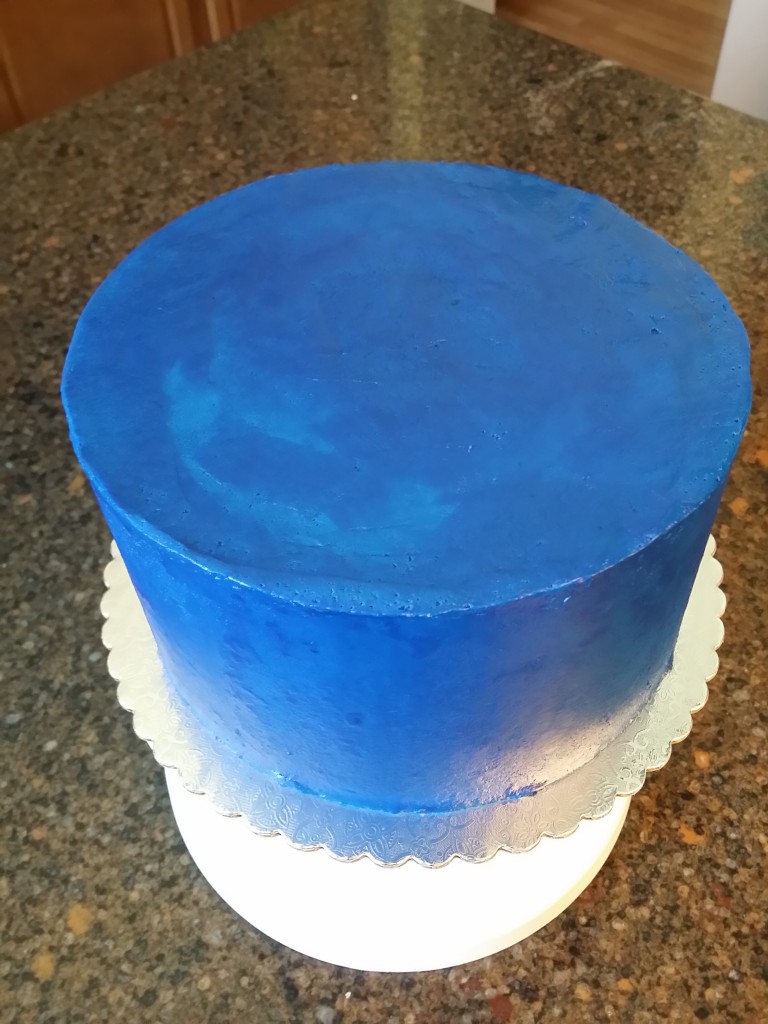
Now crumb coat the cake with the buttercream and then place the acrylic disks on top and bottom. Use a level to make sure it is all even. Now you can just glob on the frosting in the space between the disks and once it is all full of icing, take your bench scraper around the outside and pull off any excess.
Once you get it smooth, place it back into the refrigerator till the buttercream crusts.
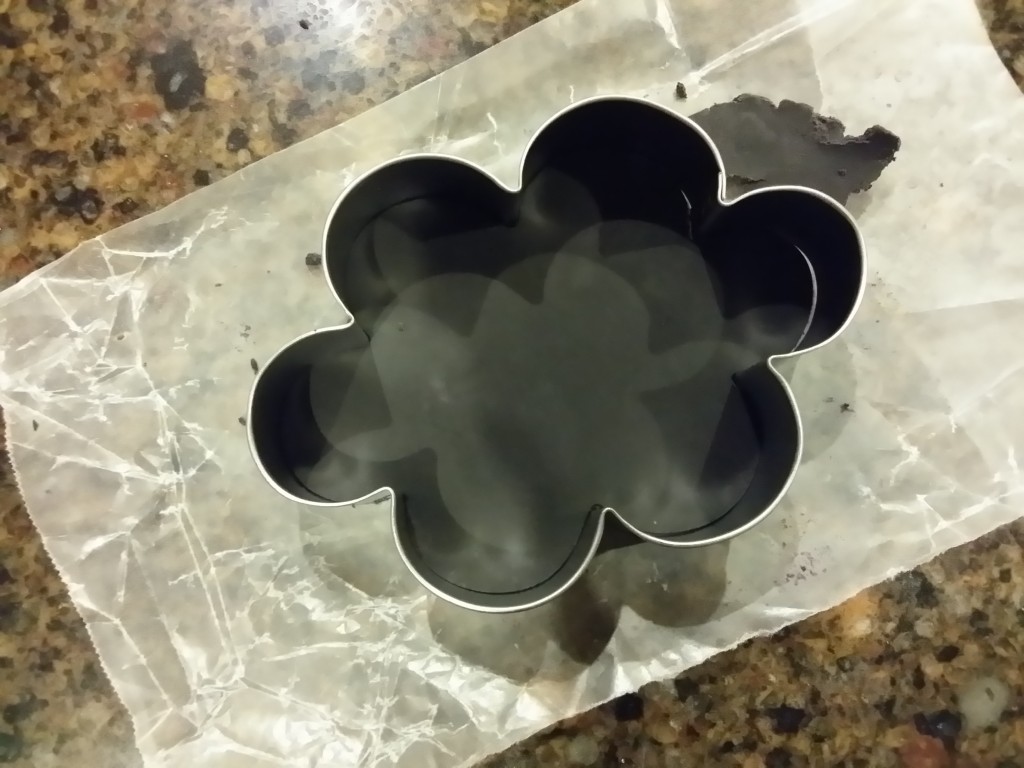
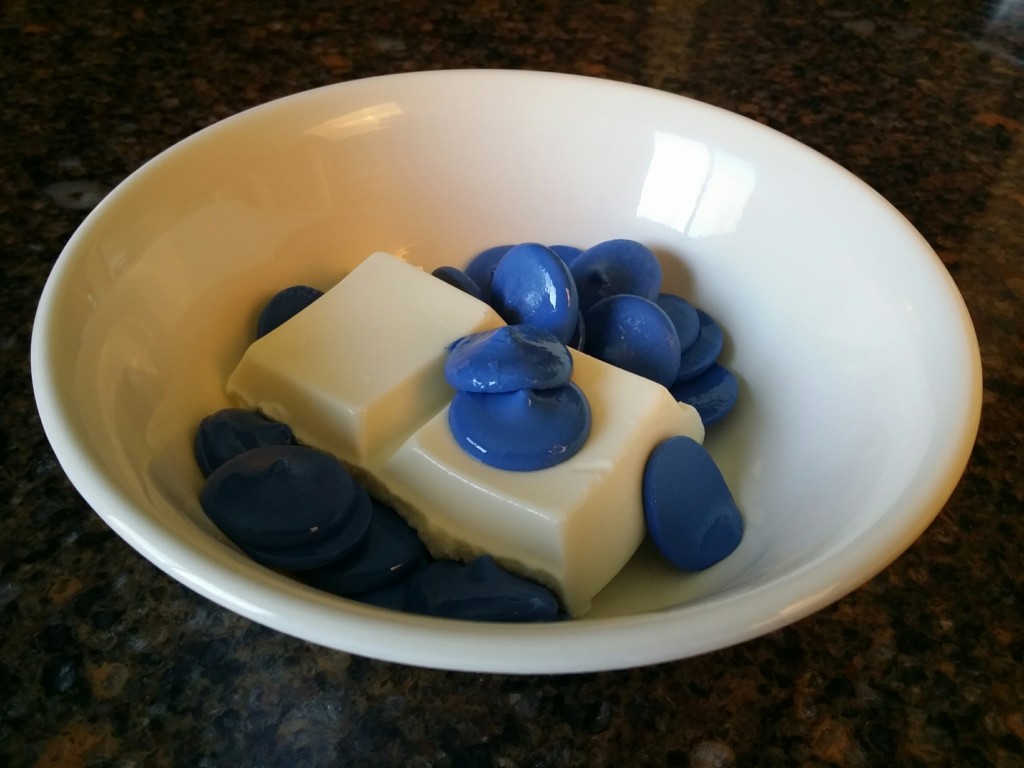
While I was waiting I decided it was time to make the clouds! You can make these from Fondant, but being that I make more cake pops than cakes, what I had on hand was white and black Candy melts! To make candy melts behave like fondant, (which is something you can roll out and cut, instead of dip or pipe on) you need to add corn syrup to make those candy melts into candy clay! I have a great tutorial HERE on how to make candy clay or modeling chocolate:)! Here is the quick video I pulled from that page:
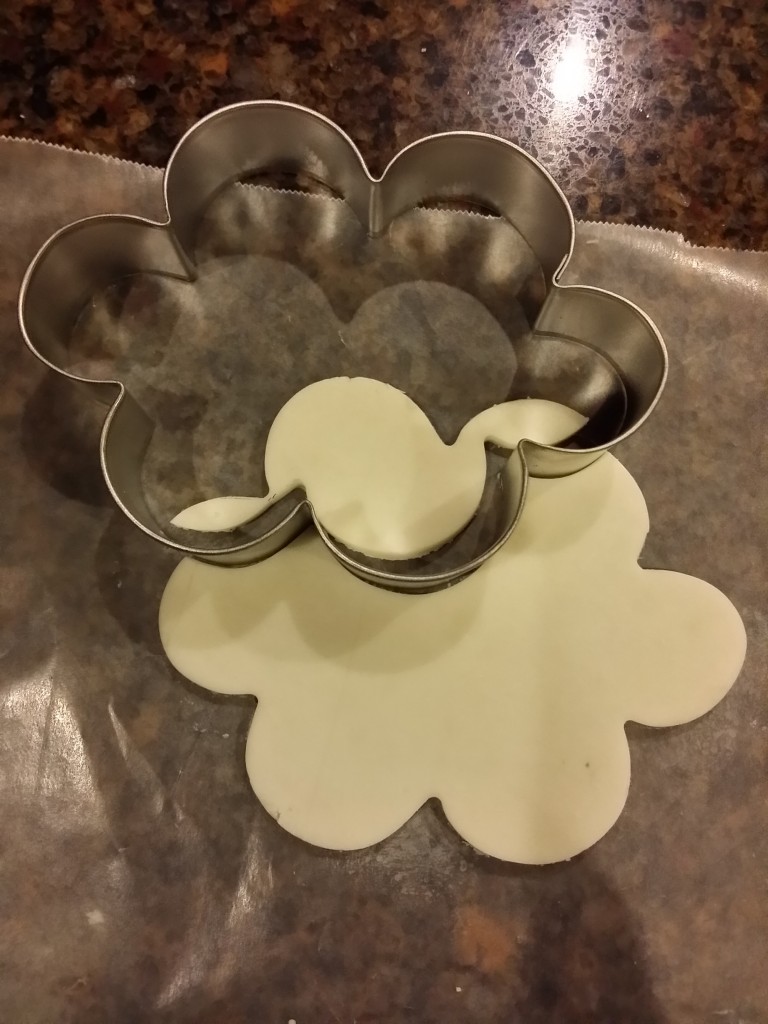
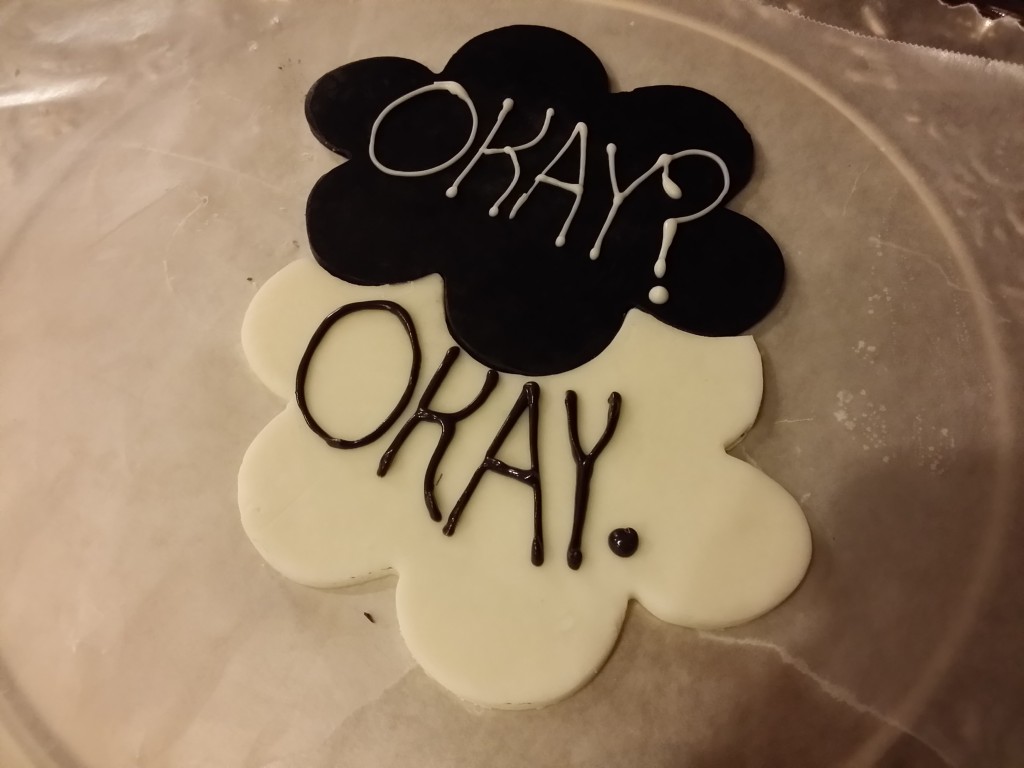
So once that is done you can knead it and roll it out and cut it out with a cookie cutter! I used a cheap flower cookie cutter I could easily bend into this “cloud” shape!
So I cut the white the same way! Then I looked at the two pieces and decided where I wanted them to meet and took the cutter to cut out that spot from the white cloud.
All that was left for this piece was to right the words on the clouds! Now take this piece and set it aside till you are ready to place it on the cake!
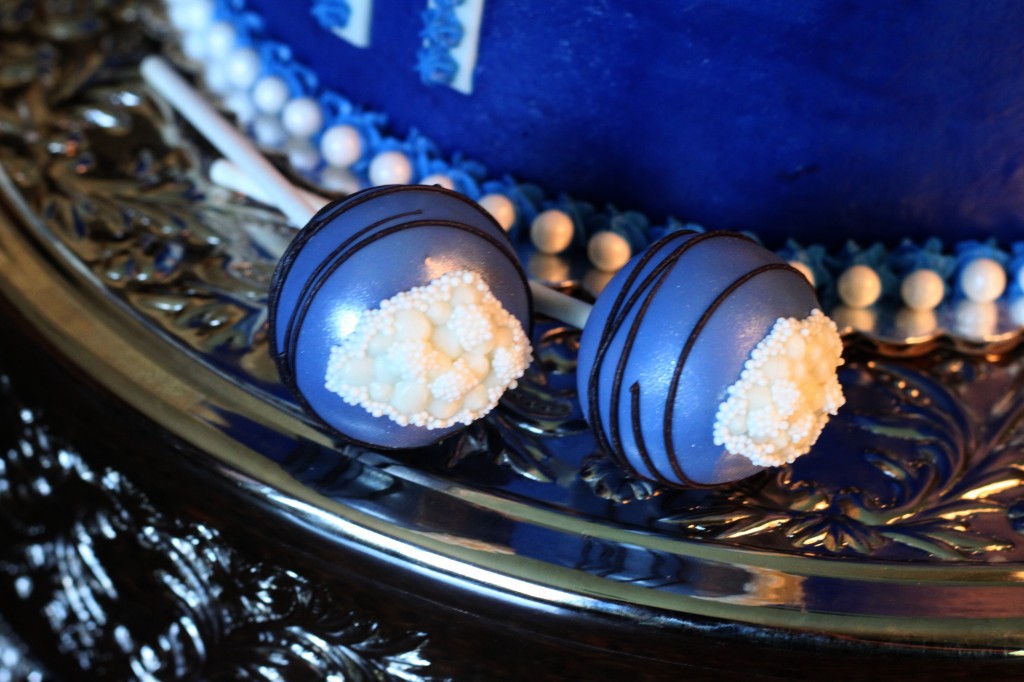
When I leveled my cake I had a bunch of cake scrapes to use up! So I made some matching Cake pops!! I took all the tops and bottoms of the cakes and put them into the food processor for about a minute or two, to turn those scraps into cake dough that I could roll in the Easy Roller (or our new Mini Easy Roller!).
If you haven’t seen the Easy Roller, here is how it works!!
Once all the cake balls were rolled I melted down some candy melts! I used a little white and little blue:)!
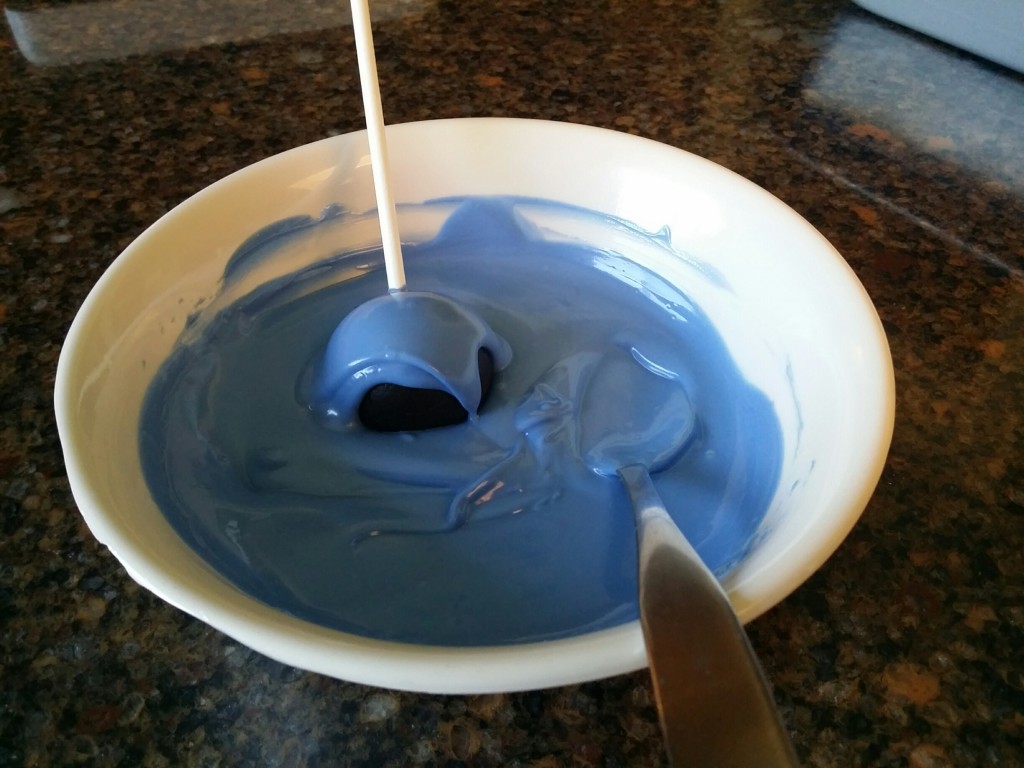
Then take your stick, dip it into the candy melts and into your cake ball. Then take you spoon, fill it with candy melts and drizzle it over the top. Once the top is coated, roll the bottom half of the pop into the candy melts and then tap off the excess and place in your favorite cake pop stand to set.
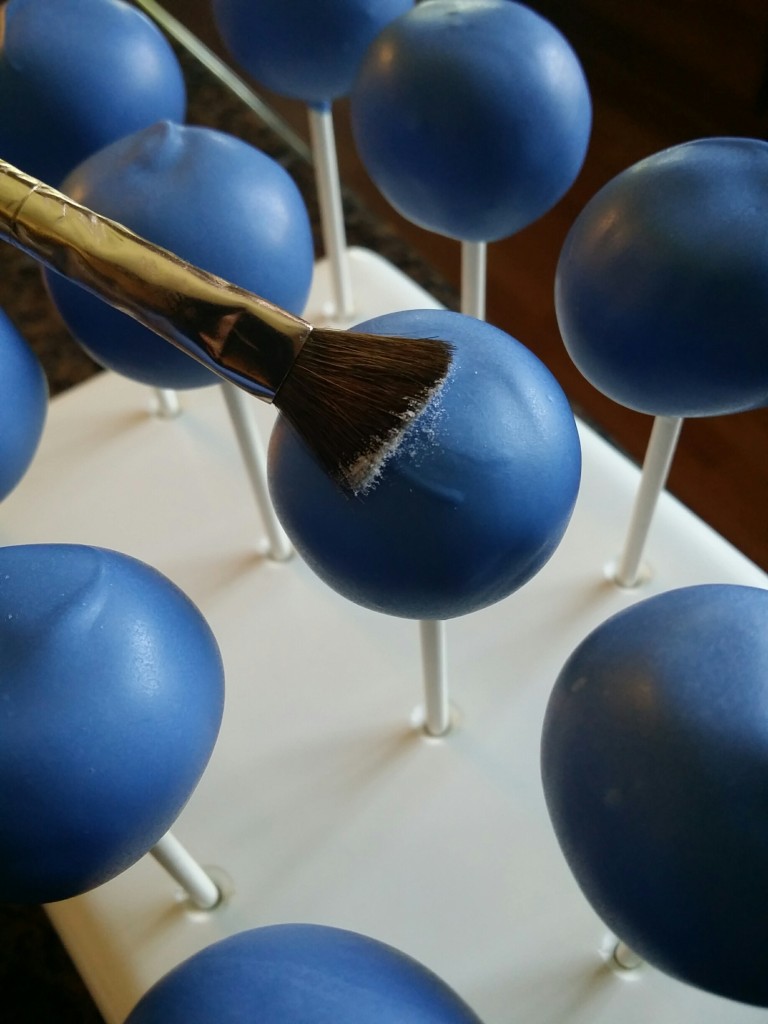
Next I dusted these with a little silver pearl dust! I dust them with a dry soft bristle brush.
Then I piped on some white dots as “clouds” and after those dots set I went around the design with more candy melts and shook on some white sprinkles! Next I took the black candy melts, put them into a piping bag, snipped off the tip and with even pressure just swirled the pop into a stream of black candy melts to make the black stripes around the outside! These were the perfect accent to the cake:)!
It was time to take off the acrylics! I stared with the bottom one, so I flipped it on its top and got a small off set spatula and put it inbetween the cake and disk and turned the cake till I went all the way around. At this point you can just lift the disk off. I put the silver cake board where the disk was and flipped it back over and repeated the process for the top. On the top I needed to touch a few spots but it was EASY!! I just took my off set spatula and some excess frosting and filled in a few spots and here it is!
For decorating this cake I used:
*Remaining SMB with tip Ateco 17 (small star)
*White food coloring
*Remaining White Candy Clay
* Sweetworks White Sixlets
*Sweet works white candy pearls
*Cloud decoration
I started by placing the cloud decoration in the center. Next I mixed up a little white food coloring in with my leftover blue icing and filled my piping bag with the #17 tip attached. I piped a simple star border (press and lift) around the cloud decoration and the bottom and added a white candy pearl against the piped stars. Next, with the same tip I piped small rosettes around the top border. (with even pressure, move you hand in a swirl motion) and placed a white Sixlet in the center of each one. To finish off the border I piped more simple stars between each rosette. I then rolled out the left over candy clay and made the “11” for the birthday girls age to place on the side! I also piped simple stars down the “11”! Hope you like it!!

