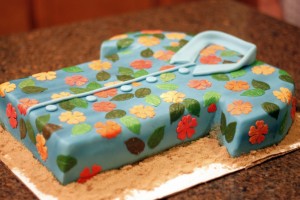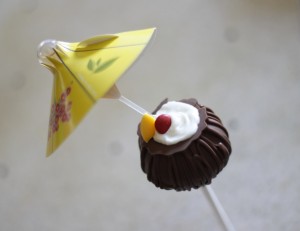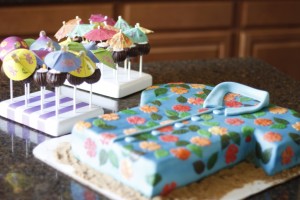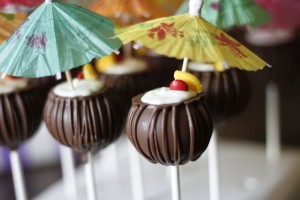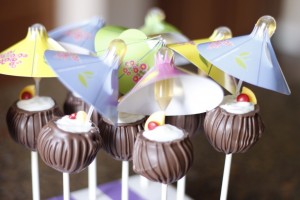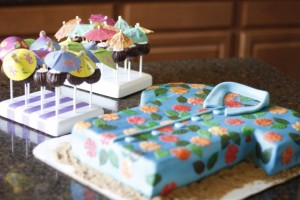
Who doesn’t like an Hawaiian Themed Party! Complete with Hawaiian Shirt Cake and Pina Colada Cake pops!
By using 3 cake mixes and 3 of my regular 9×11 cake pans! This was my first carved cake:)!

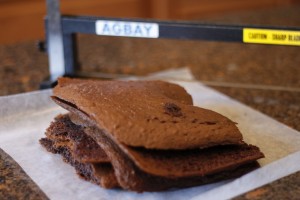
I cut the tops off of each of the 3 cakes (reserve for later). Then cut each cake in half with my Agbay Jr. I layered them side by side and filled each layer with chocolate mousse.
Then I cut one side for the sleeve and added that cut piece to the other side for the other sleeve, like this, thank you Susan Carberry from The Cake Cottage:
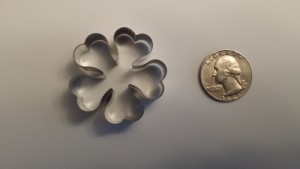
Then I covered it in Chocolate Ganache so it was firm enough to drape with fondant. Next, I cut out little 5 pedal flowers with a flower cutter and attached them with a little water.
I used a pointed tool to secure them onto the cake and give them a little texture! Adding a fondant collar and some buttons finished the cake off by adding that extra little bit of detail! I love how it turned out.
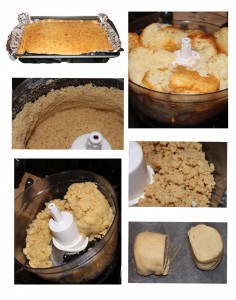
Now what would you with the leftover cake…all those tops & that little bit of extra cake from the sleeve:)! I made matching themed cake pops. First I pop the leftover cake into the food processor or stand mixer with the paddle attachment and turn it on. Leave it going until the cake forms a dough! This is the steps the cake goes through before it turns to dough:
Once you have made your cake dough, roll it into 1.25″ balls (about the size of a ping pong ball). You can do this part by hand, but why when there is the Easy Roller and/or the Mini Easy Roller🙂 What is that you ask?! Take a look at the video link below:
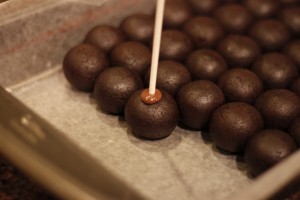
This Easy Roller is on Sale for the Holiday Weekend:)! Use Coupon Code “LABORDAY” for $45 OFF!! If you are looking for a “Mini” version, this one works in the same way, only rolling 9 balls instead of 21, it is on Sale for $29.99 through the end of September. Next you will melt your milk chocolate candy melts or almond bark on 50% power for 1 minute. Take it out of the microwave and stir it. If it is not 90% liquid, put it back in on 50% power for additional 30 second increments until it is almost completely melted. Then stir till all the candy lumps have been melted. Dip your cake pop stick into the candy melts and then into the cake ball.
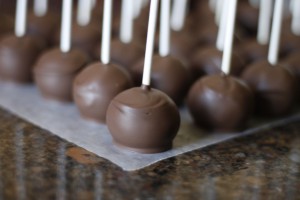
Next, submerge the cake pop all the way into the candy melts and tap off any excess and place on a piece of wax paper. Continue until all your cake balls are coated.
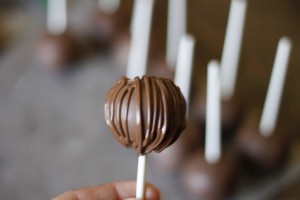
Next take the leftover chocolate melts and pour them into a sandwich baggy. It helps to wrap the bag over a mug to keep it open:) 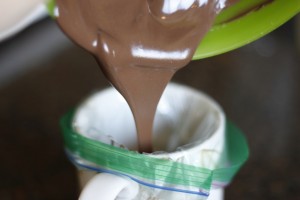
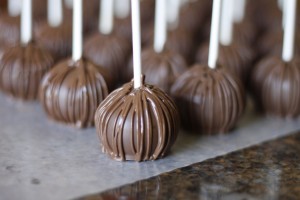
Cut the corner off and start piping! While twisting the cake pop with one hand and moving your piping side to side quickly in the other hand It should look like this!
Now rest it again onto wax paper until it sets.
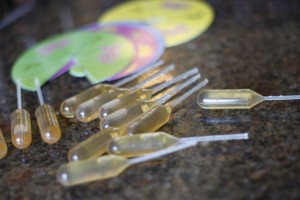
While that sets, Grab some Pipettes I chose these pipettes because they have an umbrella attachments – which is perfect for these cake pops!! 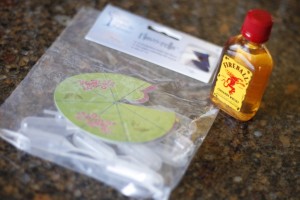
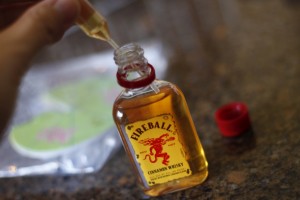
Start filling your pipettes with your favorite alcohol, mine happens to be Fireball!
Once all the pipettes are full start making your umbrella’s
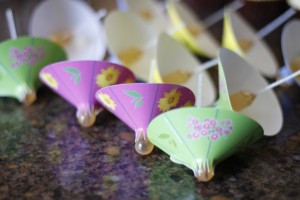
The paper cones have a little tab to close them up, but I found these to close just a little better when you add a glue dot to the edge. 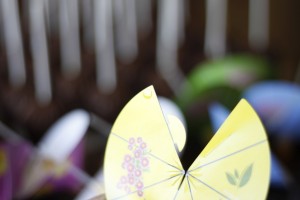
Continue until all your cones are formed. Then put the Pipette into the paper cone to complete your umbrella.
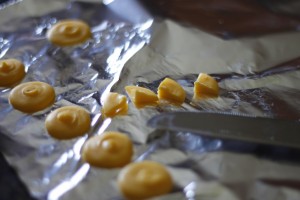
Next get yellow candy wafers, if you don’t have any, or they all melted and stuck together like mine, just pipe a few disks onto wax paper or tin foil. Once it sets, cut into quarters and set aside.
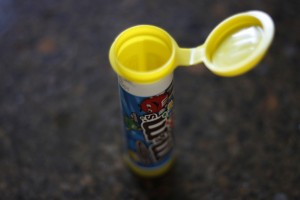
Then take all the red mini M&M’s and put them to side …eating all the rest of the M&M’s;)
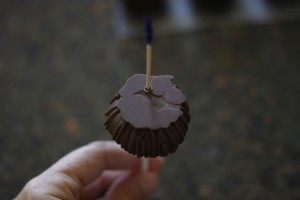
Now take a toothpick and poke it into the bottom where your pipette will go.
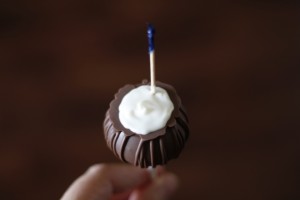
Melt some white candy melts and pipe it around the bottom of the cake pop.
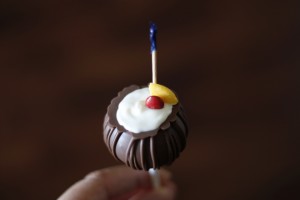
While it is still wet, add one of your yellow candy melt quarters and one of the red M&M’s
Now take out the toothpick and add in the umbrella pipette!
Or for a “virgin pina colada” use an umbrella toothpick instead! *You could also fill the pipette with your favorite non-alcoholic liquid! 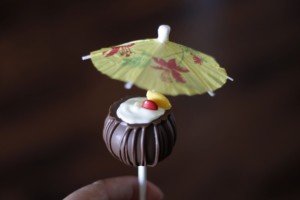
How cute is this display for a Luau!
If you like the tutorial don’t forget to check out and share our Easy Roller or new Mini Easy Roller with your coworkers, friends and family! It is how we keep these tutorials coming:)!

