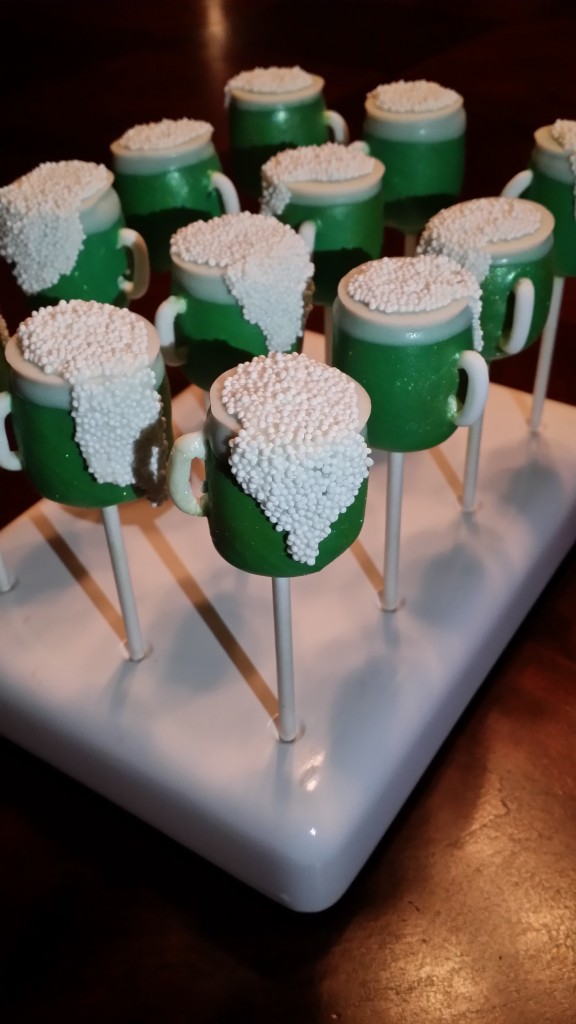
Ahh! Green Beer Cake Pops!! It’s truly a holiday favorite of mine and I am so glad to share this tutorial with you all:)!
It’s a few steps so lets get right to work:)!!
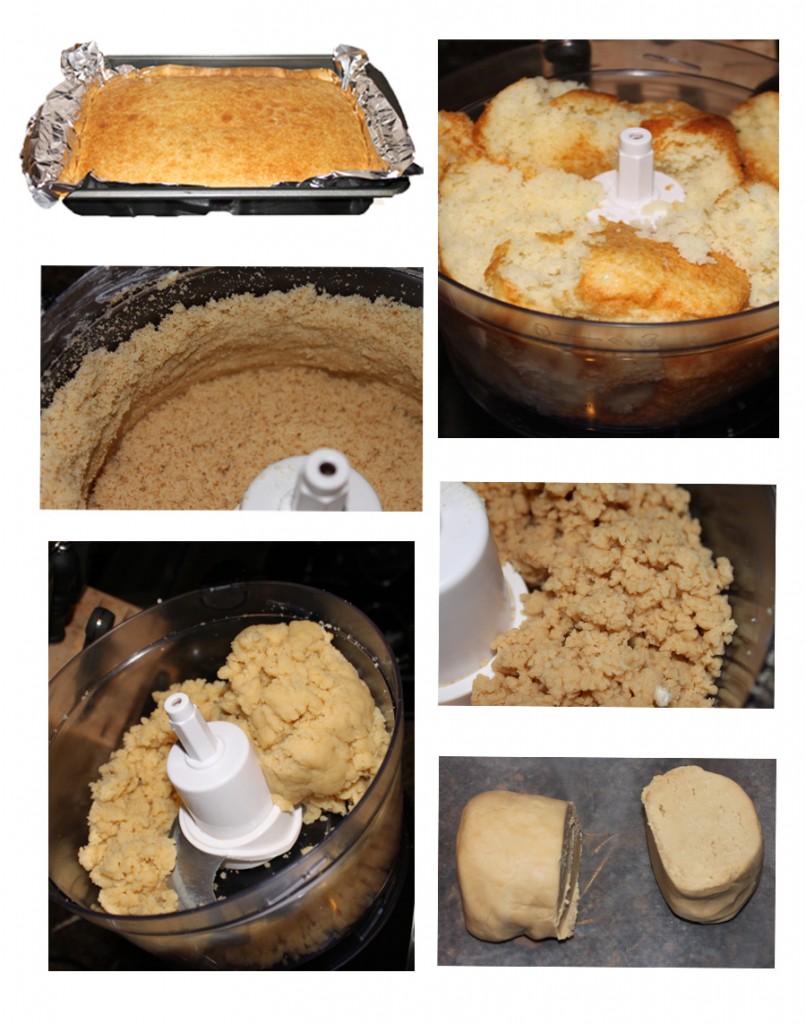
I start of course by making the cake pop dough! I make it in the Food Processor or stand mixer, just because it is so much faster and consistent every time! You can do it by hand but it will take a little longer to knead down to the right consistency! If you have a mixer or food processor, these are a few pictures of how fast it happens and what it looks like when you are done! You can add frosting or other binders if you would like, but if you have a mixer of some sort, you just don’t NEED it to bind the cake (I use a box cake, other scratch mixes may be different!)
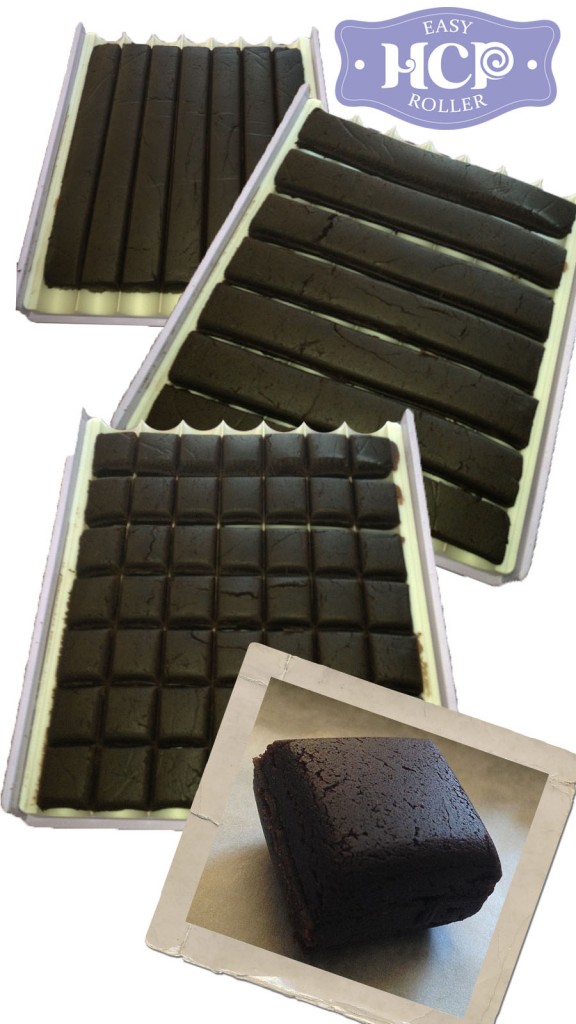
Once you have the dough ready to go, its time to portion the dough out into equal pieces… I use the Easy Roller because I can roll 21 balls at a time OR portion up to 49 pieces of dough in less then 5 minutes! I am going to use it to portion on these! It’s pretty cool if I do say so myself;)… check it out!
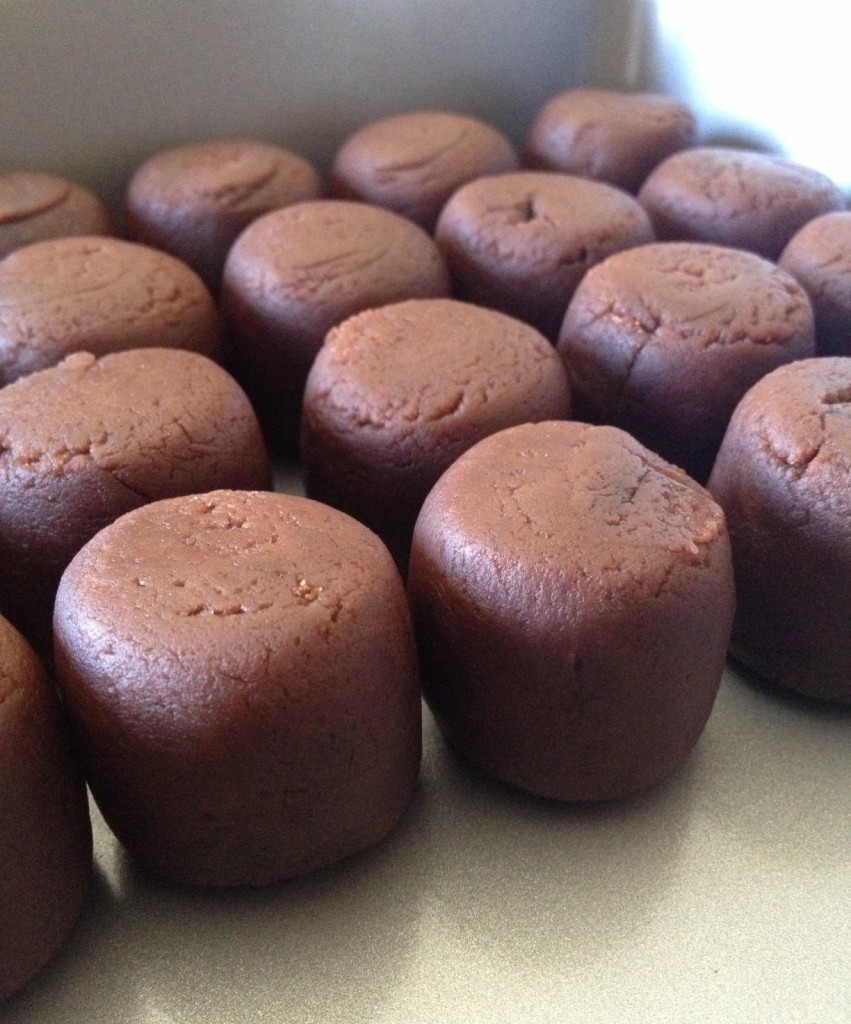
Next it is time to take your portions and roll them into cylinders like this:
Then set these in the fridge while you prep the handles! For the Handles you can either use fondant or Candy clay!! I love candy clay because it doesn’t alter the taste of the cake pops! Plus I always have candy melts on hand more often then fondant!
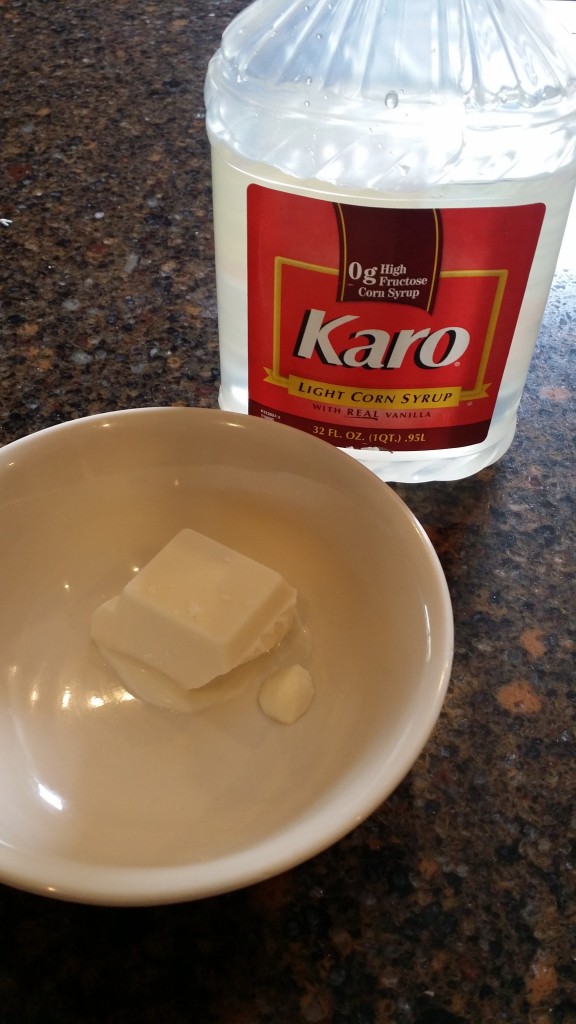
To make candy Clay, just take candy melts and corn syrup!
Check this video out to see how to mix it!
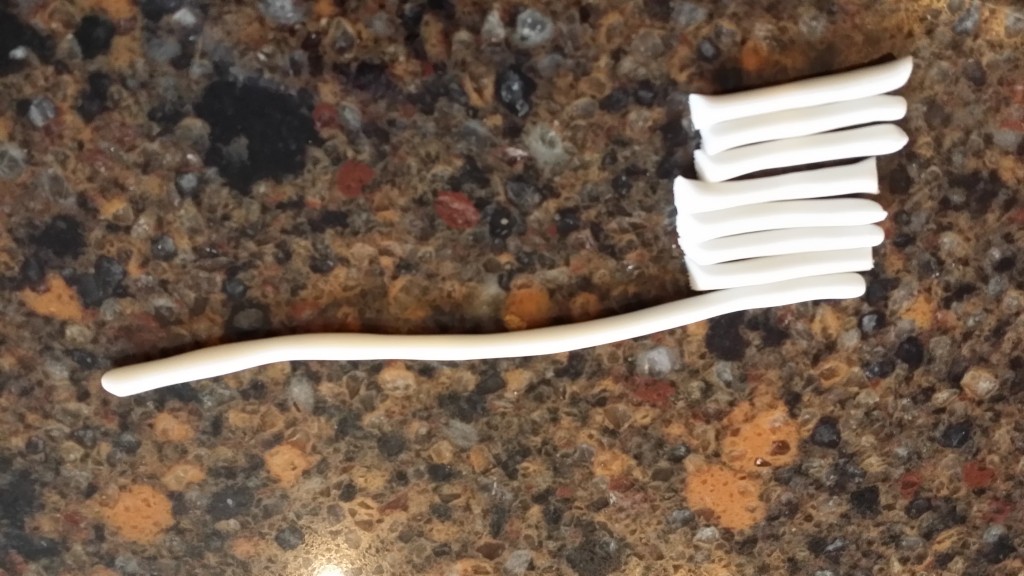
Now that you have your handle base, it is time to form them! Make a snake, and cut equal lengths.
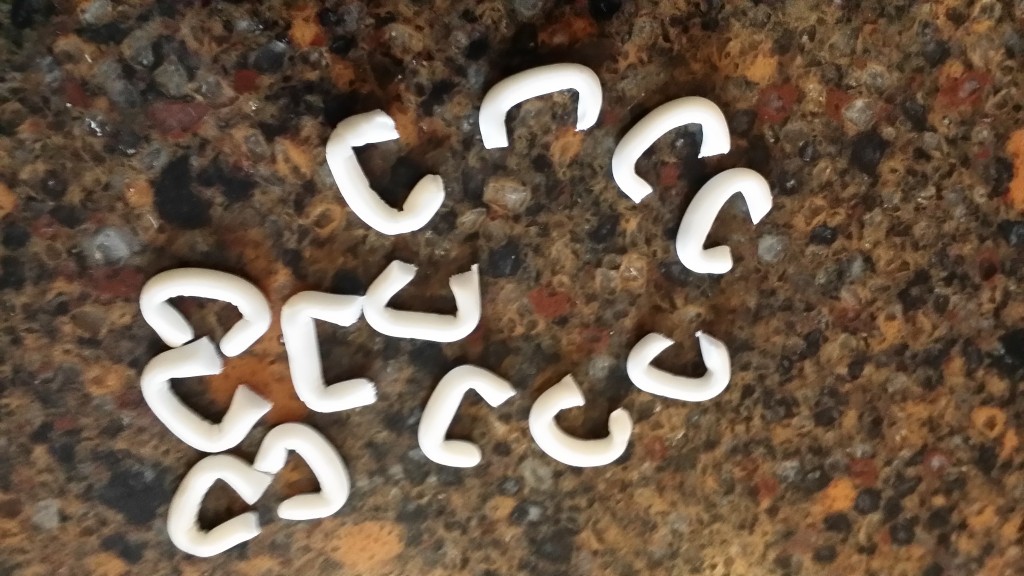
Next, bend each end and set aside. They will harden enough to hold their shape in 15 minutes or so!
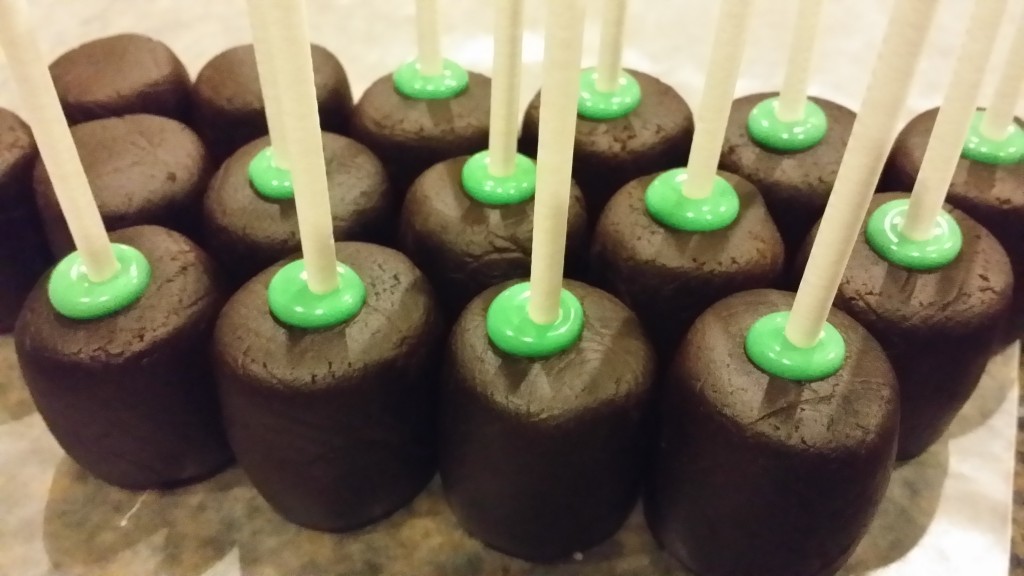
Now it is time to mix up some green candy melts! (Or buy them in green;))! If you color them yourself make sure you use “Candy Color.” It is oil based (not water) and will not seize up your melts! Then dip your stick into the green melts and into your shaped cake dough!
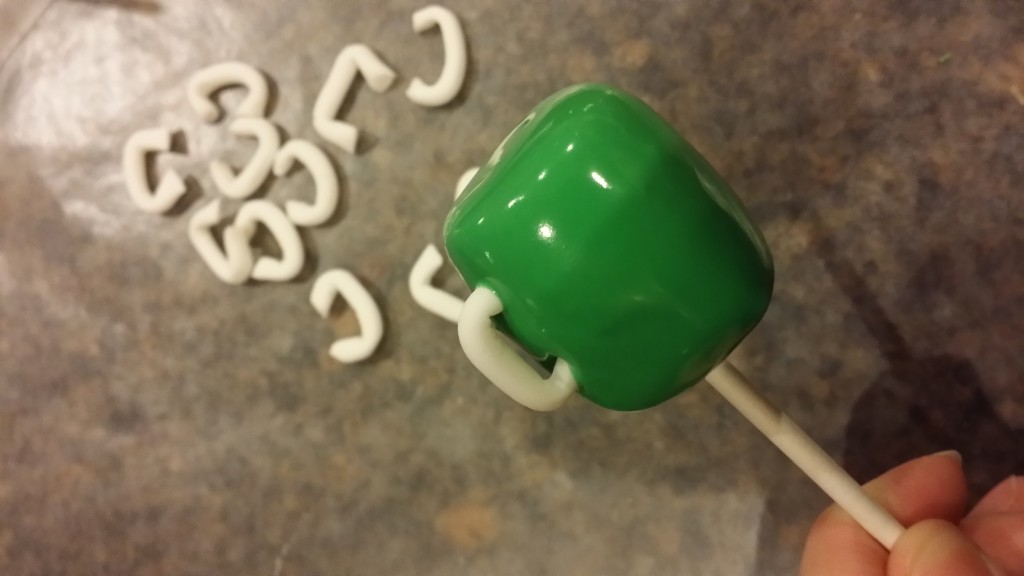
Now dip the entire pop and before it sets insert one of your newly made handles into the set!
Then set it to dry in your cake pop stand! For a little extra fun after they have set/ or the candy shell has hardened!
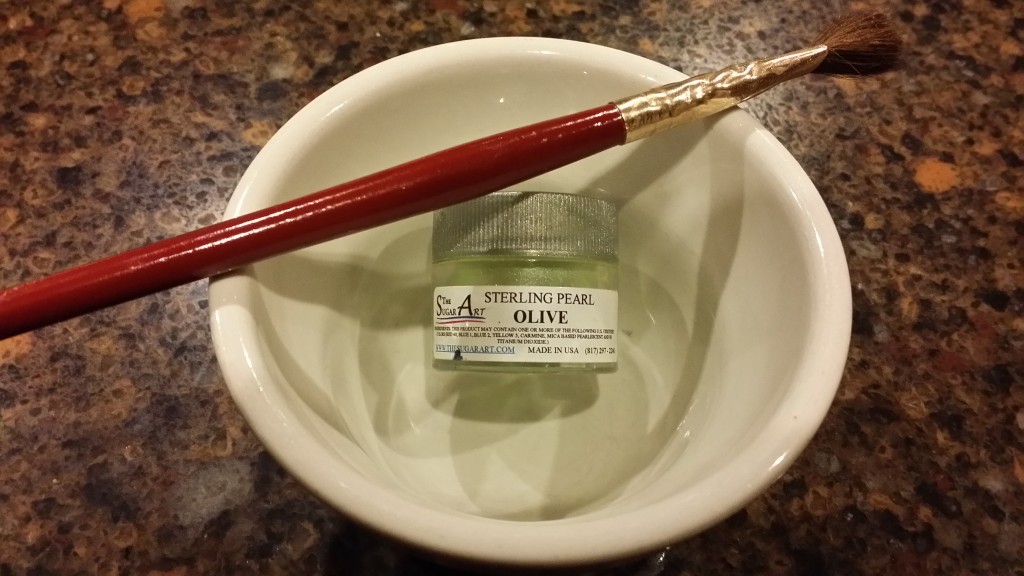
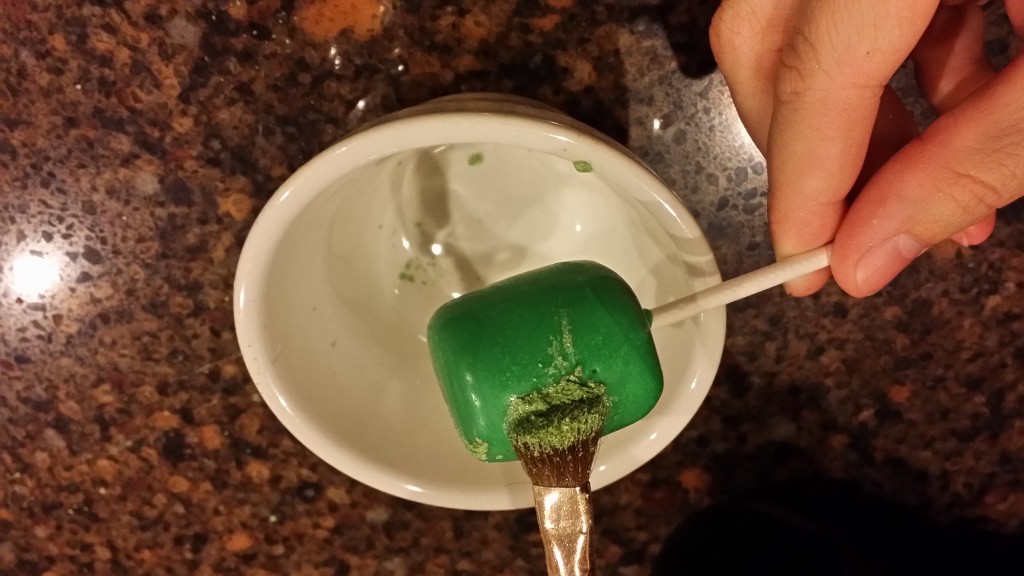
You can simulate the carbonation with green/olive “Pear dust!”
Just brush it on when the cake pop has set and the candy coating shell has had time to harden! I brush it on dry, without adding any liquids to the pearl dust!
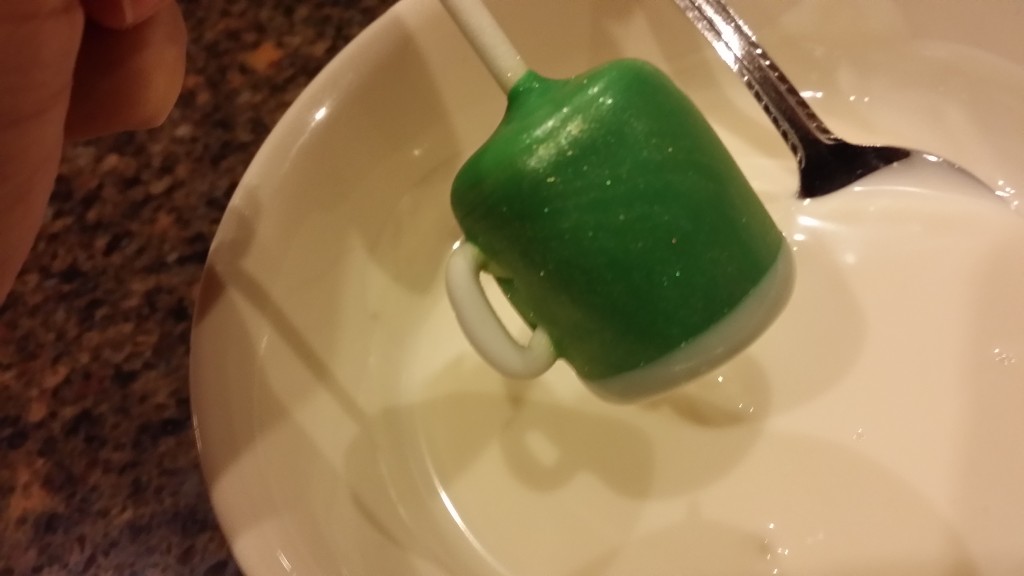
Next you will take the cake pop and dip just the top 1/4 of the pop into a bowl of white melts. This is going to simulate the “foamy part” inside the mug
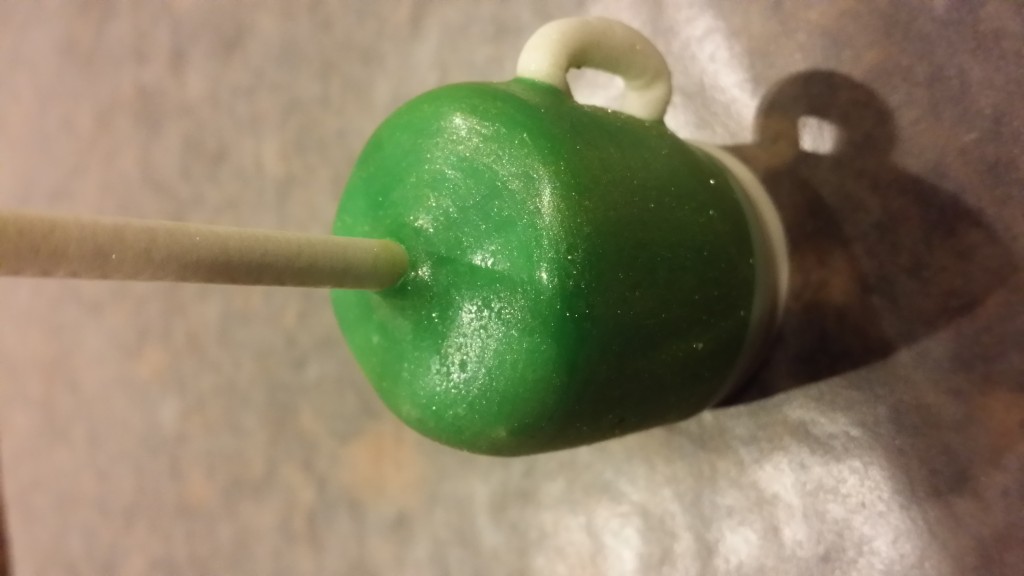
Then set it on that newly dipped white part on a piece of wax paper to set. This will give it a crisp glass like rim.
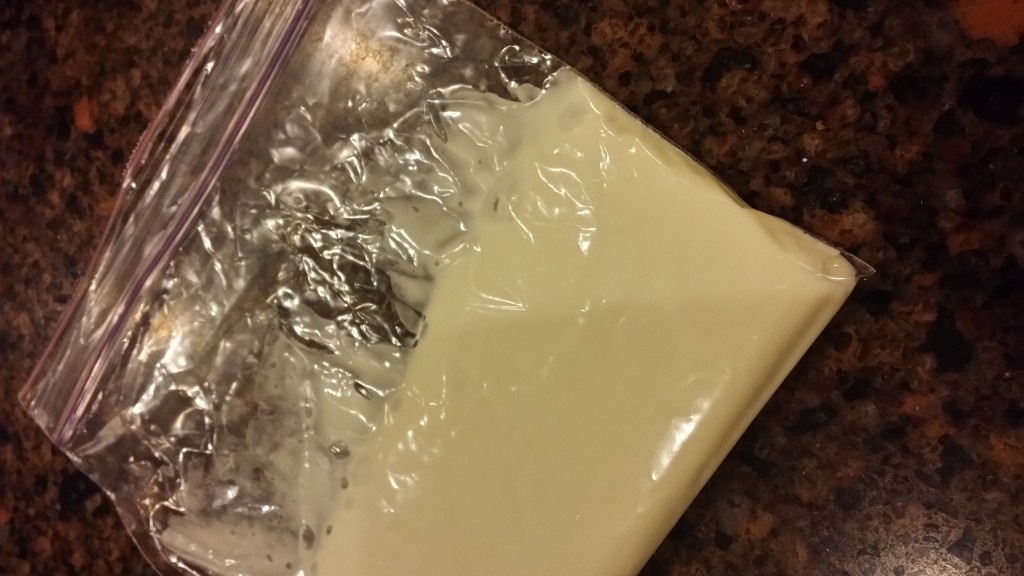
Now take your leftover white melts and pout them into a piping bag (or Ziplock;) …and snip the tip!
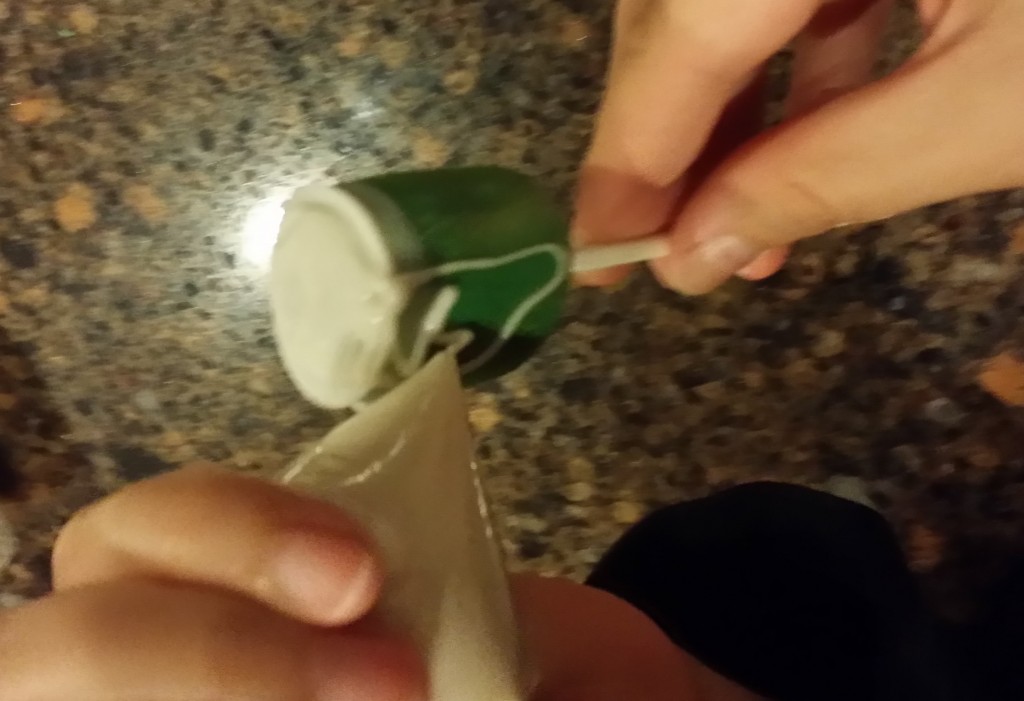
Next pipe in the center of the white a circle going almost to the outer rim (Leaving a bit of room for “the edge of the glass”) and then take your piping down one side of the glass and fill all that in.
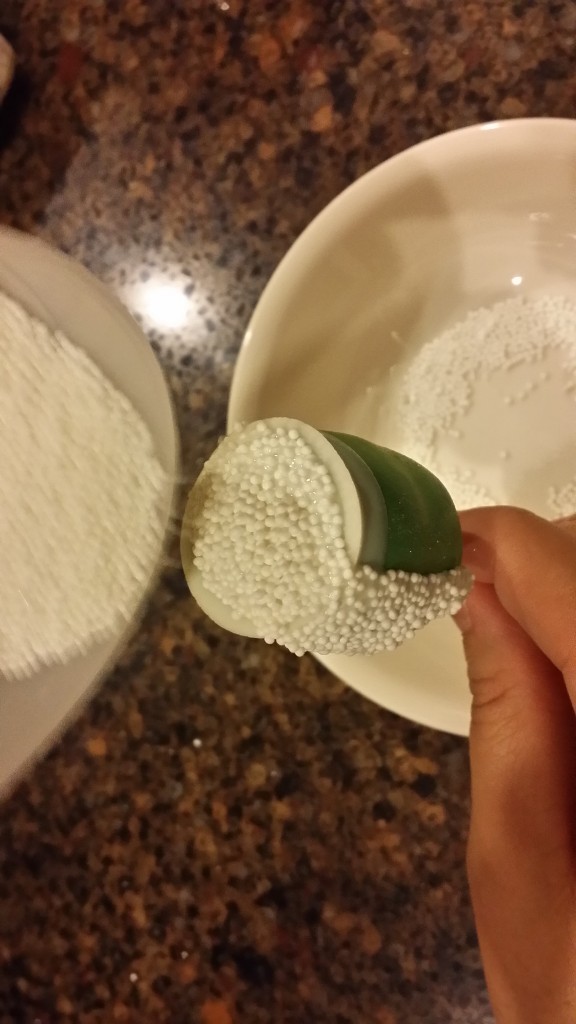
Now it is time to pour over the non peril sprinkles! (I love these for decorating and always have them on hand) While the candy melts are wet they will just stick right on to the parts you outlined and filled in!
There you have it!! That is how I make my famous “Green Beer” Cake Pops!!
Don’t forget to check out our Easy Roller (or our new Mini Easy Roller!) It is how we keep these tutorials coming:)!!

