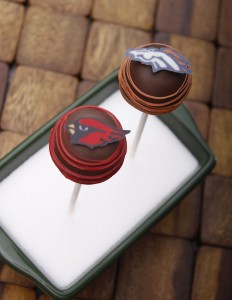
This is how I made perfect (if I do say so myself!) football logos for cake toppers out of chocolate candy melts, for my friends! This trick will also work with just about any design you are looking to replicate. Let’s learn Tracing with Chocolate!
I started just by typing in a Google’s Image Search for the pictures I was looking for. You will be surprised at how many come up, so make sure to just print one page;)
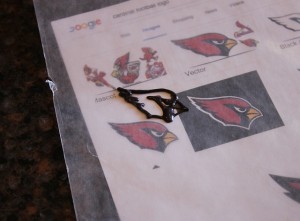
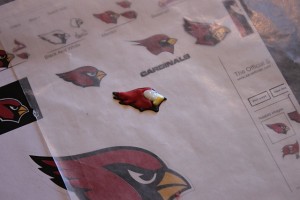
Then get a piece of wax paper (I use wax paper because it is cheap and you can see through it;) Put the wax paper over the picture that is the right size for your project and start with the outline. I used just a sandwich baggie with the tiniest hole cut out of the corner. Melted my candy melts on 50% power for 30 seconds. Take the bag out of the microwave, massage the bag to disperse the heat and then only 15 second intervals if it is still not fluid enough. Or you can melt it in a separate container and pour the melted candy into the bag:)! *P.S. Keep in mind, if you will be selling goods with copyrighted logos please get permission first.
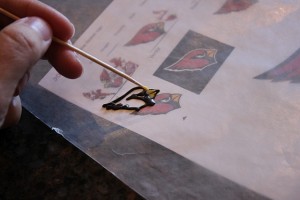
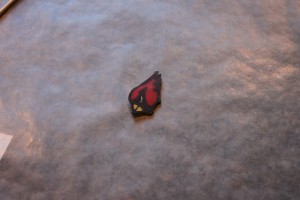
Originally I thought I had to use this side, the one facing up at me, so I was super careful to fill in the outline with a toothpick.
The bigger areas I just used the bag with the tiniest hole.
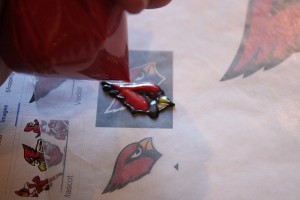
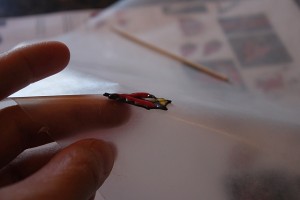
Then when it is dry, just peel it off and set it aside until you are ready to pop it on top of your cake pops!
As I did that I saw this was the “backside!” Wow!! perfect!! I liked it even better!! It had that flat logo look to it!
And you dont have to be NEARLY as careful when you fill in the lines!! So much faster!!
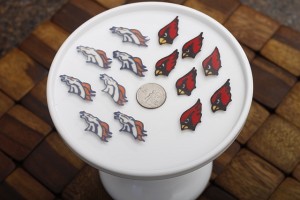
I piped all these out in just a few minutes!
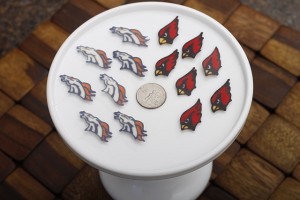

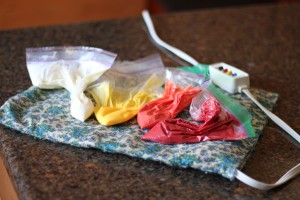
Here is another time saving tip for you! When working on a project like this, keep a heating pad handy and rest your candy melt bags you are not using on a low heat, heating pad, this way you will not make trips to the microwave in between colors!
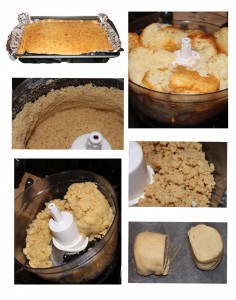
Now all you need is your cake pops!! Start by making (or even buying a cake!) If you use a box mix like us, the average yield is approximately 30 cake pops per box mix. Bake the cake just like it calls for on the back of the box. Let it cool to the touch and crumble and need it down to a doughy consistency. If you use a stand mixer (or food processor) it will knead the cake down for you into dough in just a couple minutes. Take a look, you won’t believe this is cooked cake unless you see the process;)!
You can also do this part by hand! Just grab some gloves and knead the cake till it turns to dough. If you do this by hand you may need a couple TBS of frosting to really get it going. Next roll your cake into 1.25 inch balls. The Easiest way to do it is of course in our Easy Roller or New Mini Easy Roller! Take a look on how that works here, it’s just 30 seconds:
If you are really serious about cake pops (or Cookies & even Meatballs!) check out the Easy Roller, it is the same concept but rolls 21 at once rather than 9! Next melt down your candy melts or chocolate almond bark in the microwave on 50% power (or defrost) for 30 second intervals until it is melted. then dip your cake pop stick into the chocolate, then into the cake ball. Next dip the entire ball in the chocolate candy melts or almond bark. Set in your favorite cake pop holder and pop your new chocolate logo on the top of the cake pop before the chocolate hardens. 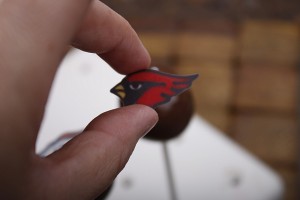
Then I just melted some corresponding colors to swirl around the outside of the cake pop. To do these, hold the cake pop sideways and with even pressure squeeze the bag while turning the pop in circles with your other hand. That’s it!! You are now ready to serve super fancy cake pops for football season!! Or you can adapt this technique for just about any occasion!
If you like the tutorial don’t forget to check out and share our Easy Roller or New Mini Easy Roller with your friends! It is how we keep these tutorials coming:)!

