Here is how I did it!
Of course you must start by baking a cake!
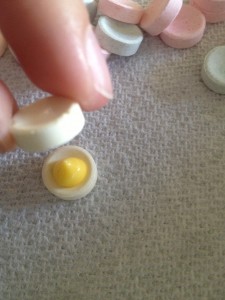
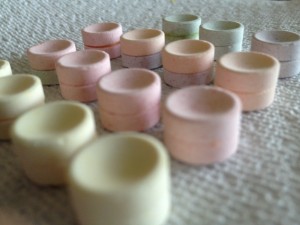
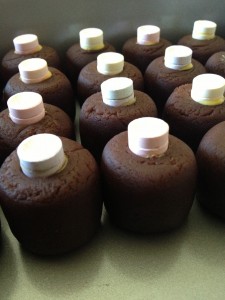
While the Cake was baking it was time to prepare the tops to my little Lego Heads! With Smarties of course!! They are the perfect shape, but they are just not tall enough, if you just put one on top and dip, you will barely notice it is there! However, stacking 2 to make little Double Decker Smarties is the way to go;)!
Adding a little bit of melted candy melts in-between the 2 Smarties help to “glue” them together!
I think next time I will make sure the Yellow Smarties are always the “top layer”! Just a tip for ya! Learn by my mistake! If the candy melts are a little thin on top of the cake pops you can kinda see the other colors through the Candy Melts, so yellow on the top layer will help camouflage that little flaw.
When the Cake is done, let it cool and then crumble and kneading it (with or without your favorite frosting pudding, jam, etc- I don’t use anything, but of course you can add anything you’d like at this stage!) down to a play-doh like consistency!
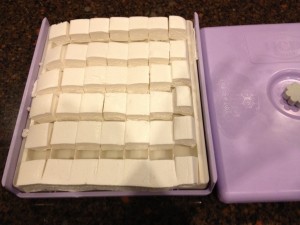
Then it is time to brake out the Easy Roller! For these pops I didn’t use the Easy Roller to roll the cake balls into 21 perfect ball shapes at once, since these guys are more of a cylinder, but I did use it to portion out all of the 42 pieces at once! Like I did with the Home-Made Marshmallows:)!!
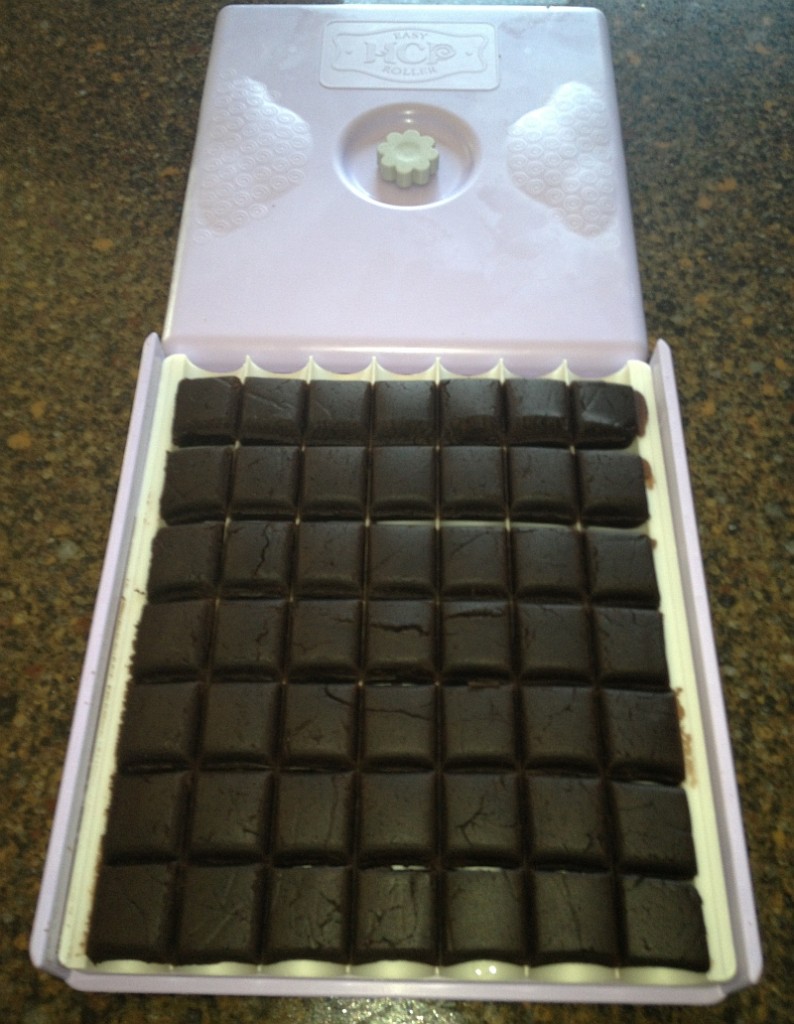
Oh wait.. we are talking about cake… here is the cake portioning picture:)!! This is 48 portions!
See if you line up all the logs of cake dough across the Easy Roller board you can portion up to 48 pieces at once! Sure beats scooping them all, and weighing them all individually:)!!
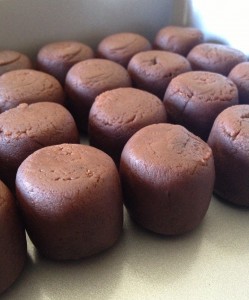
Then I took each piece and formed them into cylinders! Like this:
Now that they are all the right shape and the Double Decker Smarties have set, it is time to combine the two! Add just a bit more candy melt for the “glue” and press these Smarties onto the tops of your Cake Cylinders!
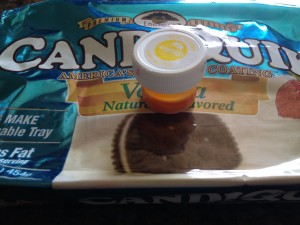
Now it is just time to dip them in some CandiQuik! I always just buy white and dye it in the appropriate color! That way I can stock up on CandiQuik when its on sale or I am just out shopping for my Cake Pop Supplies! I can find this at Walmart, in case you were wondering!
Here is what it looks like!
Make sure you are using “Candy Color” not just plain ole food color, it will seize the chocolate coating if your color is made with Water! I ALWAYS double check the ingredients to make sure it says OIL and NOT WATER!
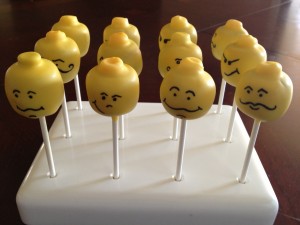
So now just dip, draw faces, and display them!! Oh and I know you are going to ask what markers to use…! I use Americolor Markers, they are the only ones I have gotten to write on Cake Pops.
Looking for a different way to make them and end up with the same result? Take a look at Living Locurto‘s Lego Head Cake Pops Blog Post! She was actually the very first one to make and post them!
If you haven’t seen our Easy Roller in action, make sure to check it out HERE! It is how we keep these tutorials coming:)!!

